

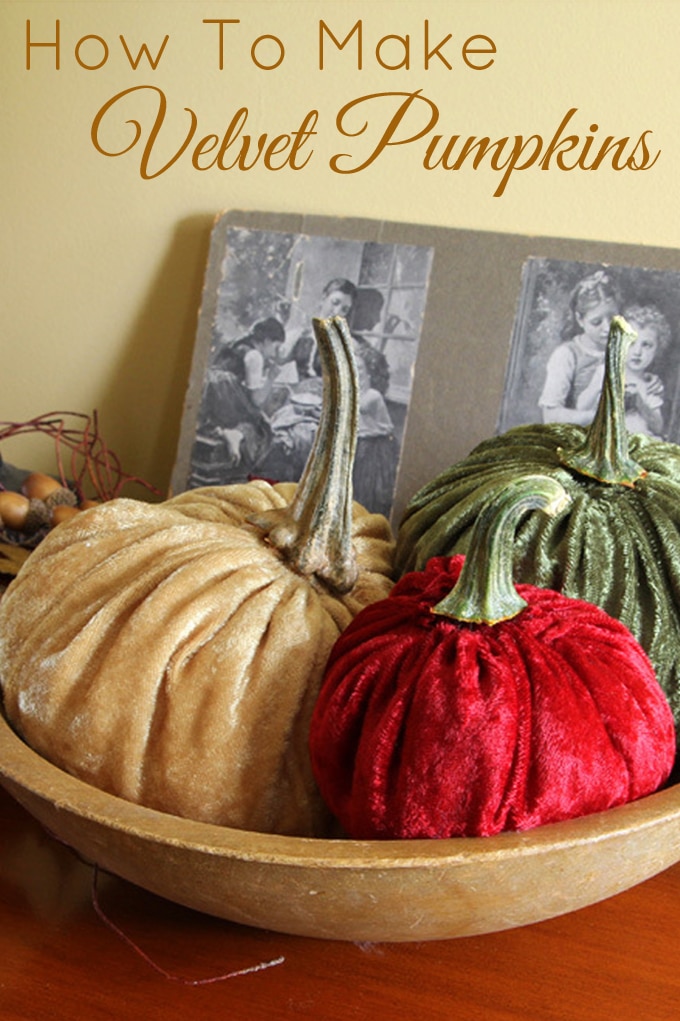
I've been dying to make some of these velvet pumpkins for the last two years, but just never had the time to try them.
Stupid, stupid, stupid. They only take about 10 minutes each to make and are about as easy a craft as you've ever seen.
I could have been swimming in velvet pumpkins by now.
At first I was going to use thrift store velvet dresses and repurpose the fabric into pumpkins, but the only color I could find was black and I wasn't in to black pumpkins right now (maybe for Halloween though).
So I popped over to JoAnn Fabrics and picked up some crushed panne velvet, which is a lightweight version of velvet with more stretch to it. The traditional velvet tends to be a little stiffer and not as easy to get a needle through.
The day I went, the crushed panne was on sale for only $2.49 a yard. I bought ½ yards each of three different colors, so I skipped out of JoAnn's with $3.75 in fabric.
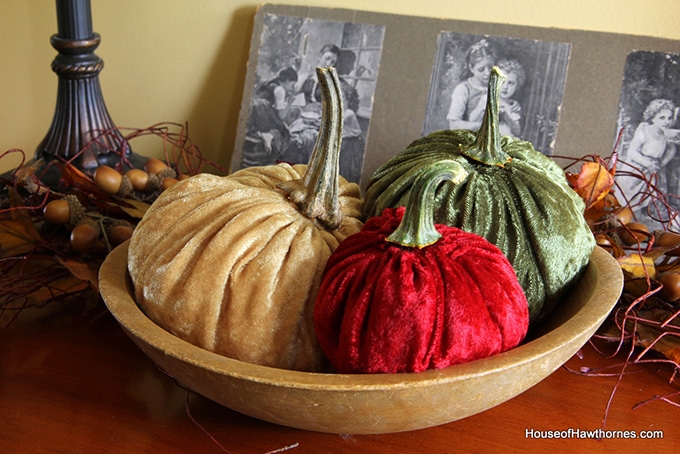
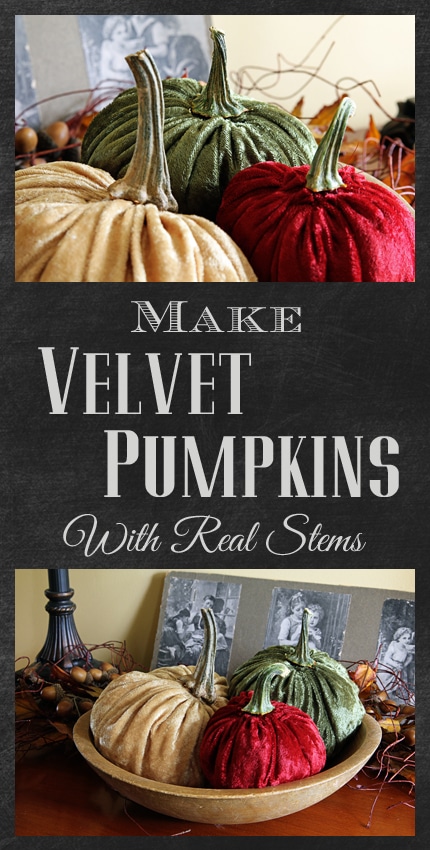
DIY Velvet Pumpkins
I have seen these pumpkins in stores for upwards of $35.00 each and I made mine for way, way under $5.00 a piece (so small that I, the Accountant, didn't bother to break out the actual cost per pumpkin).
They really are so easy it's silly.
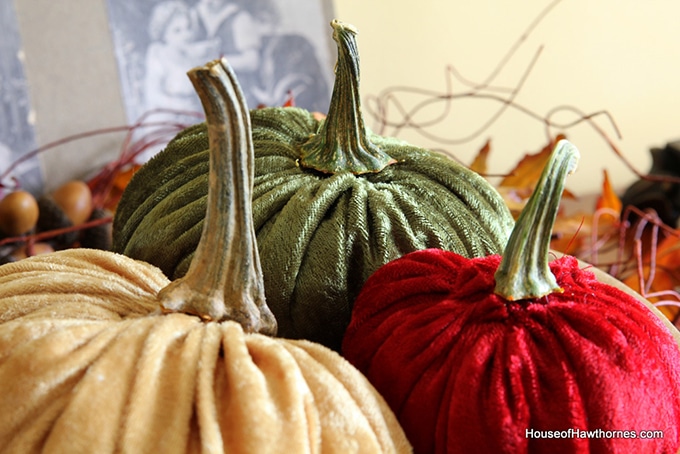
Where To Buy Dried Pumpkin Stems
If you didn't save your stems from last year's pumpkins, you can buy dried pumpkin stems on Etsy. One of my favorite Etsy shops for stems is Perky Pumpkins. You can also use a chunky twig as a stem if you don't want to use real pumpkin stems.
(This post contains some affiliate links for your convenience. You can read my full disclosure policy here.)
How to Make Velvet Pumpkins With Real Stems
Supplies needed:
- fabric of your choosing - velvet, crushed panne velvet, burlap or whatever the heck you like
- scissors
- needle and thread
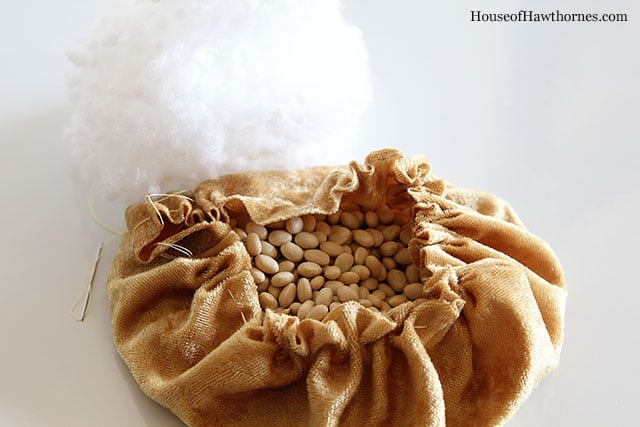
- navy beans
- polyester fiber fill
- glue - I used E6000
- an old pumpkin stem (you could use a twig instead) or I found this vendor on etsy with pumpkin stems for sale
Instructions:
Use a dinner plate to draw a circle on the back of your fabric. Cut the circle out.

Thread your needle and make long stitches around the perimeter of the circle.
Contrary to what your mother told you, neatness does NOT count here. You are just stitching so that you can gather the fabric later, so you have my permission to be sloppy.

Lightly pull on the thread on each end to loosely gather up the fabric.

Put some navy beans in the bottom of the pumpkin. This gives the pumpkins a little weight and also helps to keep them from rolling around when the dog walks by.
Add some fiber fill to puff it up a bit. If you don't have fiber fill, I'm sure you could use cotton balls or pantyhose (if you have any lying around from 1984).
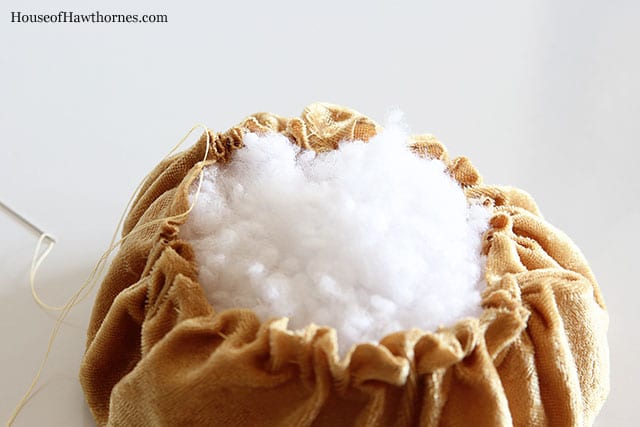
Once filled, tighten up your opening and tie a knot in the thread.
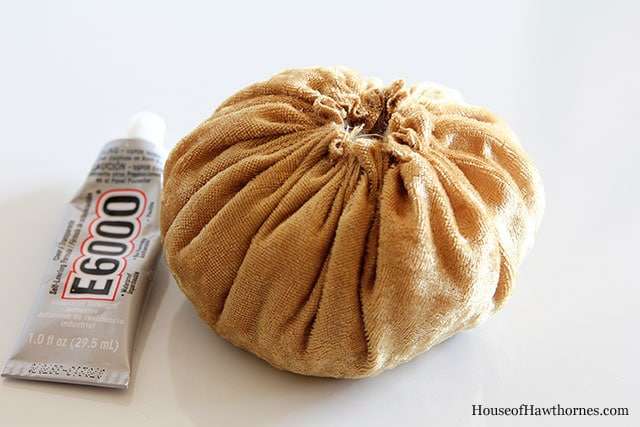
Use your glue to stick the pumpkin stem to the top.

And you're done in less than ten minutes!
Edited to add: I've had lots of people asking if I sell these and no I don't, but I did find something similar on etsy if you would prefer to just buy them.
They are so SUPER SIMPLE to make though! You got this!
View the web story version of this article HERE.
If you like this you may also like:
100 Best DIY Fall And Halloween Decor Ideas
Leave a Reply