Learn how to make a pillow from a shirt with these easy to follow instructions. These no sew pillow covers are an easy way to make a memory shirt pillow too! Seriously, NO SEWING and cute as a button.
I've started getting together some porch decor for fall. Finally.
I have no idea why I've been dragging my feet about fall decor this year, but it's been slow going. As in at a turtle's pace.
Well, this tortoise here thought these DIY no-sew pillows made from shirts would look cute and seasonal outside. I'm using them for fall decor, but you could easily transition them into any season.
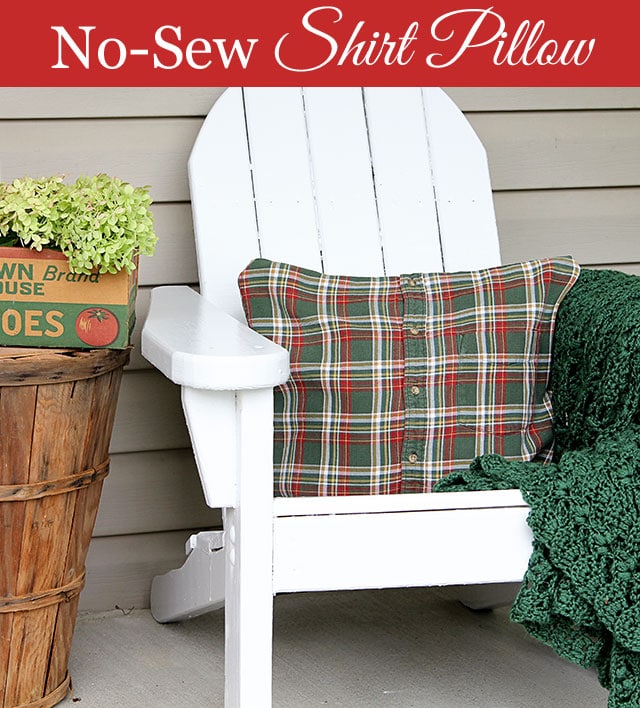
And you can use the same instruction to make a memory shirt pillow (in that case I wouldn't put them outside on the porch of course). What a great way to keep your family member's memory alive on a daily basis!
Did I mention they are no-sew, so they're quick and easy to boot?
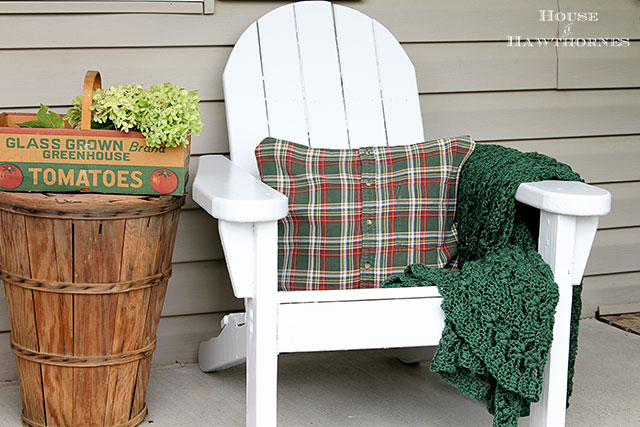
Quick. Easy. No sewing necessary.
I'm in.
DIY No-Sew Shirt Pillow
Supplies needed:
- button down shirts - x-large is a nice size fabric-wise
- pillow forms
- iron-on fusible bonding tape - I used Dritz brand heavy duty Stitch Witchery
- scissors - do I really need to list the obvious? OK, I guess I will
- an iron
- an ironing board
- water for the iron - too much info?
- cup to pour said water into iron - way too much info?
Step 1 - Get shirts
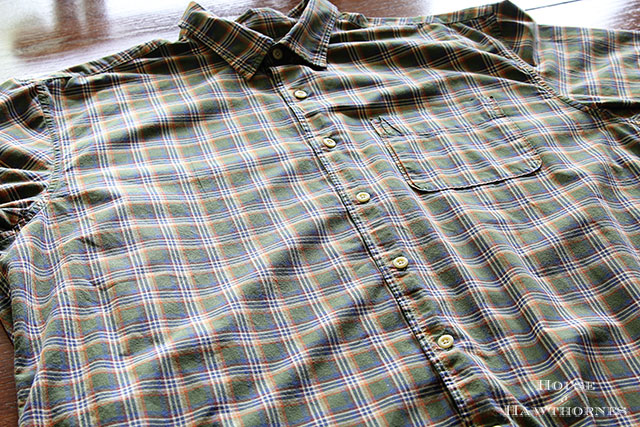
Run to your local thrift store on half price day and buy a few plaid shirts. Or denim shirts. Whatever look you're going for. Raiding your husband's closet is also an option.
Or you can even use one of your dad's or grandpa's shirt if you want to make a memory shirt pillow.
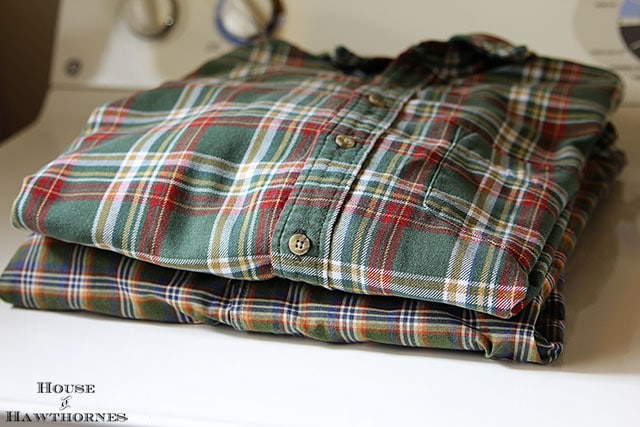
Step 2 - Spiffy up shirts
Iron your shirts if they are incredibly wrinkled (like mine were) and lay them out flat on a table.
Step 3 - Determine fabric size
I used some pillows I already had to make my shirt pillows, so I took off the pillow covers and used them as a template. You will want to use chalk (I forgot to add chalk to my list of supplies!!!) to mark off an inch larger than the old pillow form to allow for seam allowance (or in this case, iron-on tape allowance).
I basically use one set of pillows for the porch and just keep recovering them over and over again for each new season.
If you are using new pillows, you need to determine how large your pillow is and add an inch all around also. For example - if you have a 18x18 inch pillow form, cut your fabric 20x20 inches to account for the seam allowance.
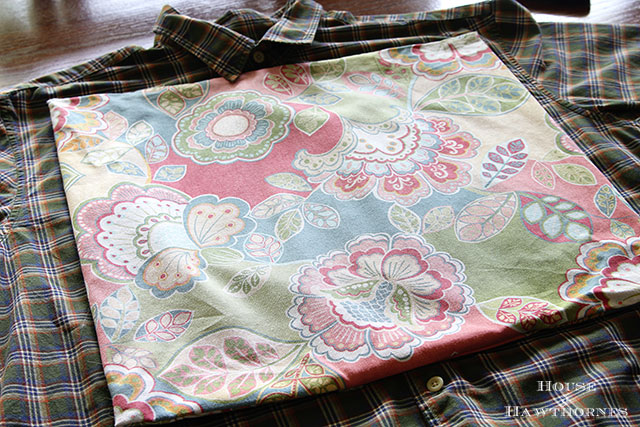
Having plaid fabric is a benefit in this project, since the lines on the fabric make getting your cuts straight pretty darn easy.
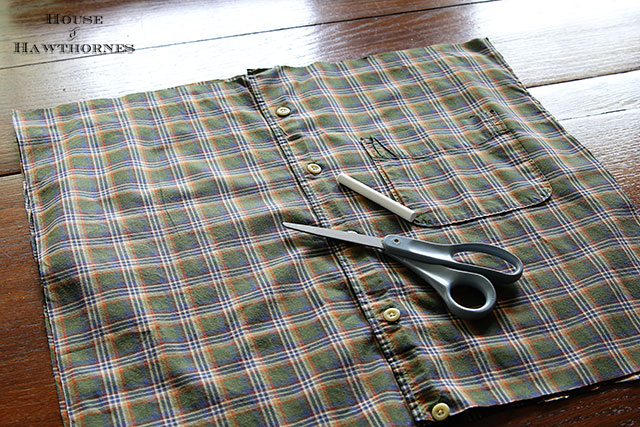
Step 4 - Cut. It. Out (In my best Joey Gladstone from Full House impression)
Oh, and I wanted the pocket to show, so I just made sure the pocket was nicely within that area that I would be cutting out.
Step 5 - Flip
Flip the shirt so the right/correct sides are together and place the tape between the two sides.
Step 6 - Iron away
Probably best to use an ironing board instead of an antique oak table.
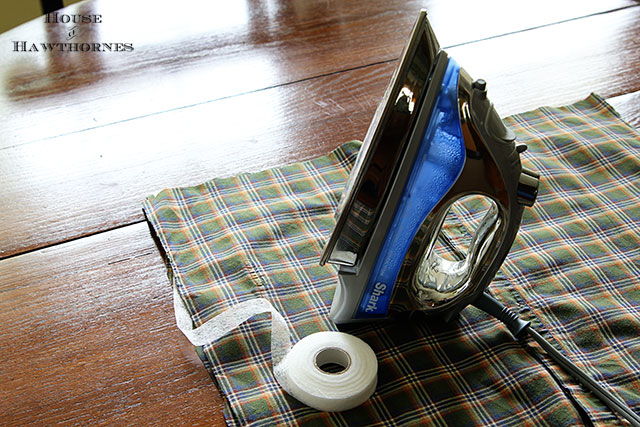
You are going to iron the pillow completely shut. Trust me. Iron it together with the tape along all four sides.
Do I sounds like I'm nutso? Not really, because . . .
Step 7 - Stuff it
Unbutton the shirt, flip it right side out, stuff it with the pillow and button it back up again.
Step 8 - Pat yourself on the back
Sit back and admire one pretty cool pillow!
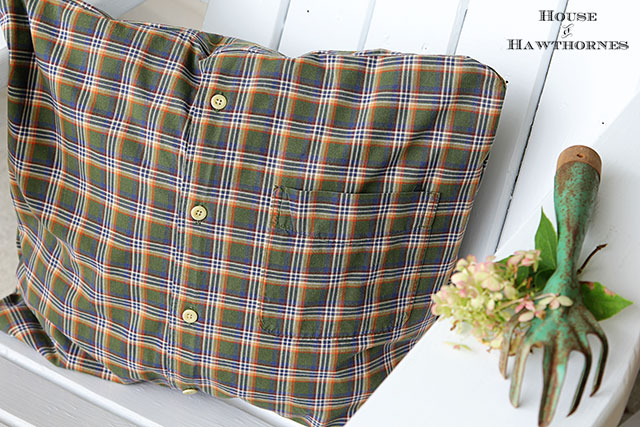
Or two! You might as well go ahead and make two while you've got the iron all heated up and stuff.
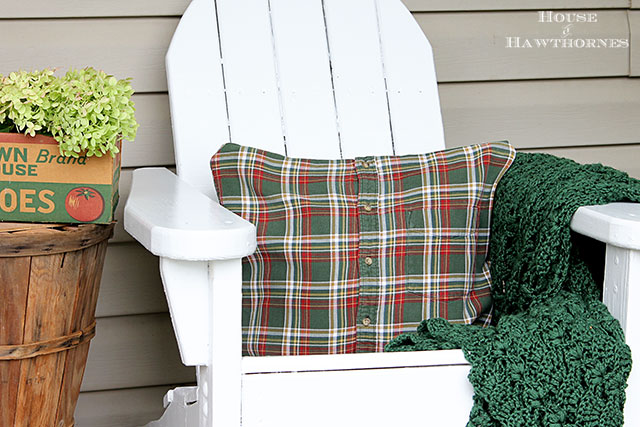
This is truly a fifteen minute project at the most.
Now, I did these "no-sew" so all the people who don't own a sewing machine, or don't like sewing machines or even have been scarred for life by sewing machines can still make them.
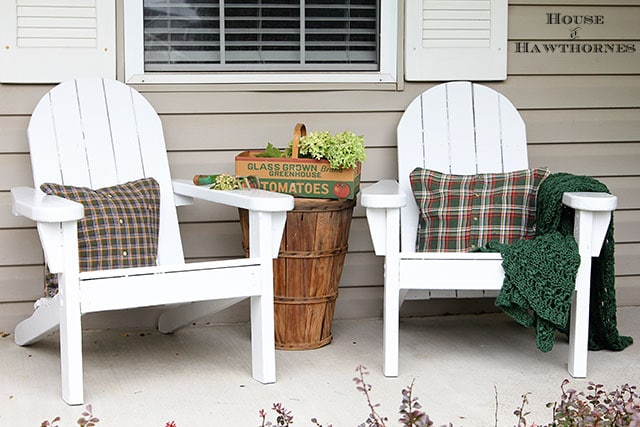
Me? I hate to thread the bobbin and that sort of keeps me from using my machine a whole lot!
If you prefer to go the whole traditional route and use needle and thread, you can see Ann from On Sutton Place's tutorial to make them that way. She's much more of a sewing aficionado than I am.


Leisa
Great idea. Love love.
Angela Sparks
Love this idea so much!!! So simple but yet so cute. Thanks so much.
Paullette Melhorn
What would I use if not an old pillow? Im pretty sure since couch pillows I have may work but I think they're filled with stuffing.
Thanks
Loyda
Good idea !!
Kim @Hunt & Host
These are precious! Sharing!
Pam
Thank you Kim!!!
Sue Pagels
I think flannel ones would be awesome too!
Diane
FANTASTIC! When I saw your Facebook post, had to stop and look, as always! Plaid and flannel = fall, for sure. Thrift store, here I come! I love candy corn, mixed with dry roasted peanuts = salted nut roll. YUM!
KC
Thank you for the cute idea. I decided to make a "grandpa's" shirt pillow for each of my grandchildren. A couple of year's ago I had a woman make "grandpa's jeans" aprons for my granddaughters...and they loved them. The pillows went over really well too.
Pam
I love the Grandpa's shirt idea! I'm sure the grandchildren will cherish those forever!
Connie Holiday
You are so funny! Totally my sense of humor! Love this idea. Cannot wait to run to the thrift store!
Sue
Hi! I am confused. How do you unbutton the shirt if it is sealed up via sewing or stitching glue tape?
Thanks ????
Pam
The buttoned area runs down the middle of the front of your pillow so the buttoned area still works like a normal shirt. When you sew or use the iron on tape you are sewing around the outside four edges only in a big square. So other than the very top or very bottom of the buttoned area you aren't disturbing it. When you're done, just unbutton, slip a pillow inside and button back up.
maryann sierra
I love this!!!
joselyn @ The DIY Spot
Great minds thinks alike. I just love plaid!
Pam Kessler
Those are fabulous! Love the footstool covered in flannel too 🙂
Bjng5
You crack me up! Your humor is a gift; thanks for sharing.
Love me some candy corn. Sadly, I eat it til I feel sick. Thanks for identifying the flavor of the moons. Never could figure it out.
Olive
Super cute Pam. Even my challenged frightened of a sewing machine self could manage this and not mangle it.