

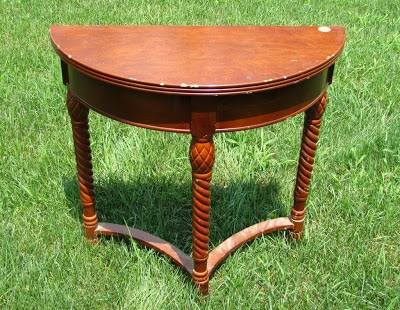
Last weekend I found this console table at this garage sale.
It was only $5.00 so I had to buy it. It's almost like they were giving it away!
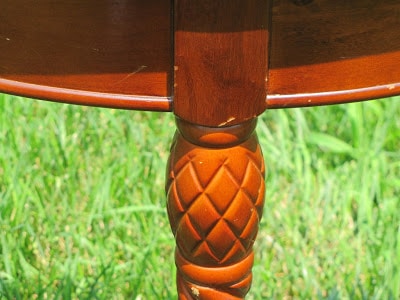
I liked the pineapple detail on the legs
and the top had a wonderful wood grain,
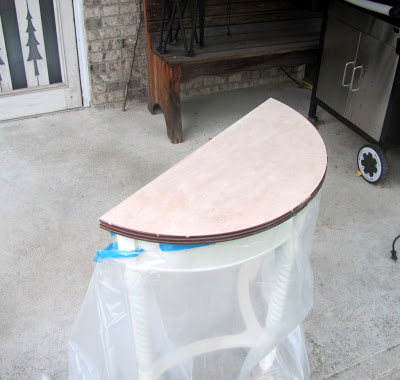
So I taped off the top and painted just the legs.
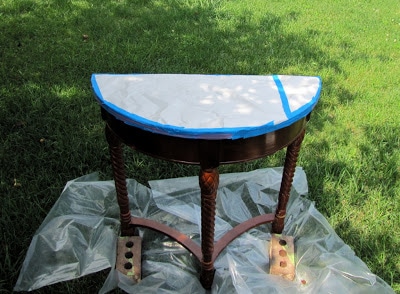
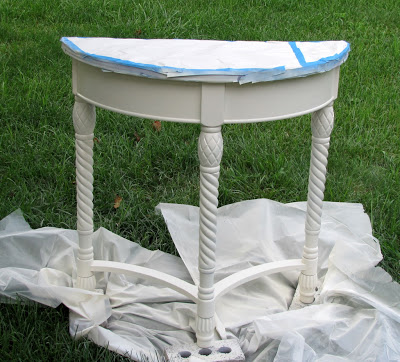
I started off with Rust-Oleum's Painter's Touch Ultra Coverage white spray primer and then when that dried sufficiently I applied two coats of their Ultra Coverage Heirloom White satin spray paint.
Now, I don't think I have ever spray painted furniture before, but after painting my black chair with the spindles and thin legs by hand I wasn't looking forward to the crippling hand cramps that would come with painting this by hand, so I opted for the spray paint.
After I painted the legs I worked on the top. In retrospect, I think I should have started with staining the top and then went on to painting the legs. I had some stain drip onto the legs, so I had to touch up the paint. And then when I touched up the painted area, I got paint on the stained area and around and around I went. Oh well, lesson learned.
I sanded the top with my Black & Decker Mouse Sander.
Then I stained the top with Minwax Wood Finish in English Chestnut. I used two coats of stain and topped that with two coats of Minwax Polycrylic in Clear Gloss.
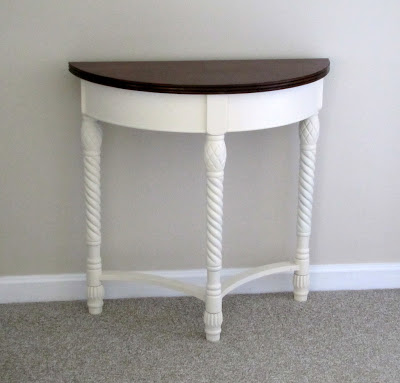
And this is the semi-finished product.
I had originally thought I would do a glaze or stain over the paint to give it an aged character. But after I had painted it the Heirloom White I was having a little bit of anxiety over doing the next step. I lived with it as is for a few days and decided that the current color was too crisp and didn't fit with the stained top which sort of insinuated that it was an older piece that had gone through some different transformations over the years. At least that is what I think of when I see the stained/painted pieces.
So I decided to go ahead and rub some English Chestnut stain over the Heirloom White paint to give it the aged look I had originally planned on. I don't have a photo of that step because it looked like heck. Seriously U.G.L.Y.! The stain adhered way too much to the piece even though I only left it on for a few seconds and was way too dark and splotchy for me.
So I contacted Cassie at Primitive & Proper and she so very graciously helped me with the problem. She suggested using a lighter Golden Oak Minwax to get the look I was trying to achieve.
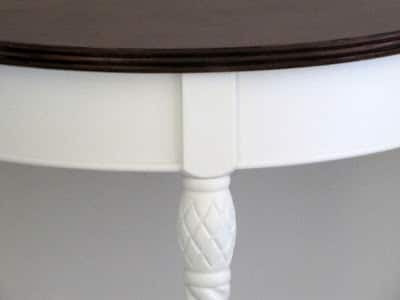
Genius! Although these photos don't do it justice, the stain did make a huge difference.
It gave it a nice glazed affect and warmed up the Heirloom White.
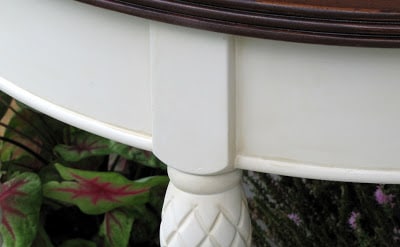
And brought out the detail of the pineapples nicely. Thank you Cassie!

So then you would think I would be done. Nope, I still thought it looked a little too new to me, so I distressed it.
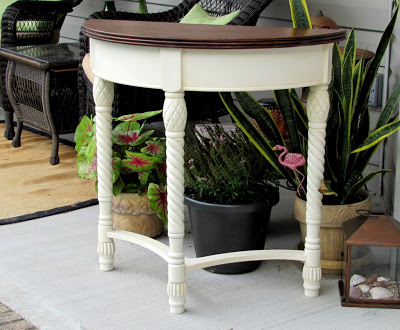
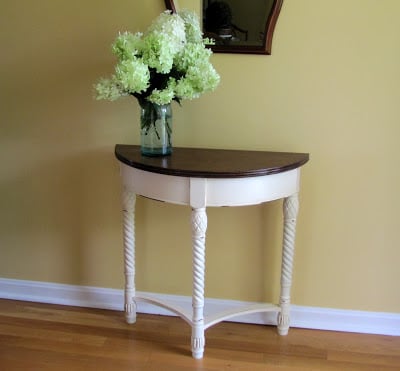
Here is the final, final, final product.
The distressing was done by my handy dandy mouse sander. After doing the distressing I used the English Chestnut stain to highlight the distressed marks.
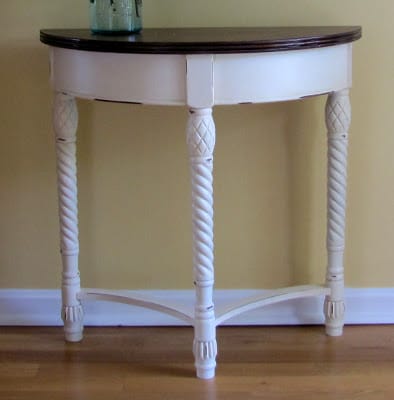
I tried to distress it in the areas that would have been dinged or handled a lot over the years if it really was an antique.
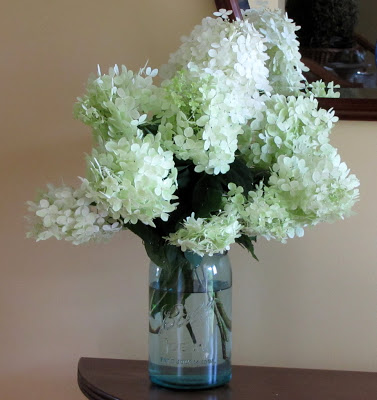
I just love the off-white and light green tones of the flowers.
But in reality this is where the table has landed. It's in our dinosaur area of the living room. Yep, I spent hours painting, staining, distressing and staining some more so it would like nice paired with the dino.
At least the train can clear the legs of the table!
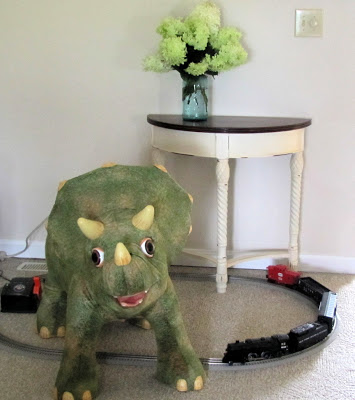
"Come back soon!" (You'll have to imagine him waiving goodbye since his hands don't move).
fitty's pinky rose cottage
wow! what a great table with details! love it after a coat of white paint!
Anu@My Dream Canvas
Wow, fabulous. I am hosting a Giveaway on my blog...so do drop by!!
Debra@Common Ground
You did a wonderful job. Everything is gorgeous. and I love the dark stain on top paired with the white apron and legs!
Mel
love love love, everything about it
Emily {Frilly Details}
Ok, I'm totally impressed with your little table. I just did a blog post about all the furniture I need to refinish and seeing your finished product has given me some much needed motivation! Great job on the redo, love it!
Stacey
That turned out great! I really like it.
Meg
It looks fabulous! I love the contrast of dark and light. And, you did a great job distressing!
That dino is HUGE! 😉
Heidi@TheCraftMonkey
This table turned out great! I love it! And I'm soooo jealous of your gorgeous hydrangeas!
Stacy
love the final look! very nice. you just can't go wrong with heirloom white!! 🙂
Inspired by you
The table looks great. What a professional finish. I'm glad you liked my tufted chair. When you start yours just remember that you can always cut the string for the buttons and redo it. Good luck!
Ashley
I love that! You did a great job!
MamaMonki
Beautiful!
Rachelle @ Adventures in Creating
Wow that turned out great! I love how you contrasted the top and base. And the pineapples are so cute!
Amanda@The Hand Me Down House
This is AMAZING, Pam! I love the two-tone - and you're right - the paint absolutely emphasized the pineapple details. You did a great job!!
Debbie
This looks soooo nice! I love how you stained the top, and painted the bottom part...so pretty.
Great job!
Debbie@houseatthelake
Monkey Mind
What a great job! I'm always impressed by thrifters that buy items that need work and actually DO it. I fret, I hem, I haw, I think about all the possibilities and it just sits there unfinished forever. Your table is an inspiration!