Inside: How To Make Easy Refrigerator Pickles
The other day I was at the cute little farmer's road side stand (stand is cute, farmer is just OK), which is really just the back of the guy's truck.
I was perusing the corn and tomato selections when I spotted some adorable little cucumbers and since I had a hankering for some good old-fashioned pickles, I bought a few of the little cukes (I think their official name is Kirby cucumbers).
Well, I started out buying a few of them and by the time the farmer was done talking to me, I had been overcome by the whole buying local thang and bought a whole peck. Gotta support the small farmers of America, you know!
Yes, I picked up a peck of pickled peppers cucumbers.
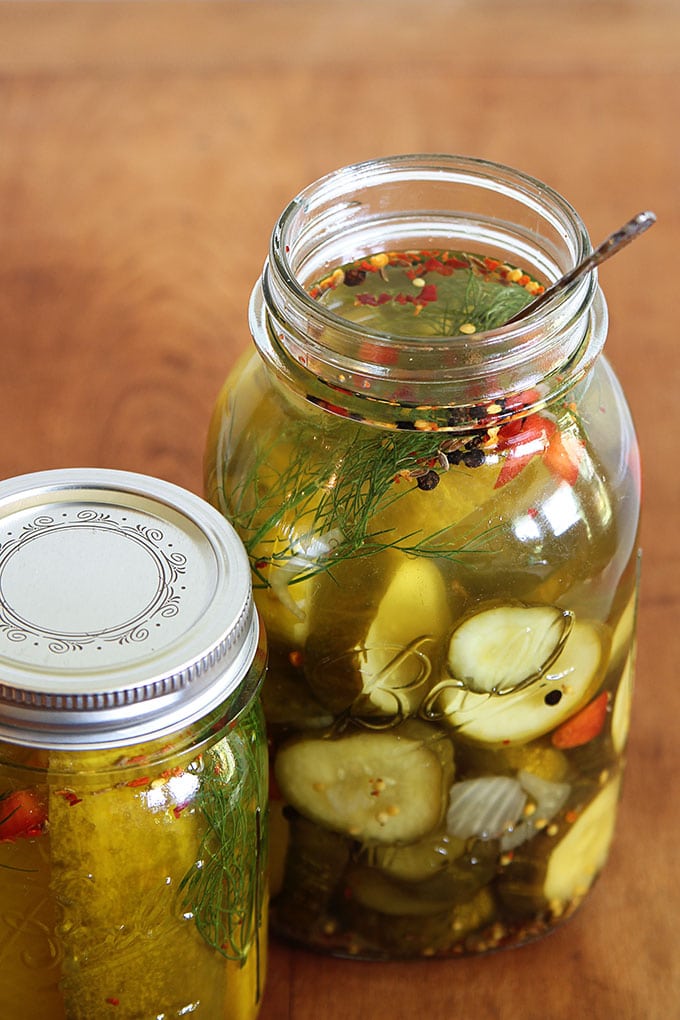
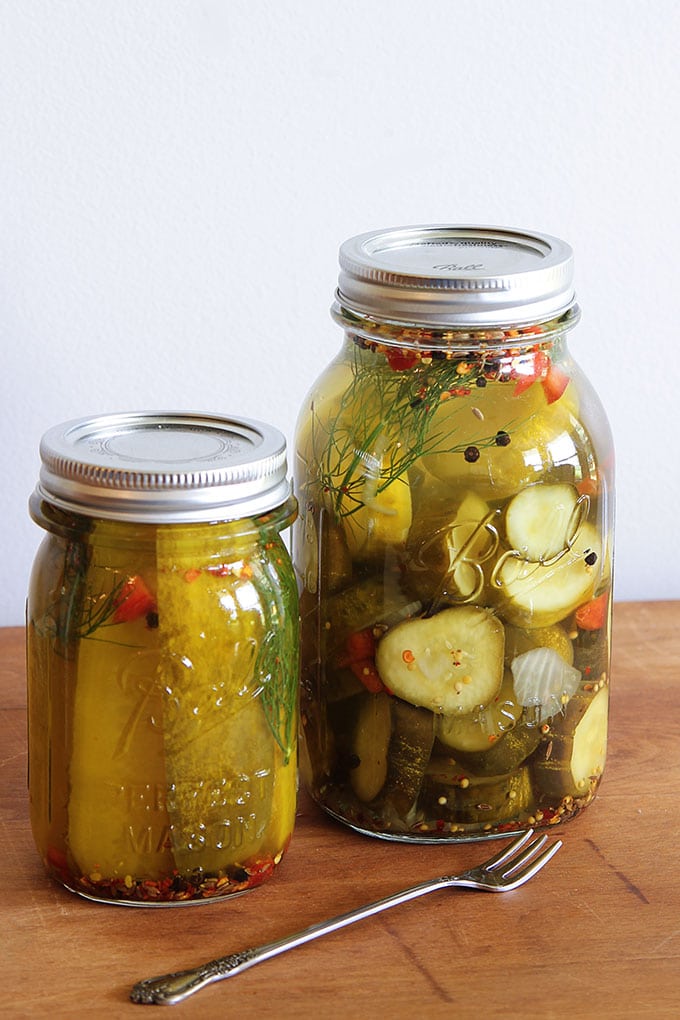
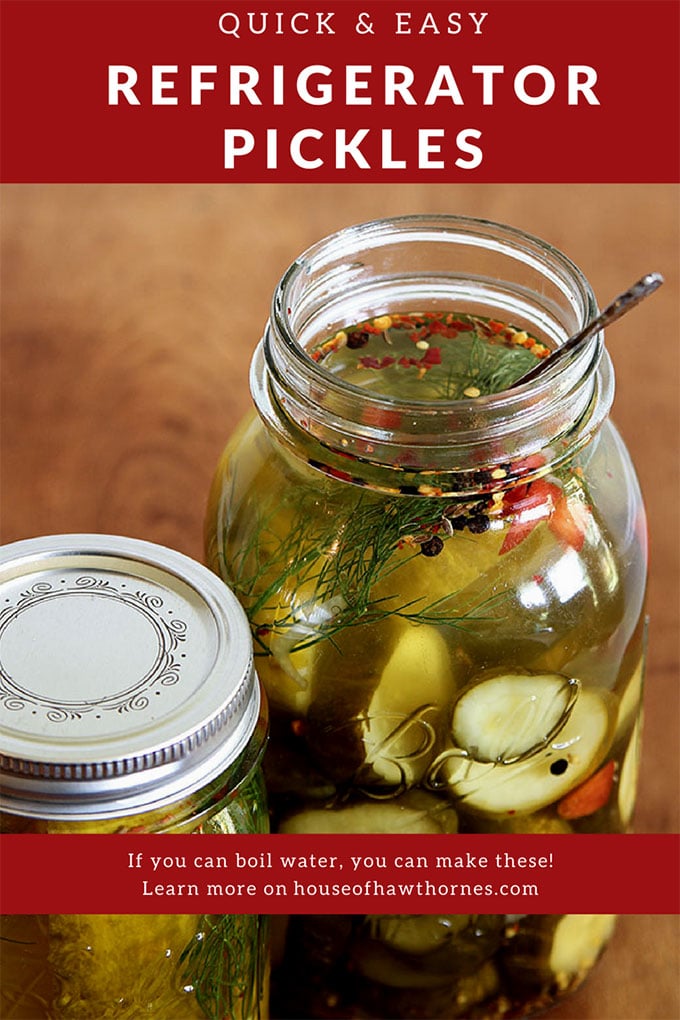
I decided to make quick garlic dill pickles, which are sometimes called dill refrigerator pickles.
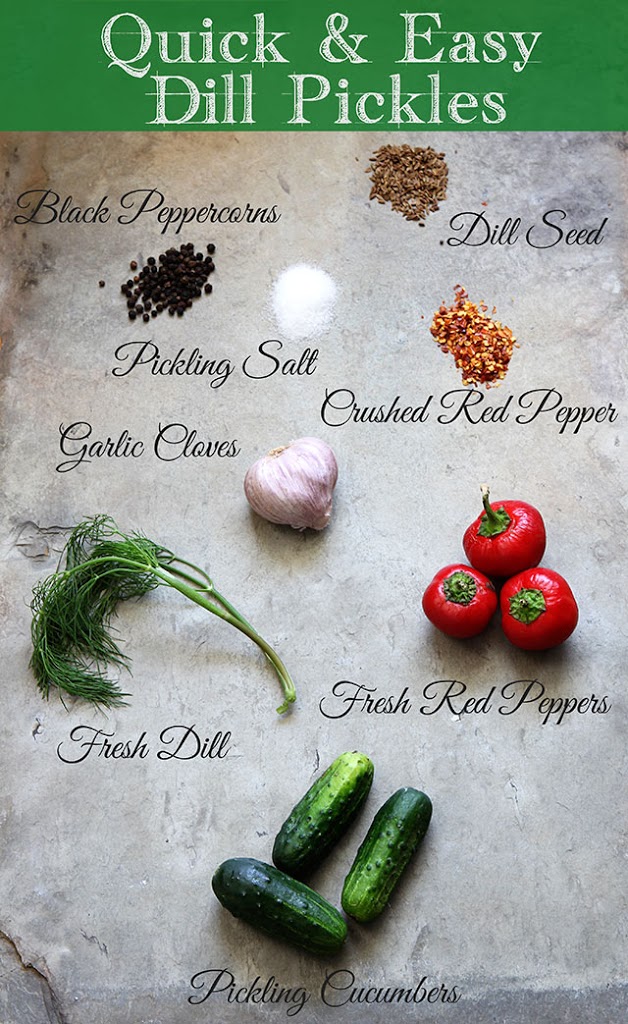
They're the quick and easy version of the traditional canned pickles where you have to boil the bottles of pickles after you pack them. And quick and easy is my middle name.
Makes 3 pints - just keep multiplying if you want to make more than a few jars (calculator not included).
Quick And Easy Dill Refrigerator Pickles
Ingredients
- Approximately two pounds of cucumbers grown for pickling
Brine:
- 1 ½ cups apple cider vinegar
- 1 ½ cups water
- 2 tablespoons pickling salt
In each jar:
- 2 peeled garlic cloves per jar
- ¼ teaspoon crushed red peppers per jar
- 1 teaspoon dill seed per jar
- ½ teaspoon black peppercorns per jar
- ⅓ sliced red pepper per jar optional, but sure looks pretty
- 1 stem of fresh dill per jar optional also, but does add an extra bit of dill taste
Instructions
- Put garlic cloves, crushed red pepper, dill seed, peppercorns, sliced red pepper and 1 stem of dill in each canning jar.
- Wash your cucumbers well, cut off the ends and slice them into the shape you prefer. Chips. Spears. Teddy bear shaped. Whatever.
- Pack your cucumber slices/wedges into the jars. You want to pack them in there fairly tight but don't mash them.
- Combine apple cider vinegar, water and pickling salt in a large pot and bring to a rolling boil.
- Pour the boiling mixture into each jar to within ¼ inch of the top of the jar.
- Put the lids on the jars and tighten down as tight as you can muster.
- Let jars cool down to room temperature and then place them in the fridge. These cannot be left out in the cabinet or on your canned jar shelf (you have one of those don't you?), they have not been "canned" in the traditional sense, so they must be refrigerated.
Notes
Nutrition
I'll repeat the important part - put your dill refrigerator pickles in the refrigerator.
In two days you can start popping them in your mouth.
They will stay fresh in the fridge for up to two months. (This is the commonly accepted length for pickle storage in the refrigerator. Please use your own common sense when devouring your pickles.)
Oh, and my peck made 10 pints and 2 quarts of dill refrigerator pickles with cucumbers left over. I just ran out of canning lids.
Move over Vlasic, Pam's in town.
Do you make your own pickles? Or do your prefer the store bought variety?
BTW, if you are looking for a pickle recipe that uses the traditional canning process, look no further than Jennifer at Town And Country Living's Super Easy Dill Pickles recipe.
Other recipes you might like:
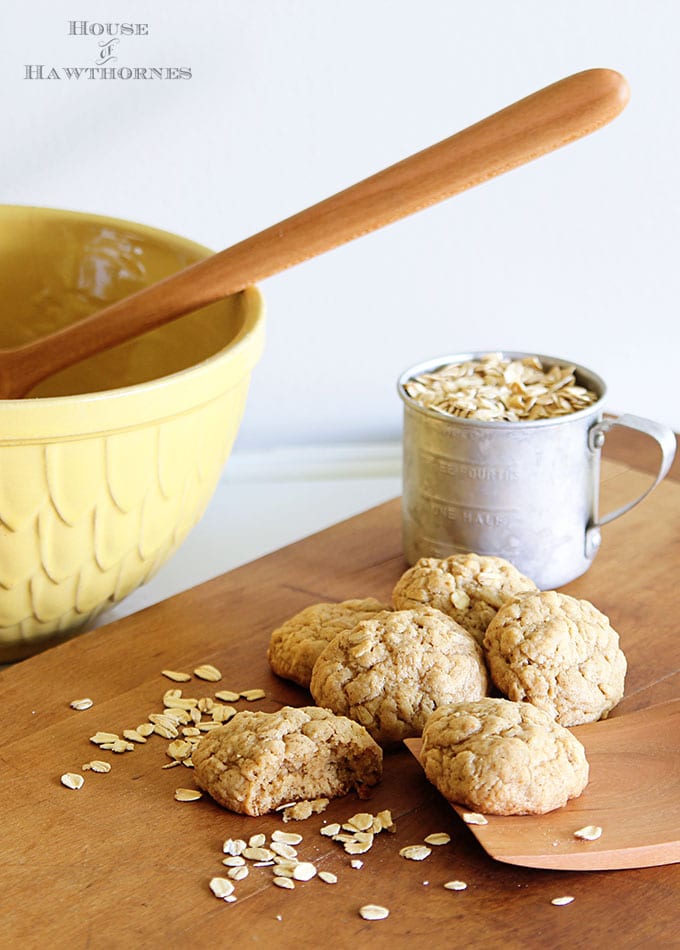
Best Soft And Chewy Oatmeal Cookies


Florence
You've got my mouth watering now for pickles! I can't eat raw cukes, but love pickles.
Brenda Ferguson
Will it work just as well with plain vinegar, or do they have to be made with apple cider vinegar?
Pam
You can use plain vinegar. I've always used the apple cider kind, but I just checked some other recipes online and some use plain vinegar.
Janelle Shank
Wow these look amazing! Going to make a batch and take them up to my daughter at college who is obsessed with pickles.
reFresh reStyle
The look delicious! Maybe I'll crank up my stove 😉
Debbie