I have a real love affair with vintage Thermoses, so when I found this sexy blue one at a yard sale a few weeks ago I knew I wanted to do something fun with it.
Like repurposing it into a Thermos lamp!
And it was really quite easy.
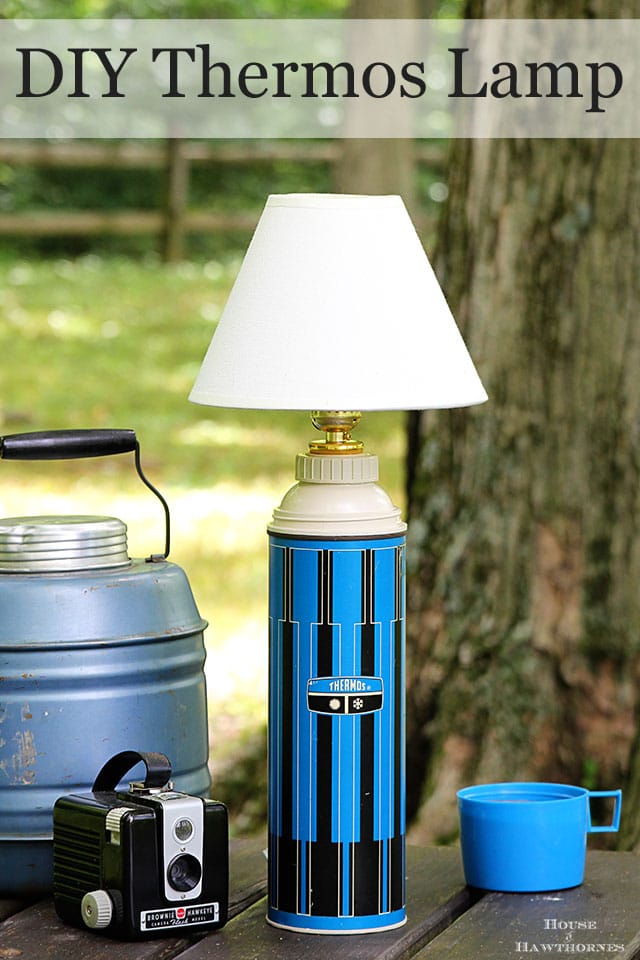
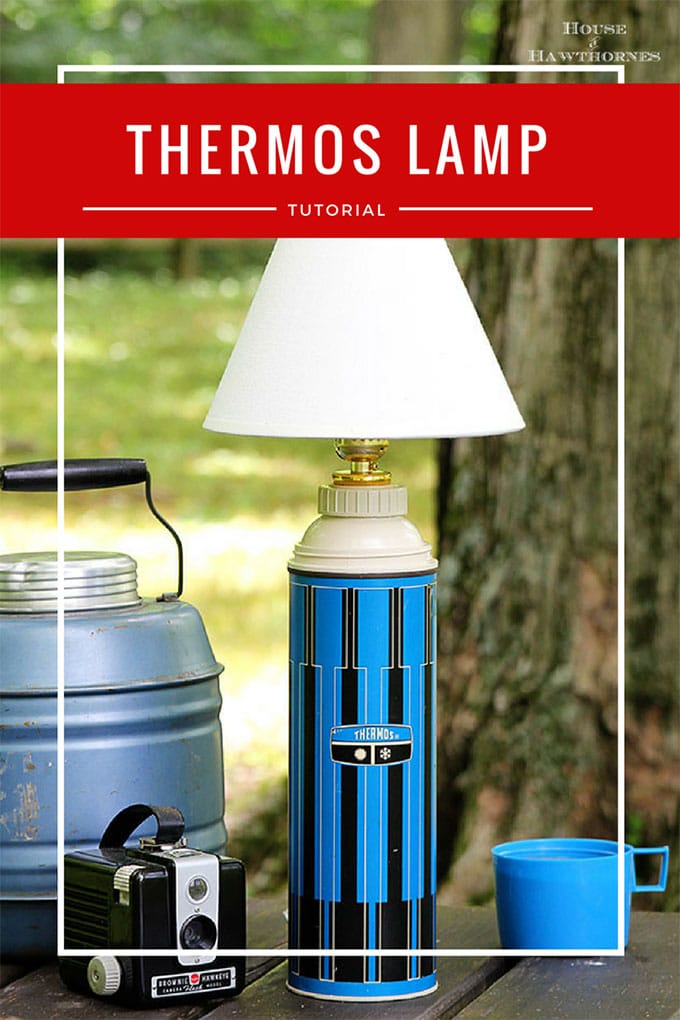
Thermos Lamp Tutorial
Supplies Needed
- Thermos - vintage is good, new is just as good (did I just say that?)
- Make-A-Lamp Kit by Westinghouse
- Drill with a ⅜" drill bit
- ⅜" rubber grommet
- Safety glasses - Be safe. Keep your eyeballs.
I found this Westinghouse Make-A-Lamp Kit At Home Depot.
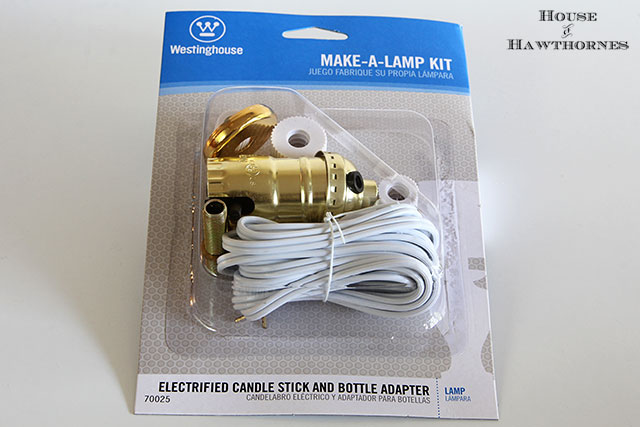
Warning - you will suddenly want to make every last thing in your house into a lamp after seeing how easy it is to do this. Hide the wine bottles. Hide Aunt Edith's heirloom china teapot. Hide the dog for that matter.
In case you're not sure what a grommet is, it is a rubber thingie you insert through a hole to protect your electrical cord from sharp edges.
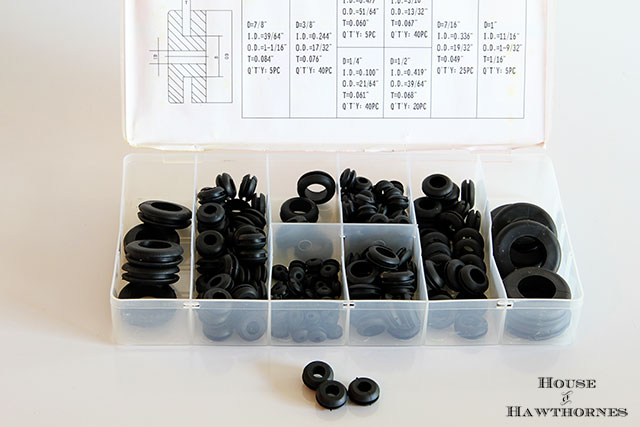
Yes, I have a whole box of them. You never know when you are going to need a rubber grommet (like twice in the last five years).
Safety Tip On Thermoses
Before I get all Bob Vila on you and go through the steps, we have to discuss thermoses. The thermos I had found at the yard sale was broken. When you picked it up, you could hear glass rattling around. That's why I used it for this project.
Some older thermoses are lined with glass on the inside like mine was. Other thermoses are lined with stainless steel or plastic.
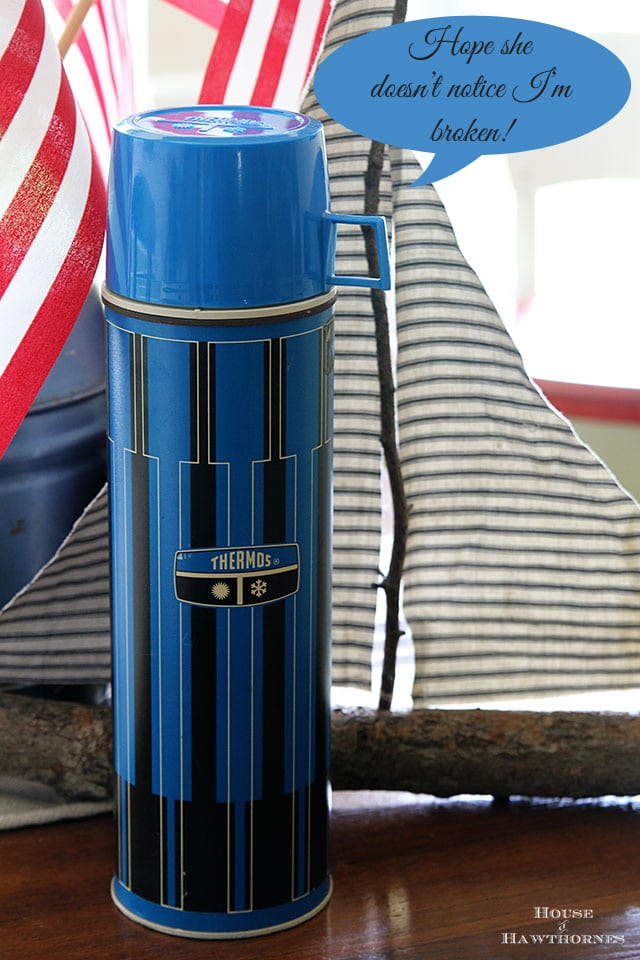
Since mine was lined with glass, I needed to get rid of the glass before drilling into it or I'd have a real mess (and safety hazard) when my drill hit the glass section.
So I just broke the rest of the glass with a screwdriver, put the lid back on, shook it up to break the glass bits into even smaller pieces and then poured out the glass shards. Please be very very careful when breaking the glass and removing the glass from the thermos. Very, very careful.
If you do not have a glass-lined thermos, this step is, of course, not needed. OK, so on to the real tutorial.
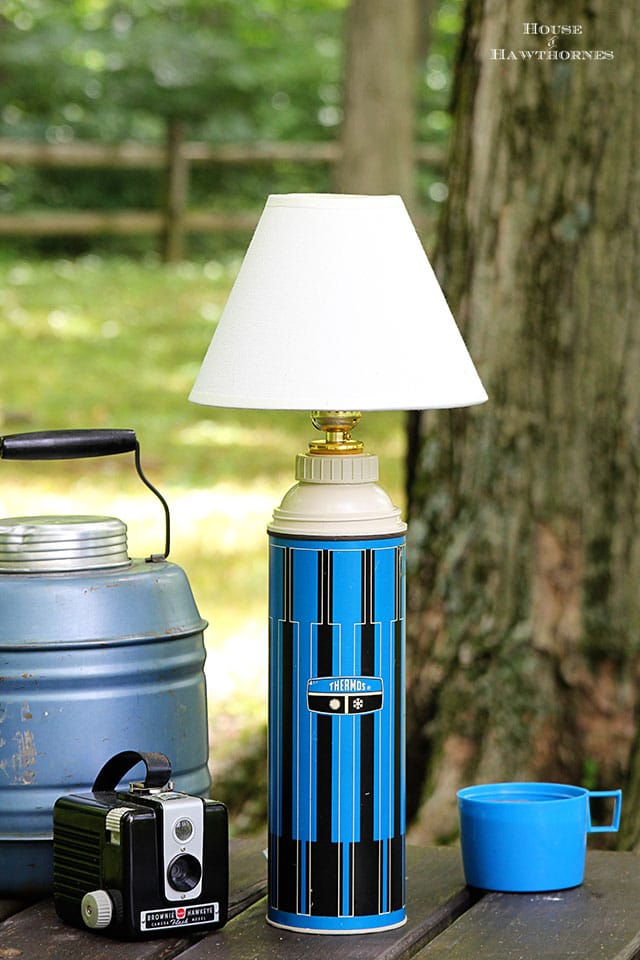
Instructions
Step 1 - drill a hole for the electrical cord
I marked the spot I wanted to drill with masking tape just in case the bit slipped. I didn't want to gouge Mr. Blue's gorgeous body.
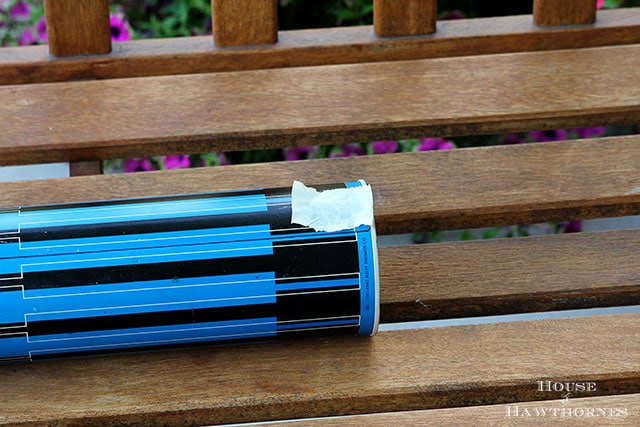
A ⅜" drill bit was used for the hole.
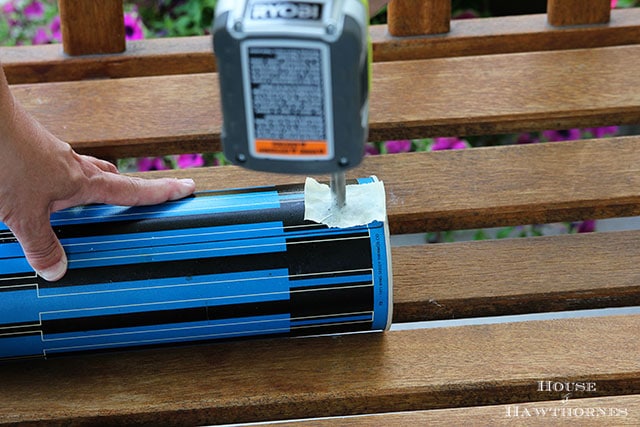
Yes, I have ugly thumbs.
Megan Fox and I both have these abnormally short thumbs. We have soooo much in common!
Step 2 - drill hole into the top screw on cap with the same drill bit
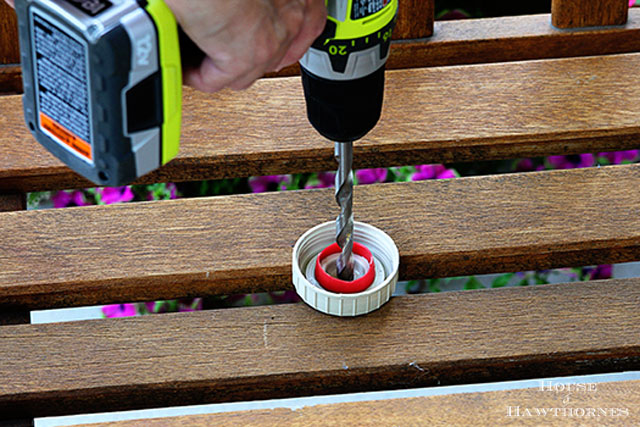
You'll notice I sliced off the rest of the red stopper before I drilled the cap. Not necessary, but I thought it would be easier to drill if it didn't have the red part on it.
But really, it's plastic. Plastic is pretty darn easy to drill anyhow, so feel free to leave the red stopper on.
Step 3 - insert grommet into hole to protect the cord.
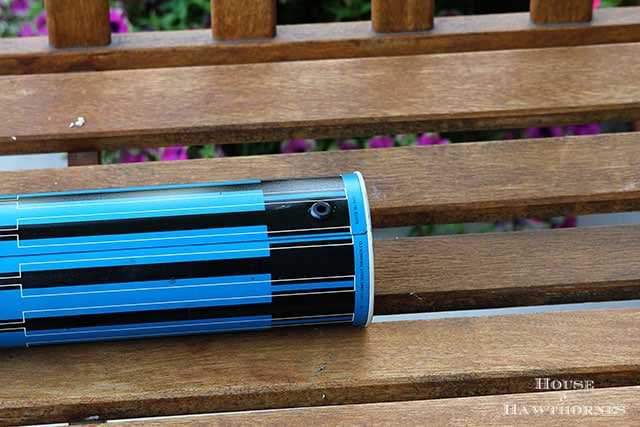
Step 4 - Run the cord up through the hole you made
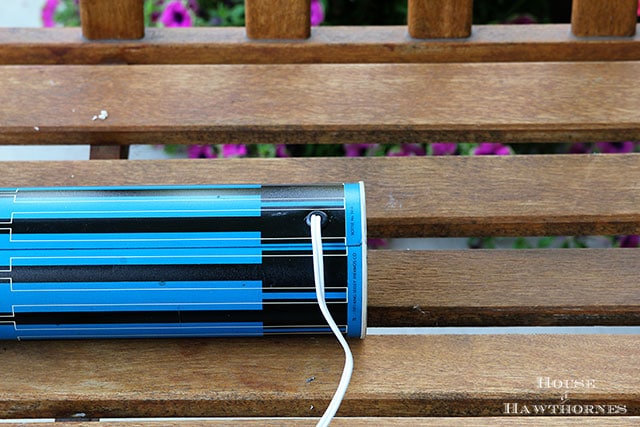
and out the top.
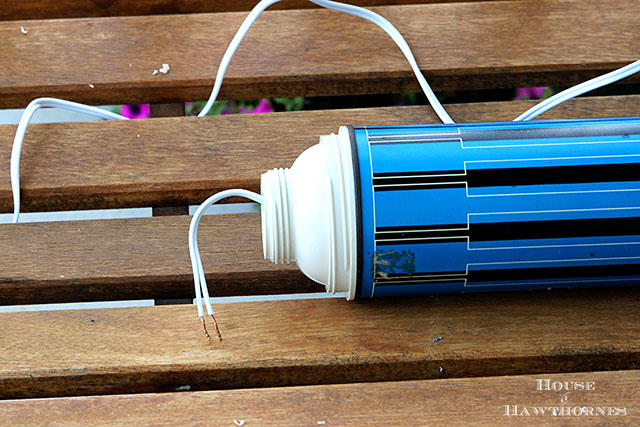
At this point, the cord and the socket are not attached.
Step 5 - Tie a knot for strain relief approximately where the cord is going to be sitting at the bottom of the container.
This is just an added safety thing, so if the lamp cord gets accidentally yanked on one day, by let's say your dog, it won't come undone from the socket.
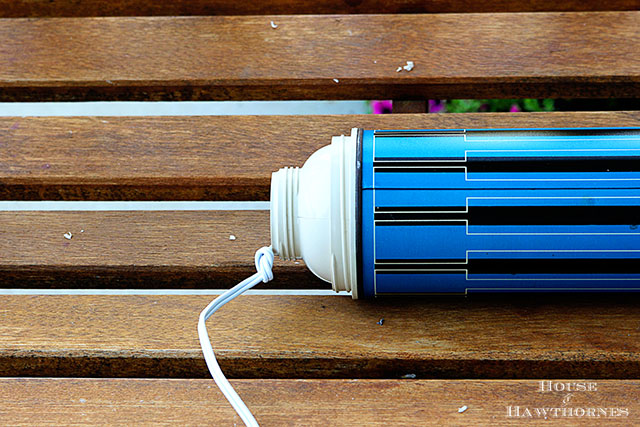
Step 6 - Add some stones to the bottom of the thermos to give it added weight.
It's not super tippy on its own, but still could use a little bit of poundage to it. I grabbed a pack of stones at the dollar store, before realizing my driveway is full of gravel that would have done the same thing.
Step 7 - Grab your Make-A-Lamp kit and read the instructions.
Really. Read them.
They do a much better job of describing how to attach the socket to the bare wires and then onto the top of the screw on thermos cap than I ever could here. It is a very simple process though. I promise.
So after you screw a couple of things on and tighten it to the cap and yada yada yada, you're ready to put a light bulb in it and plug 'er in.
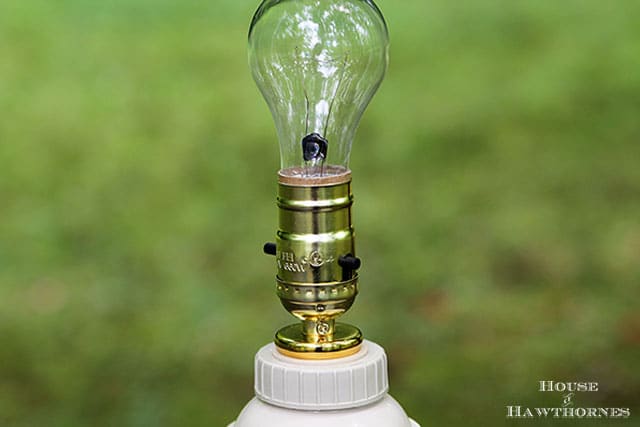
Wait, no. I'm sorry, you can't plug it in.
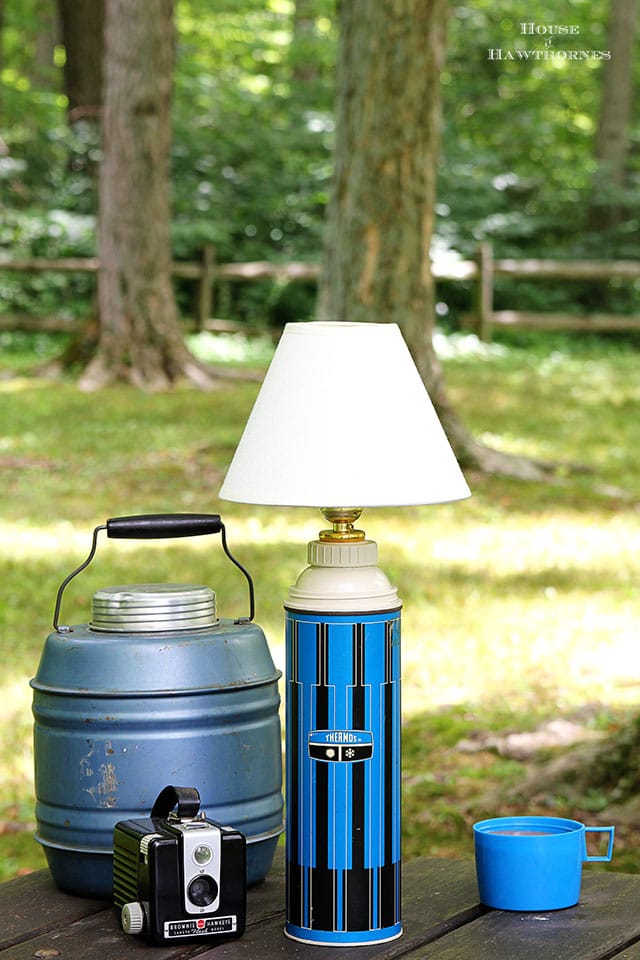
Because I took the lamp out to the PARK to take photos of it 🙂 You'll have to wait until you get back to civilization to light it up.
I did think the picnic idea was a cute one. But after I got there and set it up, I thought "This doesn't make sense - who has a lamp at a picnic?"
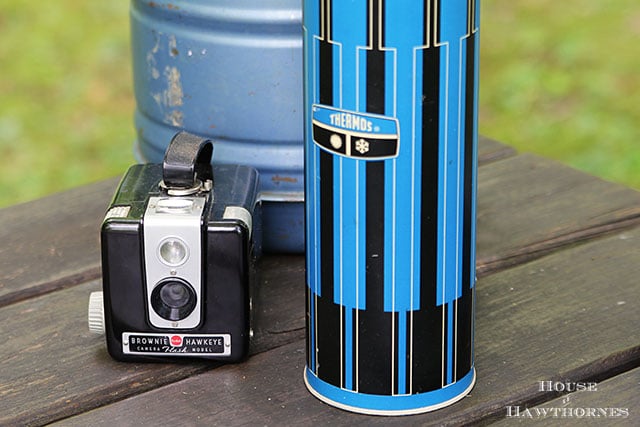
And BTW, the park ranger WILL stop and look at you strangely if you bring a whole setup out to the park to take photos.
I have no idea what he thought I was doing (photographing naked squirrels???), but it was probably a whole lot more exciting than what I was actually doing.


Sonya Palacios
I am now gonna read every post you put out. I love this thermos craft. I bought one that rattles and was unsure what to do with it. I kept coffee beans in it for awhile. I’m unman make me a lamp:)
I adore your writing. Thank you for today’s smile.