• Skip to primary navigation
  • Skip to main content
  • Skip to primary sidebar
House of Hawthornes
  • DIY
  • Gardening
  • Decorating
  • Thrifting
  • Recipes
  • Seasonal
menu icon
go to homepage
  • DIY
  • Gardening
  • Decorating
  • Thrifting
  • Recipes
  • Seasonal
  • 🛒 Our Amazon Shop
    • Facebook
    • Instagram
    • Pinterest
    • Twitter
    • YouTube
  • search icon
    Homepage link
    • DIY
    • Gardening
    • Decorating
    • Thrifting
    • Recipes
    • Seasonal
    • 🛒 Our Amazon Shop
    • Facebook
    • Instagram
    • Pinterest
    • Twitter
    • YouTube
  • ×
    Home » Budget Decor

    How To Update A Vintage Enamel Top Table

    Published by Pam Kessler | 424 words. · About 3 minutes to read this article. -

    If you missed installment number one of Mr. Chippy you can read about me rescuing my mother's vintage enamel topped table. He wasn't being held hostage or anything, he had just been a little mistreated and neglected.

    He now resides happily at my house.

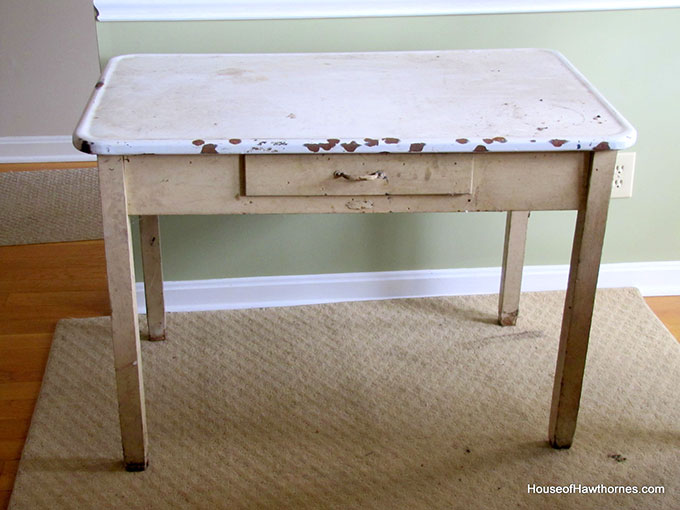
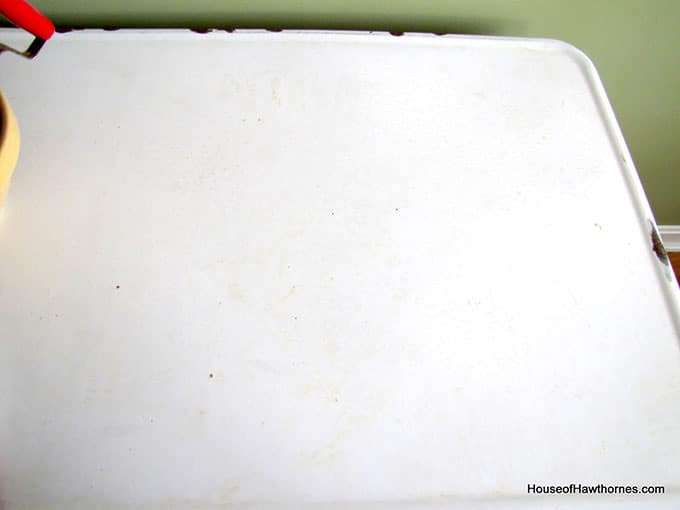
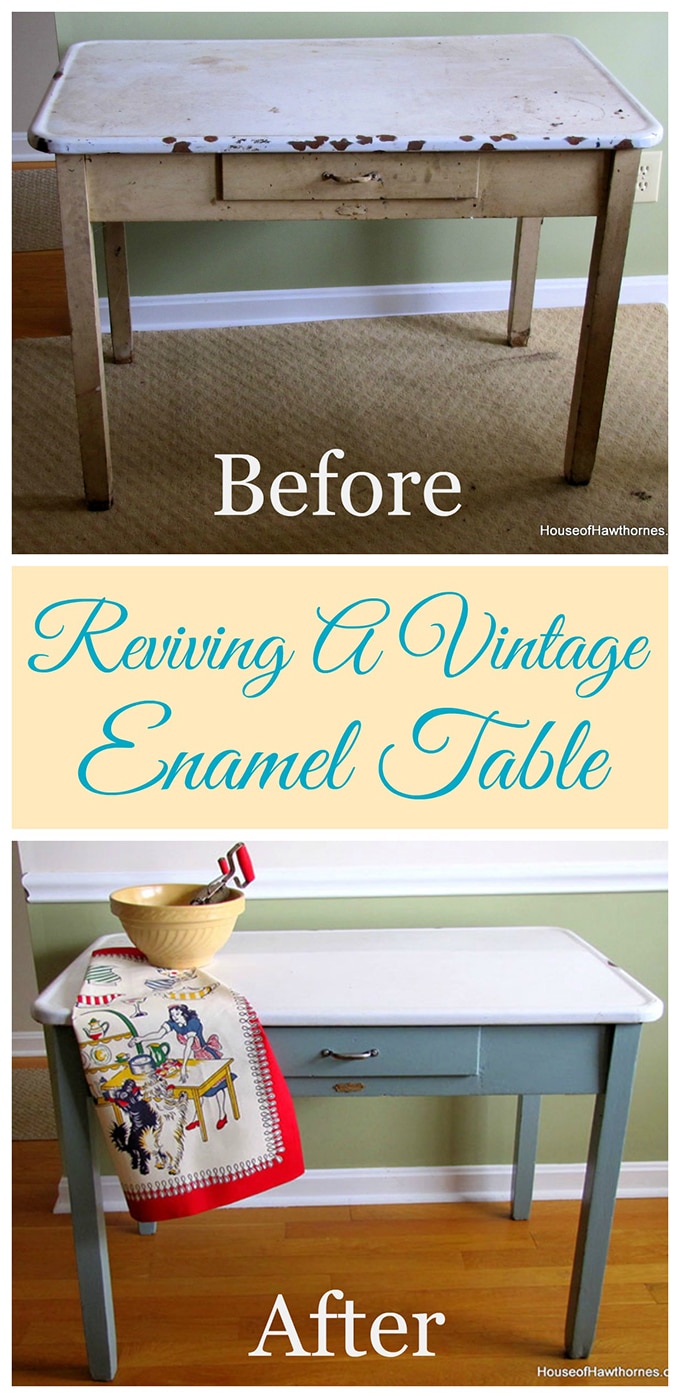
    This is what he started as

    A DIY project with heart. How I rescued and updated my mom's vintage enamel topped table. It looked pretty grungy BEFORE, but the AFTER looks so much better :)

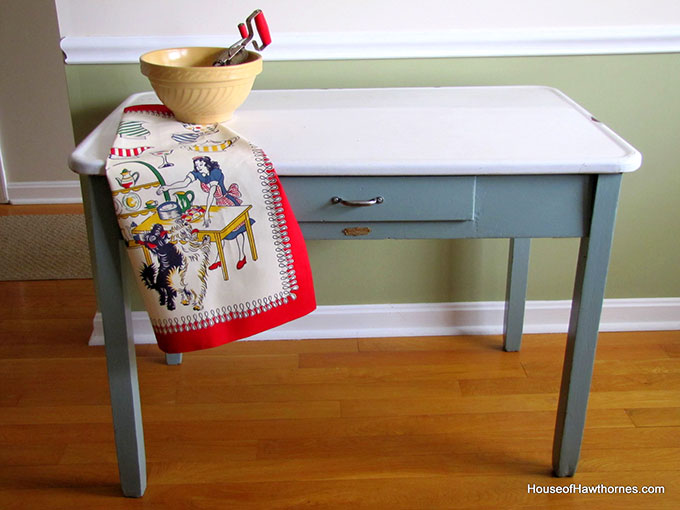
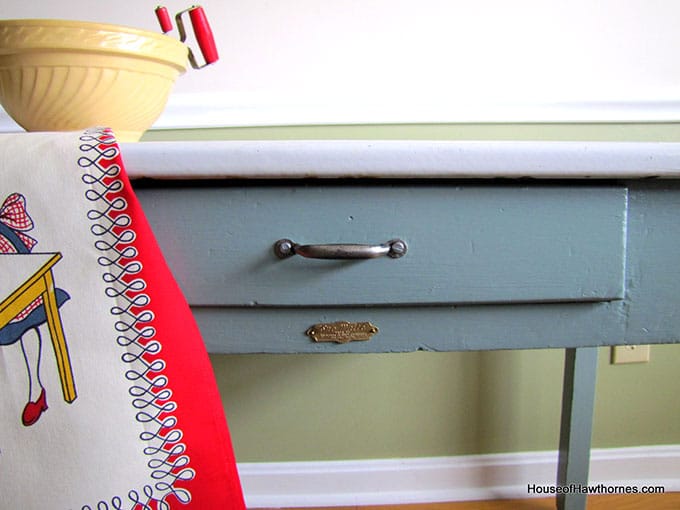
    and what he looks like now.

    A DIY project with heart. How I rescued and updated my mom's vintage enamel topped table. It looked pretty grungy BEFORE, but the AFTER looks so much better :)

    I solved the excessive chippiness and rust problem by unscrewing the enamel top and turning it around 180 degrees.

    A DIY project with heart. How I rescued and updated my mom's vintage enamel topped table. It looked pretty grungy BEFORE, but the AFTER looks so much better :)

    I know that doesn't really solve the problem, but it is a heck of a lot less noticeable now, since I can put the bad spot against a wall.

    A DIY project with heart. How I rescued and updated my mom's vintage enamel topped table. It looked pretty grungy BEFORE, but the AFTER looks so much better :)

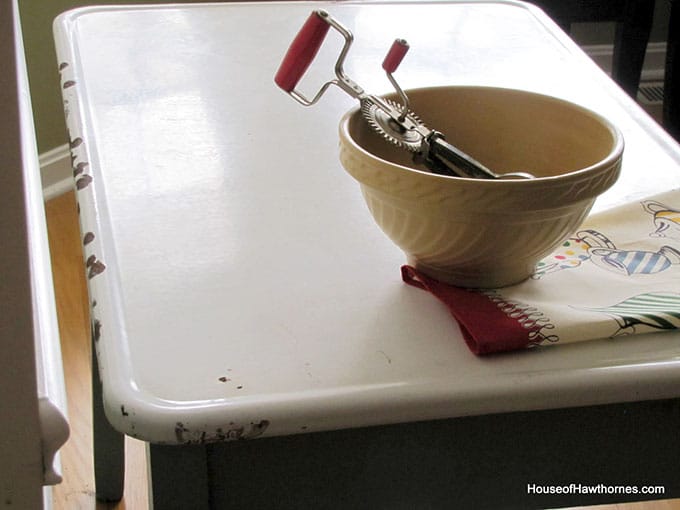
    Using soap and water and spray cleaners really didn't even TOUCH the embedded black stuff on the top, so I brought out my trusty Bar Keepers Friend and it got the majority of the 100 years of dirt off of it.

    A DIY project with heart. How I rescued and updated my mom's vintage enamel topped table. It looked pretty grungy BEFORE, but the AFTER looks so much better :)

    If you've never used it, Bar Keepers Friend is like Comet Cleanser except not gritty and it doesn't scratch. I originally bought it to keep my fancy cookware looking shiny, but I am finding more and more places to use it.

    A DIY project with heart. How I rescued and updated my mom's vintage enamel topped table. It looked pretty grungy BEFORE, but the AFTER looks so much better :)

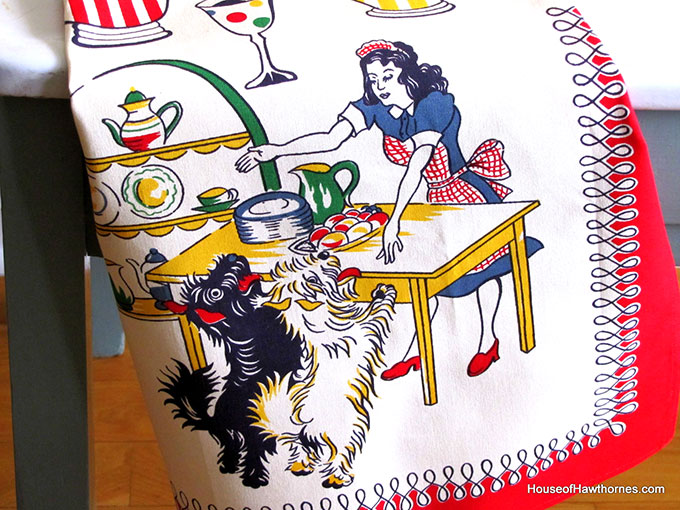
    This is one of my favorite kitchen towels, although I never actually use it for dishes. Don't we all have just-for-look towels?

    It's not just me is it?

    A DIY project with heart. How I rescued and updated my mom's vintage enamel topped table. It looked pretty grungy BEFORE, but the AFTER looks so much better :)

    A DIY project with heart. How I rescued and updated my mom's vintage enamel topped table. It looked pretty grungy BEFORE, but the AFTER looks so much better :)

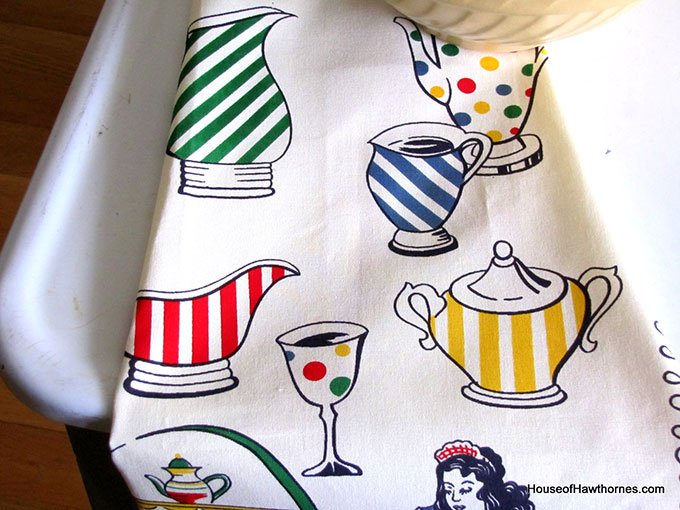
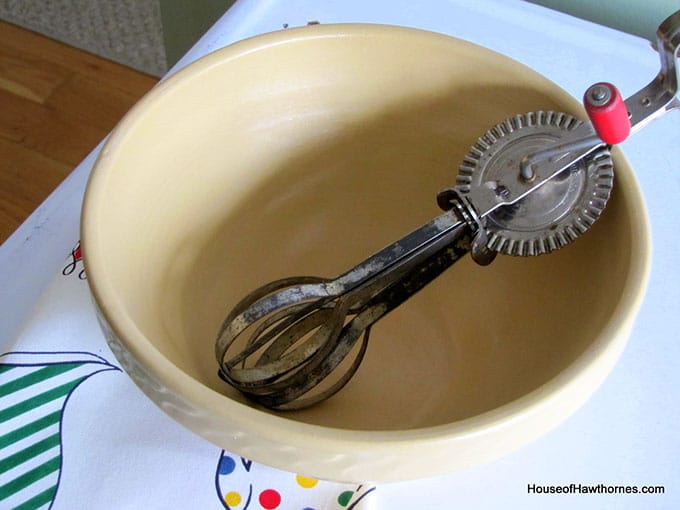
    One of my favorite mixing bowls with my vintage egg beater.

    A DIY project with heart. How I rescued and updated my mom's vintage enamel topped table. It looked pretty grungy BEFORE, but the AFTER looks so much better :)

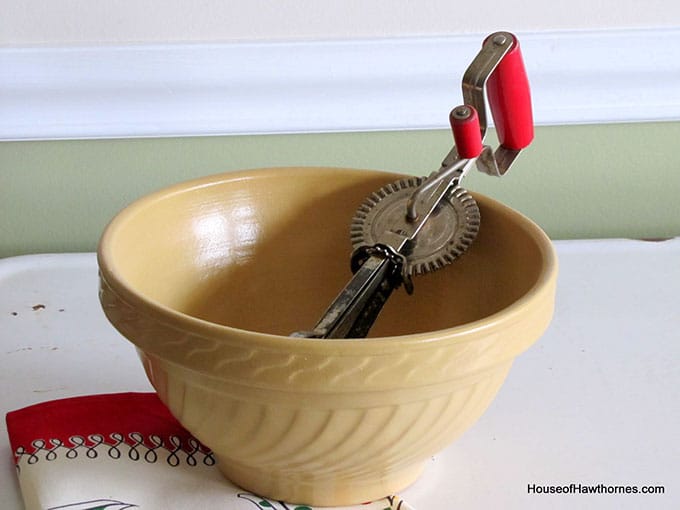
    You didn't think I was actually mixing something up in here, did you? Nope, just for looks.

    A DIY project with heart. How I rescued and updated my mom's vintage enamel topped table. It looked pretty grungy BEFORE, but the AFTER looks so much better :)

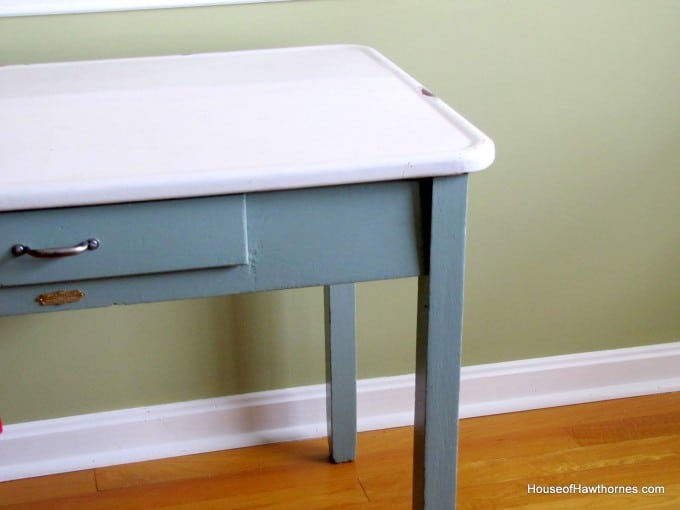
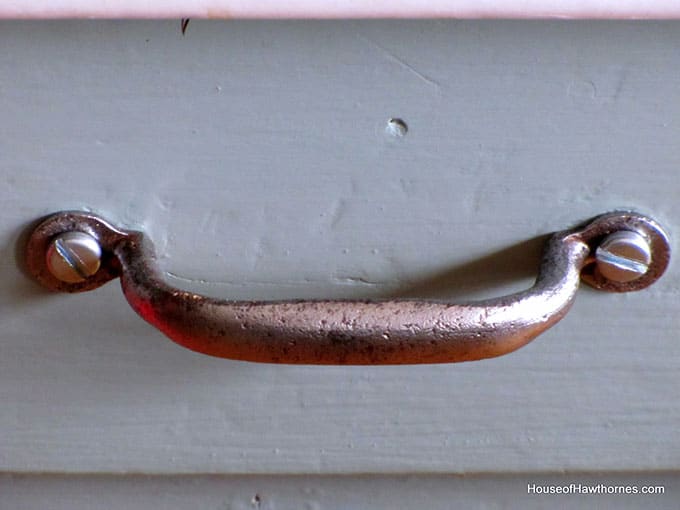
    I cleaned the paint off the original handle with a wire brush on my husband's bench grinder. It's that machine with all the stiff twirling metal wires that looks like it could take your fingers off if you slipped.

    A DIY project with heart. How I rescued and updated my mom's vintage enamel topped table. It looked pretty grungy BEFORE, but the AFTER looks so much better :)

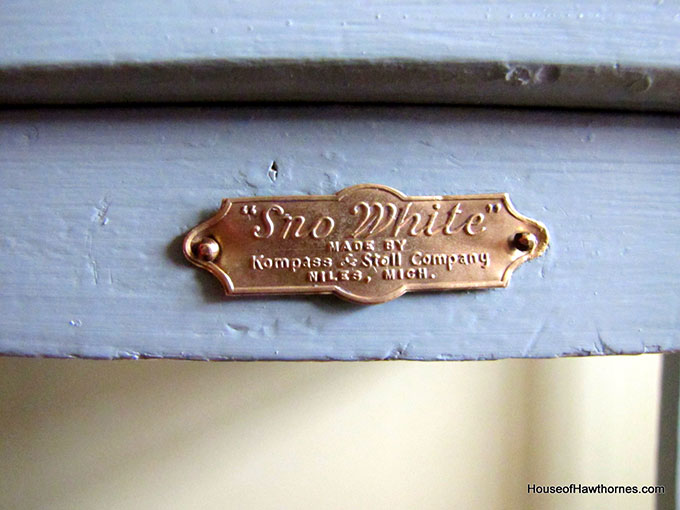
    And the paint sort of fell off the label while I was taking it off the table. Sort of like. magic. Then I just polished it up with the Bar Keepers Friend.

    A DIY project with heart. How I rescued and updated my mom's vintage enamel topped table. It looked pretty grungy BEFORE, but the AFTER looks so much better :)

    The color used was Benjamin Moore's Azores, but mixed at Home Depot in their semi-gloss Behr paint. I have nothing against Benjamin Moore paint, I just happened to be at Home Depot that day.

    Some of my photos make it look a little like 1980's country blue, but it is actually a turquoise/blue/green/gray color.

    One more look at Mr. Chippy's before and after.

    A DIY project with heart. How I rescued and updated my mom's vintage enamel topped table. It looked pretty grungy BEFORE, but the AFTER looks so much better :)


    Hopefully, he'll last another few decades.

    Edited March 2024 - I've recently rescued another porcelain enamel kitchen table and combined it with an iconic vintage piece - you can see that transformation HERE. Sometimes when both pieces are heavily damaged it's OK to put them together and make something new!

    « Vintage Enamel Top Table
    Fruit Basket Doorstop »
    10.0K shares
    • Facebook
    • X

    Reader Interactions

    Comments

    1. Leah

      February 26, 2011 at 5:17 pm

      Beautiful! I have one similar to this sitting in my garage waiting for some TLC. However, mine has been painted white on top, but quite chipped paint. From what I can tell so far the porcelain top is not chipped. Hope I find that so after complete paint removal.

    2. Donnie

      February 26, 2011 at 3:34 pm

      What a lovely, nostalgic addition to your kitchen. Great job.

    3. La Vie Quotidienne

      February 26, 2011 at 3:30 pm

      This looks super and what I like is that you retained just enought of the old patina to keep it interesting. You were very cleaver to think of turning it around.(-: Such a nice piece.

    4. Donna@Conghaile Cottage

      February 26, 2011 at 2:46 pm

      LOVE your table! I like the signs of age spots. and it's a PERFECT color! Magic Erasers work good too... I LOVE this size table and they are ALWAYS following me home! I can never seem to have enough little tables...Hmmmm, maybe it's a place for all the dishes that follow me home!
      Thank you for sharing!
      Have a wonderful weekend,
      Hugs,
      Donna

    5. Olive Cooper

      February 26, 2011 at 2:13 pm

      Oh Pam , you kept the integrity of the table and I love it and the label looks so good. ♥O

    6. Michelle @Shellsshabbyshack

      February 26, 2011 at 12:52 pm

      LOVE it! Great idea to turn the top. I'll have to remember Bar Keepers Friend. Great color too! Awesome makeover! xx

    7. Dan

      February 26, 2011 at 12:32 pm

      Wow! It looks wonderful! What a difference! You did a fantastic job!

      ~Dan~

    8. AntiqueChase

      February 26, 2011 at 12:29 pm

      Wow, it looks new!! WOnderful job!

    9. Marigene

      February 26, 2011 at 11:57 am

      Wow, what a difference...I swear Bar Keepers Friend can clean anything. Your table really looks great now.

    10. Heather

      February 26, 2011 at 11:55 am

      Oh, Pam, you are so smart and talented! That was such a great idea to rotate the top! I also love the color you chose.

    11. abby jenkins

      February 26, 2011 at 11:29 am

      Brilliant! At first I was like...whoa..did she re-enamel that baby?! How clever to just turn the top around! I am loving all of it, especially that towel with the begging pups... and of course you are not alone with the for-show-only towels, I couldn't bare to wash the color out of some of those vintage treasures... and they look great when I am propping a vintage set or cookbook!

    12. Gail @ Faithfulness Farm

      February 26, 2011 at 11:23 am

      Pam...your makeover is FABULOUS...I so am coveting your gorgeous table 🙂

      Blessings!
      Gail

    13. Tricia - A Rosy Note

      February 26, 2011 at 11:12 am

      Wow, what a great makeover...your table looks wonderful Pam! Good idea turning the top around. Cute towel too 🙂

      I just love Bar Keepers Friend, that stuff is amazing. I used it at my cabin to get the rusty water stains out of the tub...worked like a charm.

    14. Sherry@Back2Vintage

      February 26, 2011 at 11:05 am

      Wow, Pam! I am so impressed with the table!!! The difference from before to after is amazing!!! Love the kitchen towel, too...It's not just you, I have "just for company" towels, too!!!

    15. Tete

      February 26, 2011 at 11:02 am

      Pam- what a wonderful transformation! You did a great job on saving this old girl. Love turning the top around. Love your yellow bowl...my favorite color!
      Hugs- Tete

    16. Ann@A Sentimental Life

      February 26, 2011 at 11:00 am

      How wonderful! You did a great job and now you are enjoying everyday! I love towels too...

    Newer Comments »

    Primary Sidebar

    Hi, I'm Pam. Let me show you how to create a budget-friendly home you'll love using repurposed thrift store finds, easy DIY & craft projects, and seasonal flower gardening tips.

    More about me →

    Spring Crafts & Decor

    • Spring tulips
      How To Care For Tulips In A Vase: No More Drooping
    • Upcycled Spring Home Decor Projects
    • Vintage inspired Easter eggs using temporary tattoo paper and vintage Easter postcard images.
      DIY Easter Egg Temporary Tattoos: Vintage Style
    • Rustic modern farmhouse Easter porch decorations most of which are repurposed.
      Easter Porch Decor : A Repurposed Modern Farmhouse Look
    • Easy 5 Minute Spring Porch Pot Refresh
    • Vintage Easter Images | Adorable Free Printables

    Reader Favorites

    • How to make window art with glass plates from the thrift store for a mosaic look.
      Window Art With Glass Plates
    • Easy Homemade Candles In Granny's Candy Dish
    • Clean Silver With Baking Soda And Aluminum Foil
    • squirrel repellent
      Homemade Squirrel Repellent Recipe

    Footer

    ↑ back to top

    About

    • About Us
    • Contact
    • Privacy Policy
    • Web Stories
    • Blog

    Shop

    • Amazon Favorites
    • Shop The Look

    Newsletter

    • Sign Up For Emails & Updates

    Categories

    • DIY
    • Gardening
    • Budget Decor
    • Thrifting
    • Recipes
    • Seasonal

    Please use appropriate safety precautions when attempting projects. All projects are attempted at the reader's own risk.

    As an Amazon Associate, I earn from qualifying purchases.

    Copyright © 2025 House Of Hawthornes, LLC