• Skip to primary navigation
  • Skip to main content
  • Skip to primary sidebar
House of Hawthornes
  • DIY
  • Gardening
  • Decorating
  • Thrifting
  • Recipes
  • Seasonal
menu icon
go to homepage
  • DIY
  • Gardening
  • Decorating
  • Thrifting
  • Recipes
  • Seasonal
  • 🛒 Our Amazon Shop
    • Facebook
    • Instagram
    • Pinterest
    • Twitter
    • YouTube
  • search icon
    Homepage link
    • DIY
    • Gardening
    • Decorating
    • Thrifting
    • Recipes
    • Seasonal
    • 🛒 Our Amazon Shop
    • Facebook
    • Instagram
    • Pinterest
    • Twitter
    • YouTube
  • ×
    Home » DIY & Crafts

    My Krafty Felted Lampshade

    Published by Pam Kessler | 454 words. · About 3 minutes to read this article. -

    When I bought this hobnail lamp it had a pretty basic lampshade on it. I thought I needed something a little more fancy.

    Well, I worked on it this weekend and this is what I came up with.

    Lampshade cover made with felt flowers and Kraft paper.

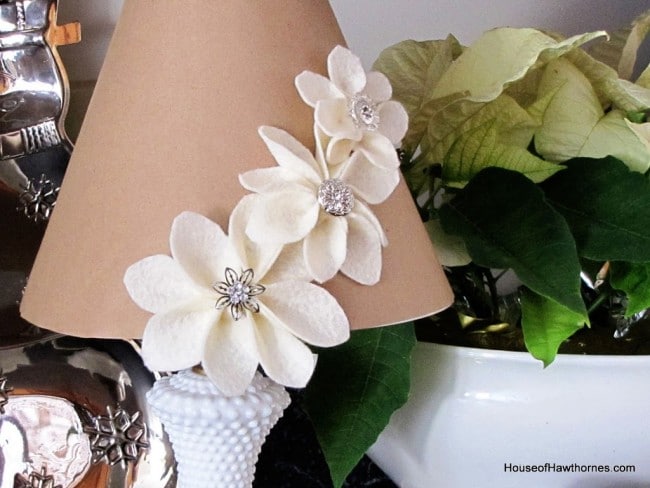
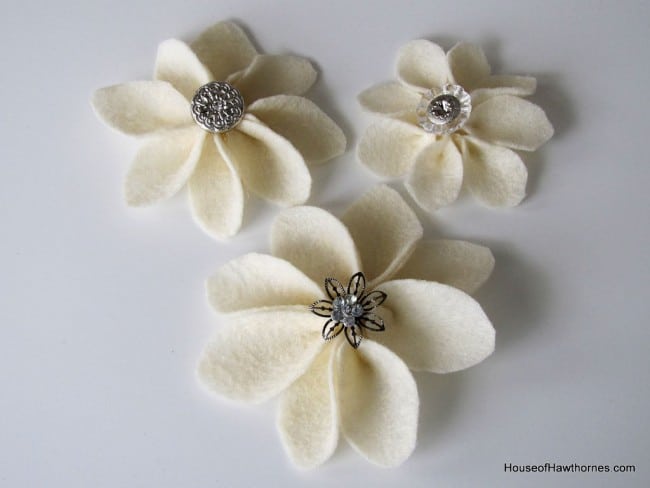
    Blinged up felt flowers on a kraft paper slipcover.

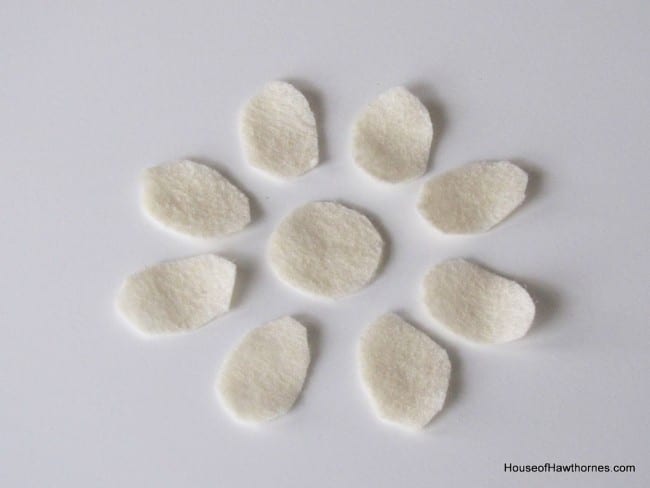
    For the felt flowers, I used an iced tea spoon to make a template.

    Using a teaspoon to make pattern for felt flowers.

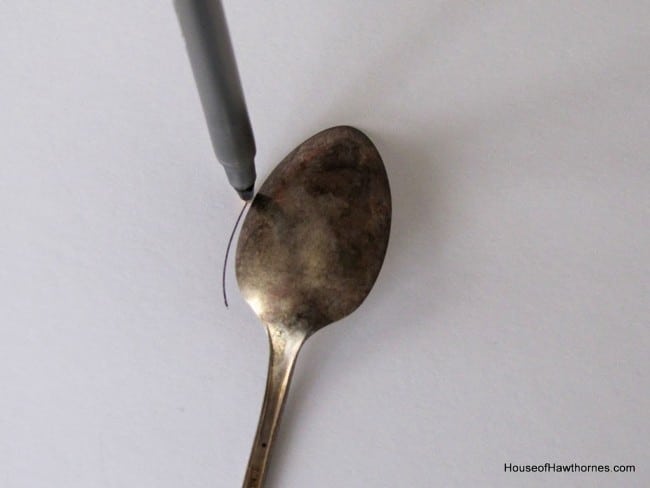
    And then made two more templates, slighter smaller than the preceding one,

    Three different sizes of felt flowers.

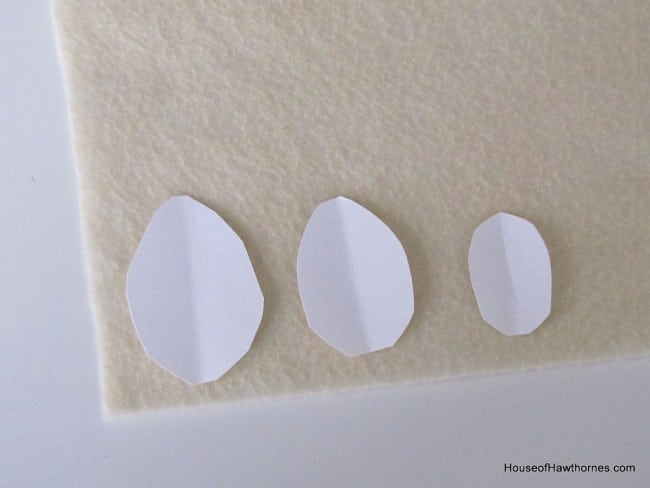
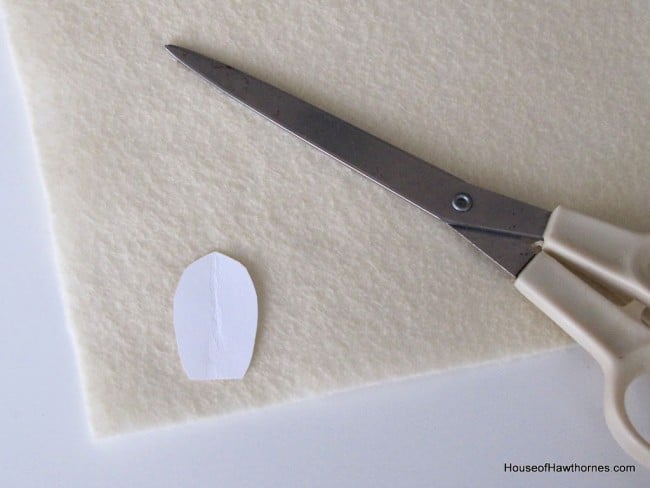
    and cut them out of the felt.

    It took less than one sheet of felt to make three flowers. Of course, I didn't know that when I was buying felt, so now I have 7 sheets of felt that will float around my craft drawer for the next year.

    Cutting out felt flowers.

    I cut a small circle for each flower also.

    Felt flower pieces.

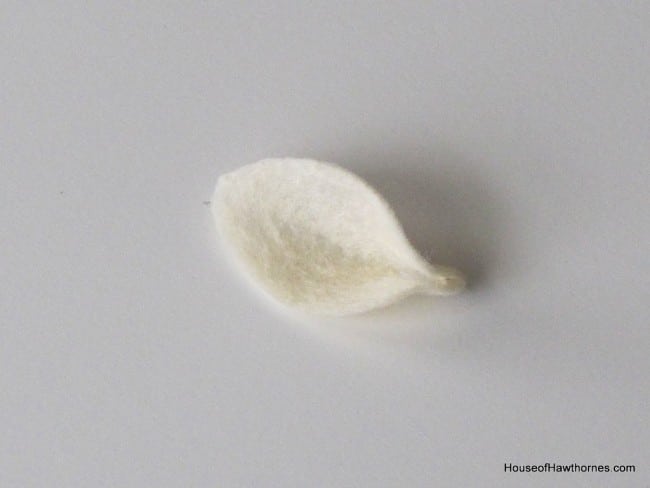
    A spot of glue was shot from the dreaded (and pretty ugly to photograph) hot glue gun onto the bottom of the petal

    Using hot glue gun to make felt flowers.

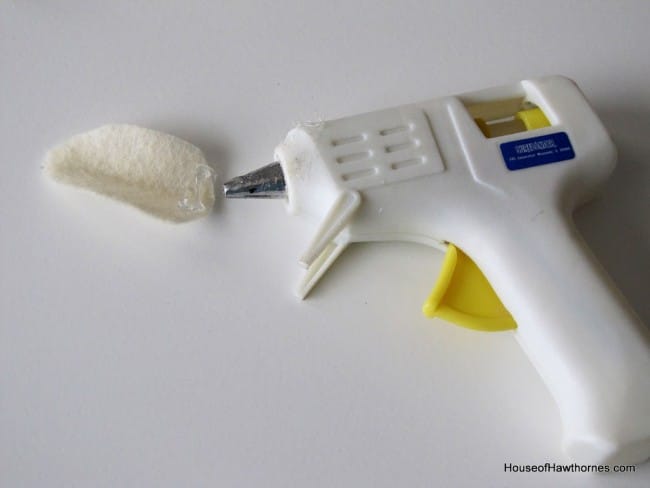
    and then the end was squished together. If there is a secret to doing this without burning your fingers, please share with the rest of the class.

    Making felt flowers.

    I used eight petals for each flower

    Felt flower petals.

    and glued them to the felt circle.

    Combining petals to make a homemade craft flower.

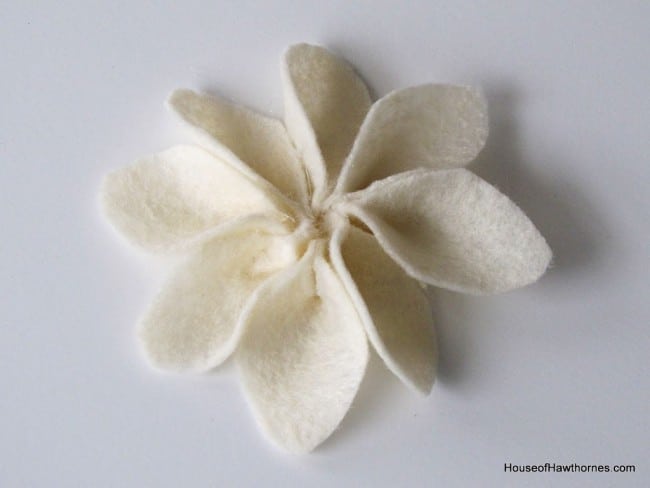
    A little bling was added to the middle.

    Adding a button to make the center of the flowers.

    I used Jim Holtz's buttons that I picked up at JoAnn Fabrics for my centers. They were on sale last week, otherwise I would have used my 40% off coupon for them. I ended up using my coupon on glue sticks (the highest priced item that was not on sale), saving a whopping $1.29. Not exactly an Extreme Couponing use of the 40% off.

    Jim Holtz buttons used as centers for craft flowers.

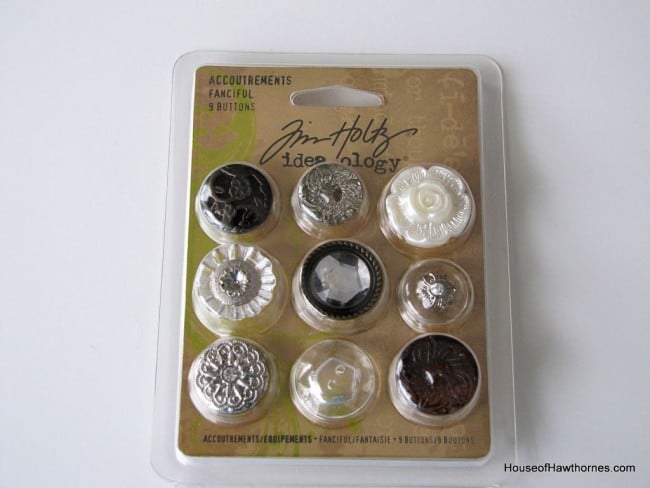
    You could use just about anything for the bling. In fact the bling on the largest flower is actually left over from my snowman bottle project from before Christmas.

    Final picture of felt flowers.

    Originally I was just going to glue the flowers to the white lampshade, but decided to make a slipcover for it out of kraft paper instead. I bought a roll of kraft paper at Dollar Tree for $1.00 (I bet you thought I'd say $2.00).

    Close up of flowers.

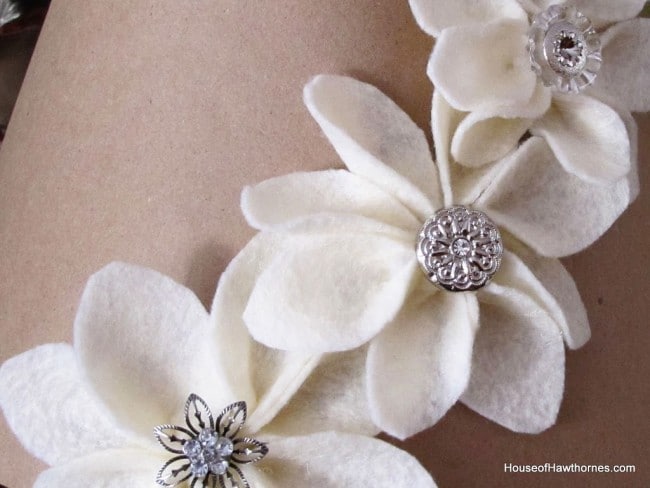
    I just traced the outline of the shade, cut it out and then taped it together in the back. Tricia at A Rosy Note had mentioned that she made a slipcover for her daughter's lamp and I thought that was a great idea.

    If I get tired of the flowers, I just take this slipcover off and try something else.

    Making a slipcover for a lampshade out of Kraft paper.

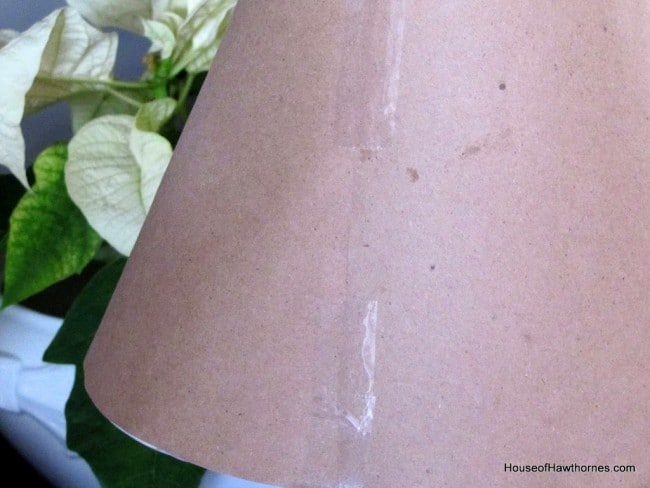
    I swear this poinsettia is plastic. It just keeps going and going and I haven't done anything to it in weeks. Aren't you a little thirsty?

    Lampshade cover using Kraft paper and felt flowers.

    So there's my solution. Hindsight being 20/20, I may have made the flowers a little smaller, but I am looking at it as an artistic statement.

    Homemade lampshade cover.


    « Top Ten Lists
    Croquet Box Anyone? »
    1.6K shares
    • Facebook
    • X

    Reader Interactions

    Comments

    1. Special 'K'

      January 24, 2012 at 4:31 pm

      It is so adorable I love the flowers. Thank you so much for sharing. What a beautiful space you have created my very first visit here I will follow on my way out so I know my path back here. Perhaps you will find the time to come visit me soon and do the same. I look forward to engaging more throughout the year and beyond. Take care. Cheers SpecialK XoXo

    2. Ann

      January 23, 2012 at 11:01 pm

      Pam, I absolutely love your flower embellishment! And, since I collect milk glass, I'm also partial to the lamp itself. Wonderful upgrade and I appreciate your how-to. I might try it sometime.

    3. Our DIY Diaries

      January 23, 2012 at 2:16 pm

      Wow! This is so pretty! I would love for you to share this at our party.

    « Older Comments

    Primary Sidebar

    Hi, I'm Pam. Let me show you how to create a budget-friendly home you'll love using repurposed thrift store finds, easy DIY & craft projects, and seasonal flower gardening tips.

    More about me →

    Winter Porch Pots

    • How To Make Winter Porch Pots
    • How To Make Outdoor Christmas Planters
    • Winter porch pot for the holidays using pine cones, grapevine wreath and an inexpensive fresh greenery christmas wreath.
      Incredibly Easy Winter Porch Pot Hack
    • 20 Beautiful Winter Planter Ideas

    Winter Crafts

    • DIY Simmering Potpourri Gift And Printable Tag
    • Orange clove pomander tutorial.
      How To Make Orange Clove Pomander Balls
    • Homemade Winter Wreath with Fresh Evergreens
    • Forcing Paperwhites For Christmas

    Reader Favorites

    • How to make window art with glass plates from the thrift store for a mosaic look.
      Window Art With Glass Plates
    • Easy Homemade Candles In Granny's Candy Dish
    • Clean Silver With Baking Soda And Aluminum Foil
    • squirrel repellent
      Homemade Squirrel Repellent Recipe

    Footer

    ↑ back to top

    About

    • About Us
    • Contact
    • Privacy Policy
    • Web Stories
    • Blog

    Shop

    • Amazon Favorites
    • Shop The Look

    Newsletter

    • Sign Up For Emails & Updates

    Categories

    • DIY
    • Gardening
    • Budget Decor
    • Thrifting
    • Recipes
    • Seasonal

    Please use appropriate safety precautions when attempting projects. All projects are attempted at the reader's own risk.

    As an Amazon Associate, I earn from qualifying purchases.

    Copyright © 2025 House Of Hawthornes, LLC