

When I bought this hobnail lamp it had a pretty basic lampshade on it. I thought I needed something a little more fancy.
Well, I worked on it this weekend and this is what I came up with.
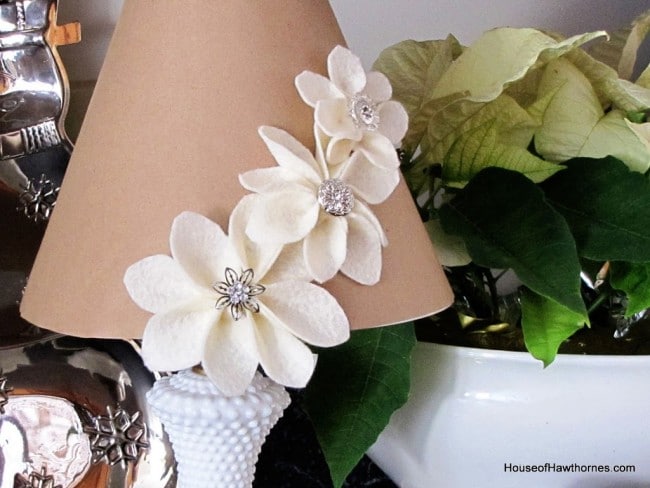
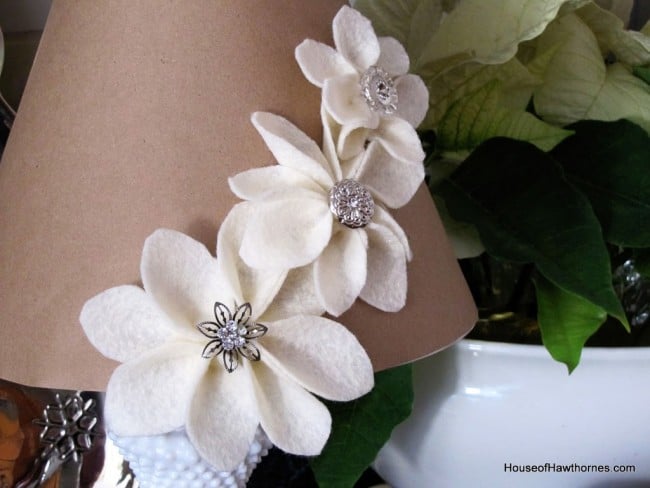
Blinged up felt flowers on a kraft paper slipcover.
For the felt flowers, I used an iced tea spoon to make a template.
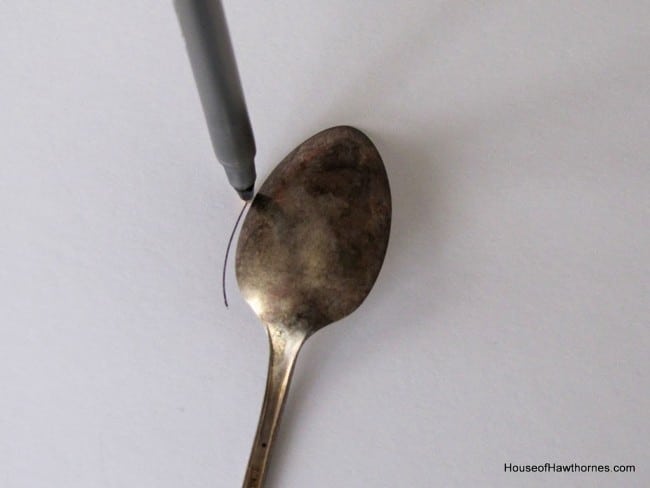
And then made two more templates, slighter smaller than the preceding one,
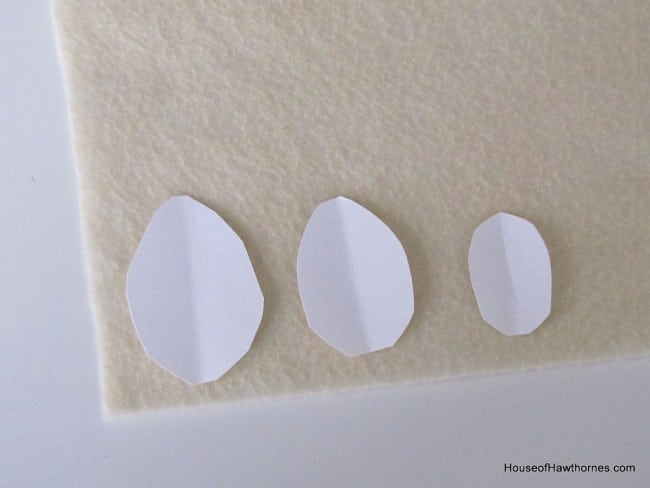
and cut them out of the felt.
It took less than one sheet of felt to make three flowers. Of course, I didn't know that when I was buying felt, so now I have 7 sheets of felt that will float around my craft drawer for the next year.
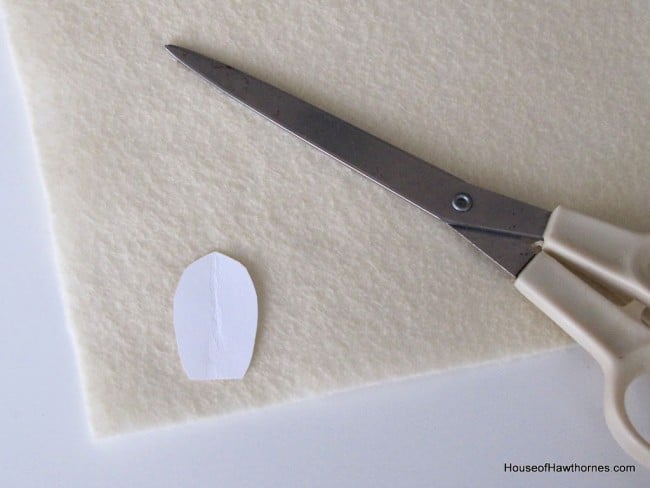
I cut a small circle for each flower also.
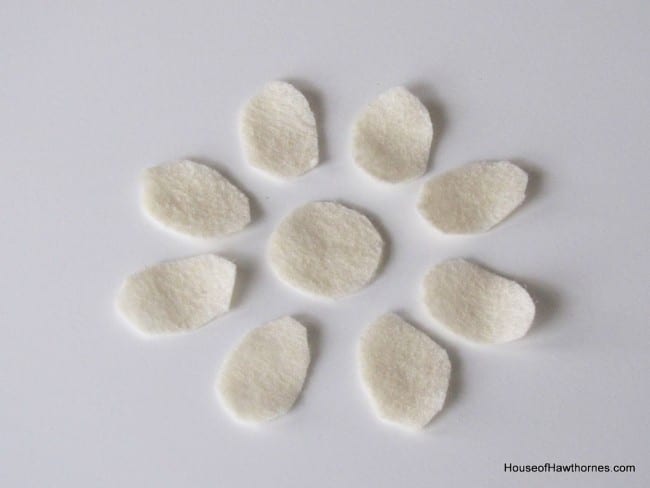
A spot of glue was shot from the dreaded (and pretty ugly to photograph) hot glue gun onto the bottom of the petal
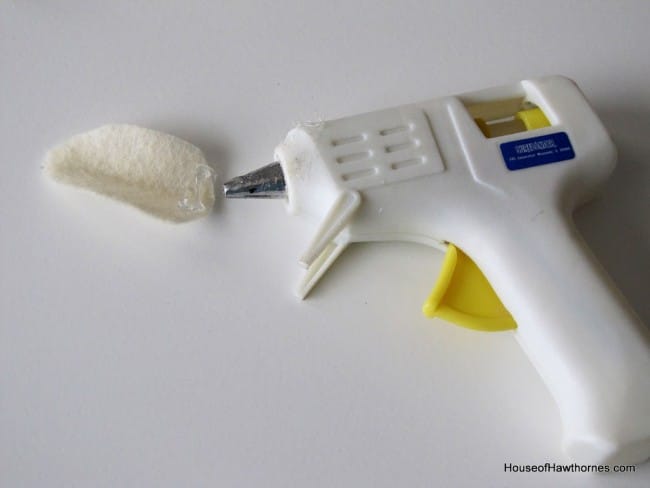
and then the end was squished together. If there is a secret to doing this without burning your fingers, please share with the rest of the class.
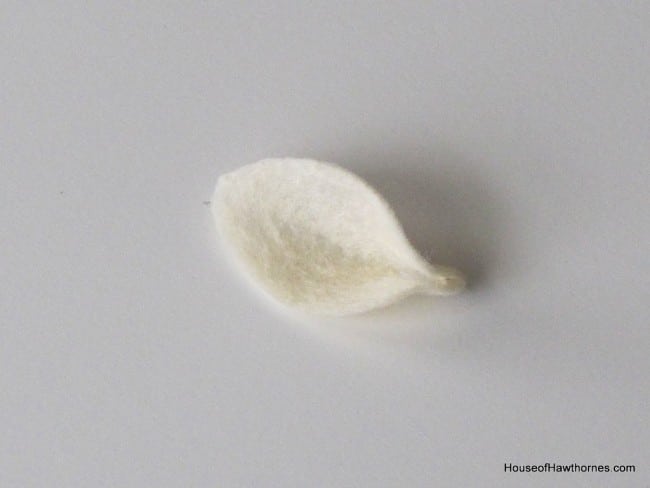
I used eight petals for each flower
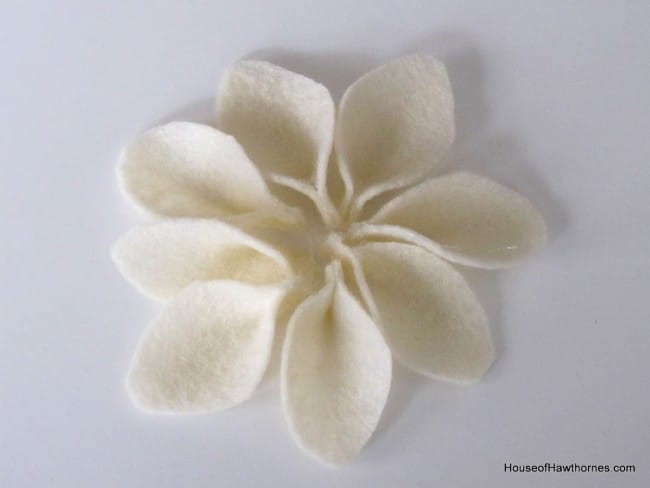
and glued them to the felt circle.
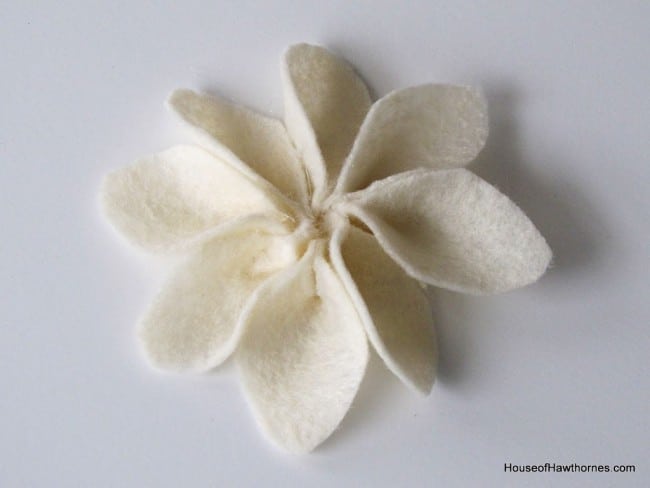
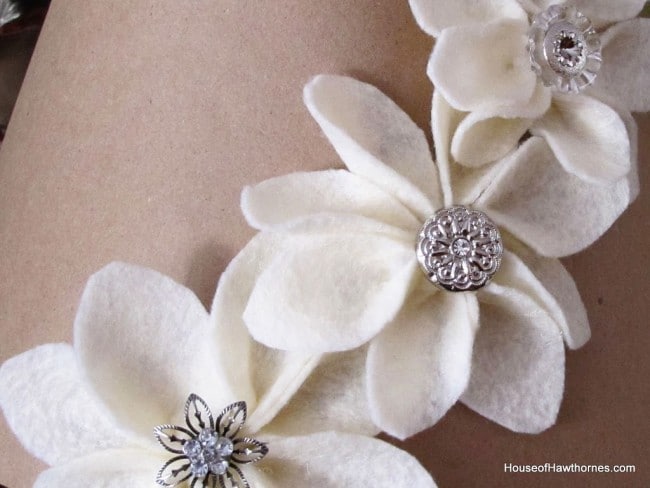
A little bling was added to the middle.
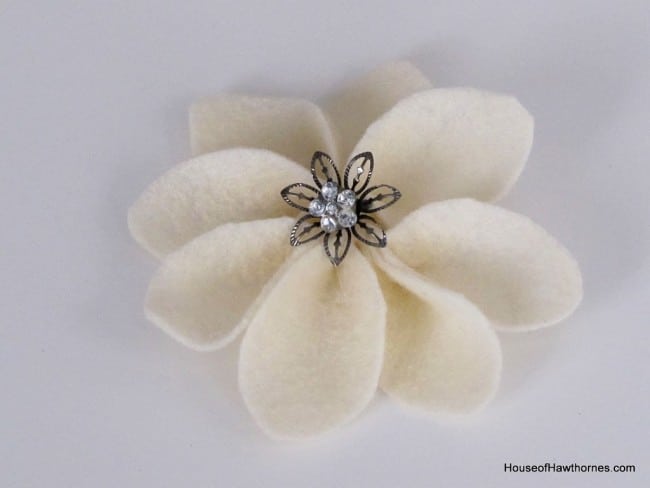
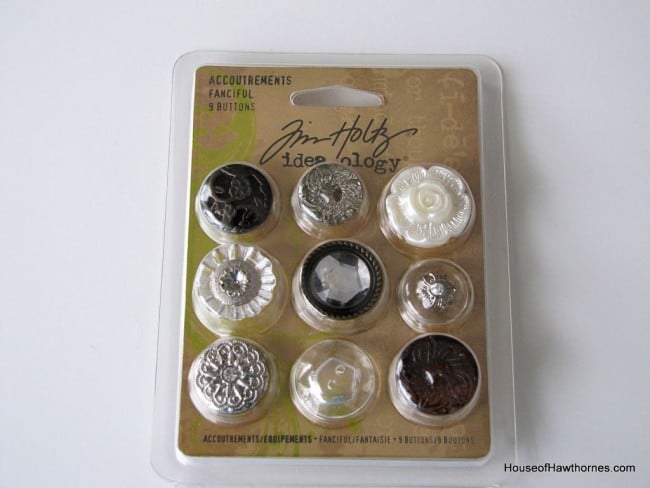
I used Jim Holtz's buttons that I picked up at JoAnn Fabrics for my centers. They were on sale last week, otherwise I would have used my 40% off coupon for them. I ended up using my coupon on glue sticks (the highest priced item that was not on sale), saving a whopping $1.29. Not exactly an Extreme Couponing use of the 40% off.
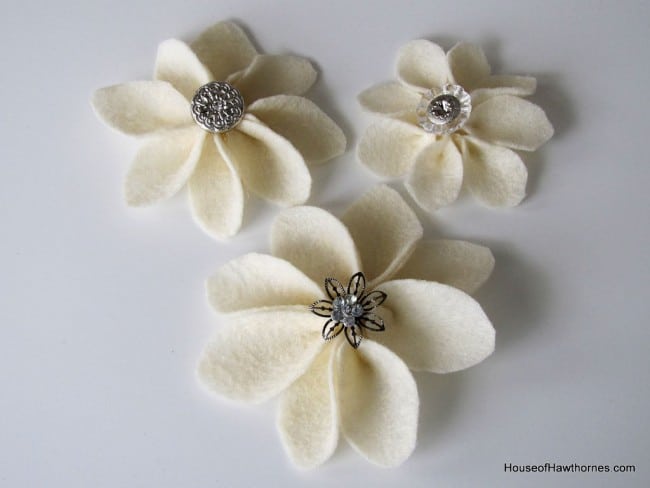
You could use just about anything for the bling. In fact the bling on the largest flower is actually left over from my snowman bottle project from before Christmas.
Originally I was just going to glue the flowers to the white lampshade, but decided to make a slipcover for it out of kraft paper instead. I bought a roll of kraft paper at Dollar Tree for $1.00 (I bet you thought I'd say $2.00).
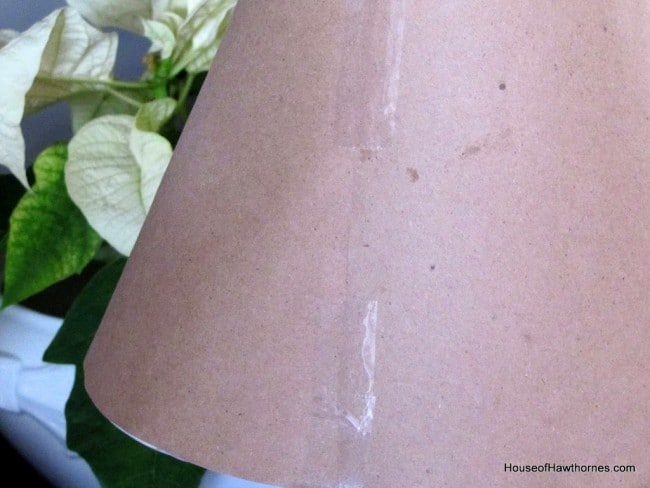
I just traced the outline of the shade, cut it out and then taped it together in the back. Tricia at A Rosy Note had mentioned that she made a slipcover for her daughter's lamp and I thought that was a great idea.
If I get tired of the flowers, I just take this slipcover off and try something else.
I swear this poinsettia is plastic. It just keeps going and going and I haven't done anything to it in weeks. Aren't you a little thirsty?
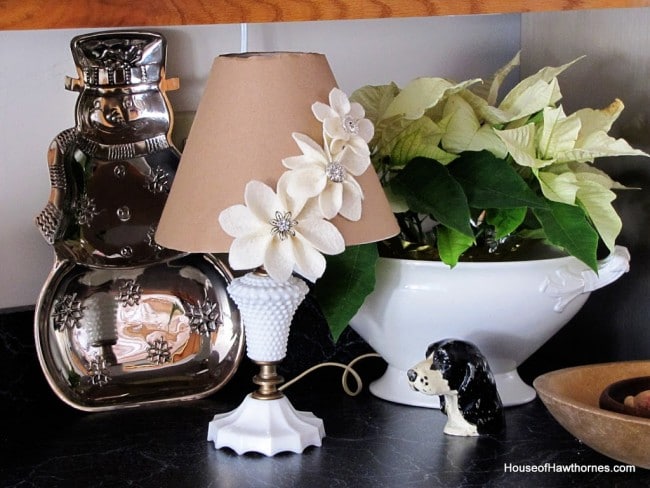
So there's my solution. Hindsight being 20/20, I may have made the flowers a little smaller, but I am looking at it as an artistic statement.
Maria Elena
So pretty! What an awesome idea! Your lamp looks beautiful!
Faye ~ Wild Rose Vintage
Wow! You really did it! I love how it turned out and I don't think they are too big. I just love it!!!! I was so surprised to stop by here tonight and see your post. Thank you for mentioning my blog. The slip cover is a perfect idea! I'm impressed! I didn't try to make the felt flowers yet but yours sure has me anxious to try it.
Faye
Life In The Thrifty Lane
Turned out great!! Love the rhinestones 🙂
Country Dreaming
Looks great and love the bling!
Melinda
Brandi
Such a beautiful idea! I love that you are able to change out the shade later on if you like. So jealous of your poinsettia! Mine didn't last a week! Maybe I watered it too much! LOL!
artteachergirl
Now how cute it that?! So glad you didn't listen to me and just leave it as it was!!! What do I know anyway!? HA! I am crazy about those felt flowers...I just may have to give that tutorial a go! Great job Pam!
Jan@southernjunkin'
Love it!! Thanks for sharing!!
Ocean Breezes and Country Sneezes
How pretty, these would look great on the side of a hat, mittens, gloves, scarfs etc! Great job!
Sherry@Back2Vintage
Wow...you did a wonderful job!!! Love the bling!
Tammy@Beatrice Banks
So adorable! I've seen these and told my daughter she should try her hand at it. She likes making crafts more than I do. I love all the bling you put on yours!
Nezzy
Oh darlin', you made this look easy enough I might even try to tackle that little lampshade in the master bath. I was just goin' to replace it but now I think I shall simply 'transform' it.
Thanks so much for the inspiration sweetie!!!
God bless ya and have a terrific week!!! :o)
andrea
I love the texture of felt. These wee flowers are so cute! I just want to go make pins for my coat now! andrea@townandprairie
Dee in Oregon
Dee in Oregon
I think it's just darling - nice job!!!
Mark
Very pretty!
I was never worried. I knew you'd make it look terrific.
m.
michelle
That turned out so cute, I love the flowers and their centers. The slipcover idea is wonderful as well, I always like changing things up. Beautiful!
xo
LizlovesVintage
My sign would say, " FLY THIS WAY." If you know what I mean. Ha, Ha.
Oh, Pam. You have out done your self. This lamp has come a long way.
From a thrift to a piece of Art. I'll have to ck. out pinterest.
Thanks for giving me the heads up. I found a lamp thrifting on Sat.
I'll post a picture this week.
xxx Liz