

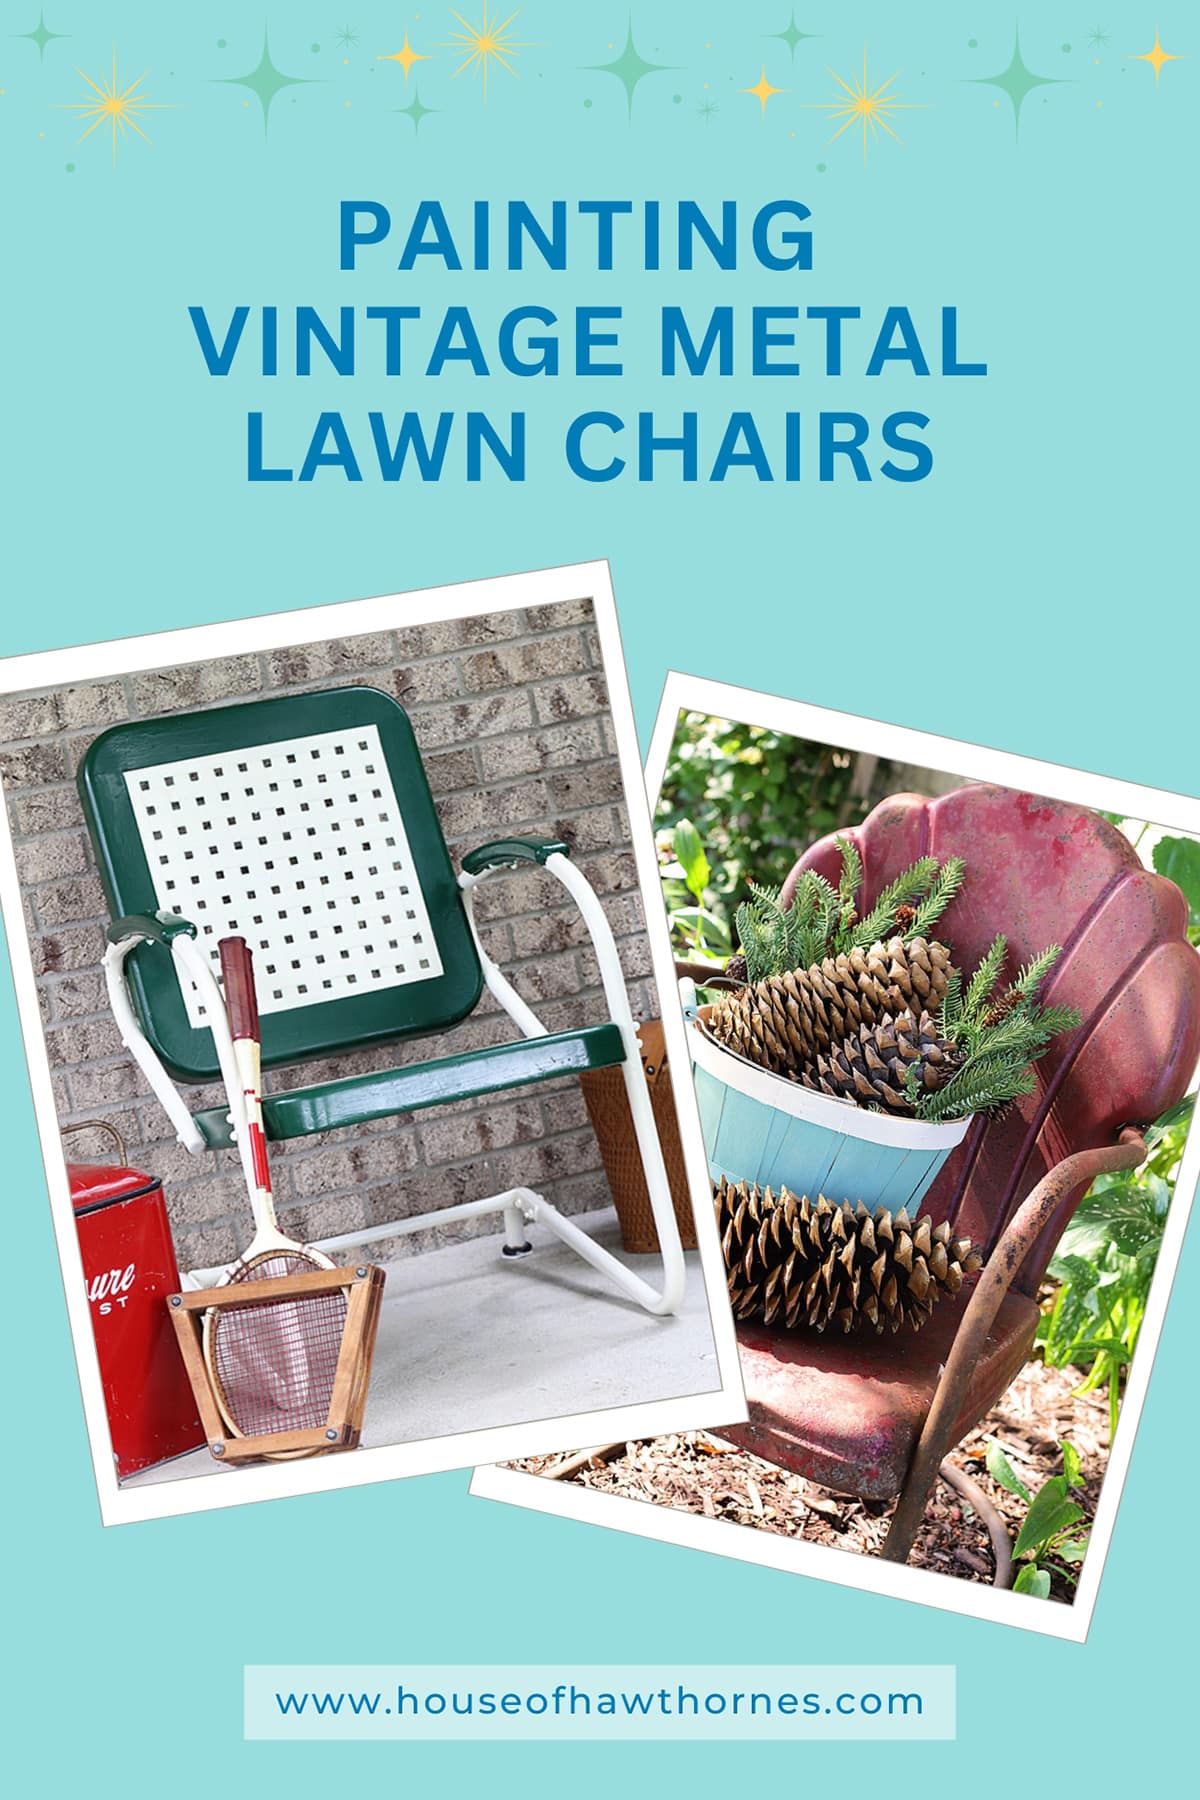
A couple of years ago, I snagged this vintage metal porch chair at an estate sale for $10. It is a Bunting Glider Company chair in the basket weave pattern.
Still one of my favorite finds.
But it was looking a bit ratty, and I can't have ratty-looking stuff on my porch.

This post was originally published in July 2014 and has recently been updated with additional information and helpful tips.
Hah! Had you going there for a second.
Actually, I usually love ratty and rusty and junky.
But this metal lawn chair was getting rusty and dirty, to the point that you couldn't sit in it with white shorts on. So, out of respect for my clothing, I decided to spruce it up a bit.
Table Of Contents
Now, it took me a good four weeks to decide on a color. My husband REALLY wanted me just to repaint it the same black and white. To me, that was not shouting "Hey, I'm a cool mid-century motel chair" to me.
I thought about going with a cool retro mid-century modern color like turquoise, pink, or maybe even orange.
But I have been loving the look of vintage camp-style decor this year. Think summer camp in the 1960s—lots of old picnic baskets, thermoses, and primary-colored Hudson Bay point blankets.
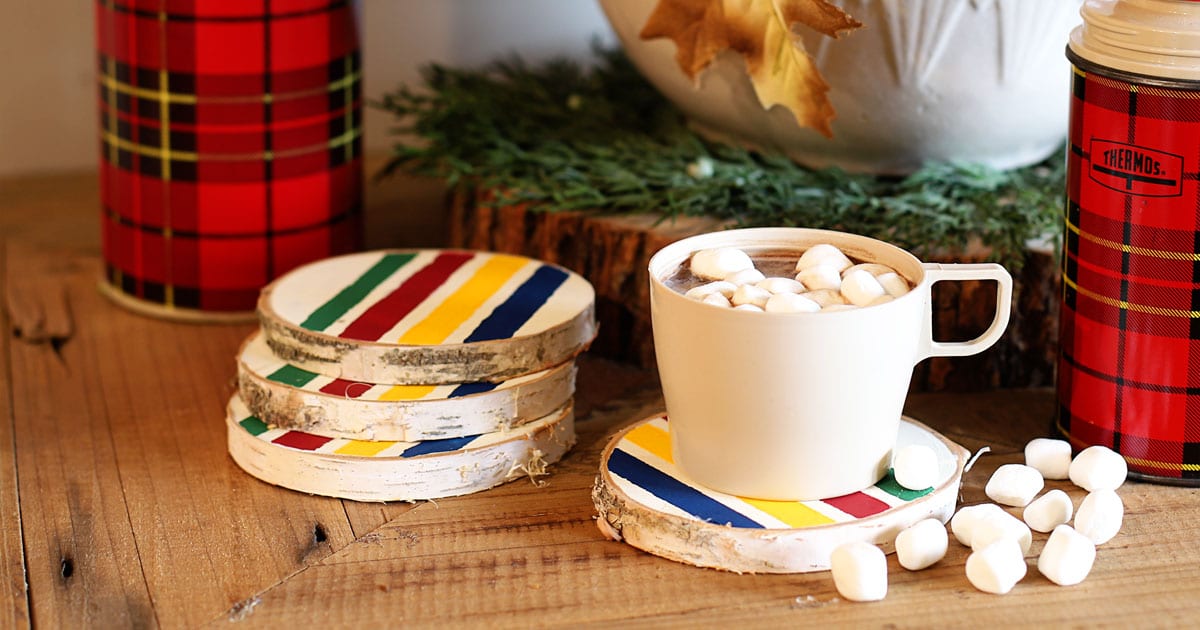
By the way, I have a tutorial on making some Hudson Bay inspired coasters that would look great on your back porch this year.
So, I decided on a dark green and ivory combination to achieve the traditional summer camp look I had been longing for.

It's Hunter Green to be exact.
Before you all freak out and say that's so 1980s, I know! But I tried to disregard the name and the flashbacks and go with the look.
(This post contains some affiliate links for your convenience. You can read my full disclosure policy here.)
DIY How To Paint A Vintage Metal Lawn Chair

Supplies Needed:
- Vintage metal motel chair in dire need of a facelift
- Cling wrap (Saran, Glad or whatever brand you prefer)
- Newspapers
- Painters tape
- Spray paint - a rusty metal primer
- Spray paint - in colors

Colors Used:
- Hunter Green - Rustoleum Gloss Protective Enamel #7738
- Canvas White - Rustoleum Gloss Protective Enamel #7789
- Primer- Rustoleum Rusty Metal Primer #7769
- I used less than one can of primer, one whole can of white, and a little over one can of green
Painting The Base Coat
I started by spraying the rusty metal primer on any obviously rusty areas.
This stuff is supposed to stop the existing rust from getting worse, provide two times the rust prevention as just using spray paint alone, and give a good surface for the spray paint to adhere to (I'm no expert on this stuff, I got all that info from their website).
After that dried, I painted two coats of the white-ish color on the legs, arms, and insets. I didn't tape anything; I just went all willy-nilly on it and sprayed away.

Even sprayed my shoes, but I'd advise skipping that part.
I allowed this to dry thoroughly. Since you will be using tape in the next step, you want to make sure the paint is dry and set, so I let it set for 24 hours.
Taping Off For Detailed Painting
Then I taped off everything that I wanted to stay white.

I used newspaper and tape for the insets.
Make sure you make a super crisp edge with the tape because this will be a very visible part of the chair.
I wrapped the cling around most of the arms and legs and then just taped around the edges.

You could use tape for the entire legs and arms, but get ready to buy stock in a painters' tape company, because that's a lot of tape.
As long as you have taped, wrapped, and papered off EVERYTHING that you want to stay white, you can now paint everything else with two coats of green willy-nilly.
Things to note. I didn't show you the back, but the back and bottom are just solid green. I was not going to tape off the back and bottom also, and I don't believe it was ever painted that way originally.
By the way, you have no idea how long it took me to take the final photos. I had a visitor who kept photobombing me.

Every time I'd get ready to take the shot, she'd walk through the shot or start sniffing the picnic basket. Or decide to take a nap.
So get out there and paint those chairs! Your dog will love you for it!
Frequently Asked Questions
Yes, it is easier just to paint the whole darn thing one color and forget about the two-tone look. But where is the fun in that?
And I think the two-tone look is so much more authentic and worth the extra time.
Crosley is probably the largest manufacturer of reproductions of these types of chairs (those in the business call them "repops"). They're sold at Amazon, Vermont Country Store, Wayfair, Home Depot, etc.
The HUGE problem with reproductions is that they are made with much cheaper and thinner metal than the originals. They are much more prone to bend under the weight of a real person. These newer chairs also have plastic spacer parts that can crack and break easily.
Original vintage metal lawn chairs were 100% made in the USA, while reproductions are made in China. I don't personally have anything against China, but I'd rather buy something made in Indiana (Junior Toy Company), Ohio (Schott), Pennsylvania (Bunting Glider Company), or Georgia (Atlanta Stove Works).
If a chair is not in really bad shape, i.e., no metal rusted through, sitting straight, and not in need of replacement parts, it will be a good candidate for a DIY paint job as described above. Let's be real, our grandparents just slapped a coat of paint on these every few years and went about their day.
If the chair is severely damaged or you just don't want to spend your afternoon spray painting it, you can take it to a professional powder coater and have it sandblasted, repaired and powder coated. Some car powder coating shops do this, but there are also a growing number of powder coaters who specialize in restoring these old metal beauties.
If you are looking for a professional powder coater, Don Storer from Vintage Metal Lawn Chairs has compiled a list of vetted restorers by state, along with information on how to select a local powder coater (if you prefer to find your own) and pricing estimates.
My top 3 places to find these gems are estate sales, yard sales and Facebook Marketplace.
Oh, and the side of the road! Seriously, some people have no idea how cool a vintage lawn chair can be and they just throw them out on trash day like they're trash or something.
Susan Freeman
I love the colors you chose. You did a great job! Your dog is adorable. Is it a Labradoodle?
Big Texas Hugs,
Susan and Bentley
Pam Kessler
Yes, she's a labradoodle 🙂
Marci
You picked the perfect colors! Love the vintage camping look.
Blessed Serendipity
You did a great job. I would of thought about what color to do the chair for awhile too. It looks so nice.
Danielle
susie @ persimmon moon cottage
Love the green and white! Your chair looks so comfortable. Every couple of years I manage to spray paint a pair of my shoes when I have a sudden brainstorm to refinish something. I think I have finally learned to remember to put a pair of old socks over my shoes ( I don't like to go bare foot outside) and wear old clothes.
One time I needed a pair of brown shoes to match an outfit and couldn't find any to buy, so I spray painted a pair of my shoes on purpose. I knew the paint would stick pretty well, due to my previous refinishing misadventures. They came out pretty well and lasted for a little while, but the brown paint flecked off in a few places after a while.
Cozy Little House
Very cool! Oh, I remember those Hunter Greens! But everything that goes away comes roaring back.
Brenda
Kerin
Sure feels like it belongs right on your porch... with all the rest of the campy stuff 🙂
Good job on the re-painting job. I love the color combinations.
Have a very happy Monday.
K.
monkey
i am almost sure this looks exactly like the ones we had when i was much younger looks great xx
ThrifterSisters
I have an abnormal amount of the vintage clamshell patio chairs but none of those amazing hotel ones! Pretty sure I need one (or 12).
Thanks for the tutorial, Pam!
Erica
Shabby chic Sandy
Looks great!
Mecky
You did a good job. It is funny that you posted about doing the chair. I have been working on two chairs recently. It has been a long process for me because I have taken off all the old paint first. With so many coats of paint on some of my metal chairs, I had to get rid of the old paint to have a smooth surface. Not fun, I might add. Anyway, I like your idea of using plastic wrap. I have been using wax paper and taping it down. Plastic wrap would be sooo much easier!
I am debating between leafy green or hunter green. There is nothing wrong with a hunter green. It's just a name. It is the same color as some of the old vintage things I have.
The two chairs I worked on last year are now a pale yellow. It is called Strawflower. I have 11 more to do. Yes, I got carried away with buying these things cheap. My name is Mecky and I am a metal chair hoarder!
monkey
mecky i think they have a metal chairs hoarders meeting tonite lmbo xx
Mecky
LOL. I better hurry and get there!!!
Pam Kessler
I do love that leafy green color. I've painted a few things with it and it is a nice vintage shade!
Erica of Golden Egg Vintage
Thank You! You shared some great tips. I have 4 chairs waiting to be painted. One of them is "Hunter Green" with a hideous sunflower painted on the backrest! The guy who sold it to me called it "folk art" style. LOL ummm no! The flower has to go, but thanks to you, I just may re-do the green!
Erica 🙂
Vicki@MorePowerfulBeyondMeasure
You did such a great job...it's stunning!!! I have a glider and two chairs that I want to paint...you've inspired me. I am waiting for cooler weather to get that busy though. Best, Vicki
suzieQ
Very professional looking and your photobombing friend adds a nice touch.Like how smooth and shiney the green looks, nice.
Linda @ Itsy Bits And Pieces
That turned out beautifully, Pam...and I think the colors are perfect!
Stacey
Love it!!
Musings from Kim K.
I have a certain lake dwelling this chair might need to visit. Super tutorial, Pam.