So you're at the thrift store minding your own business looking for something fun to repurpose for this month's Thrift Store Decor Team's post. And you keep running across all these springform cake pans.
Like an odd number of them. There were at least 15 of them at my local Goodwill!
What's a girl to do?
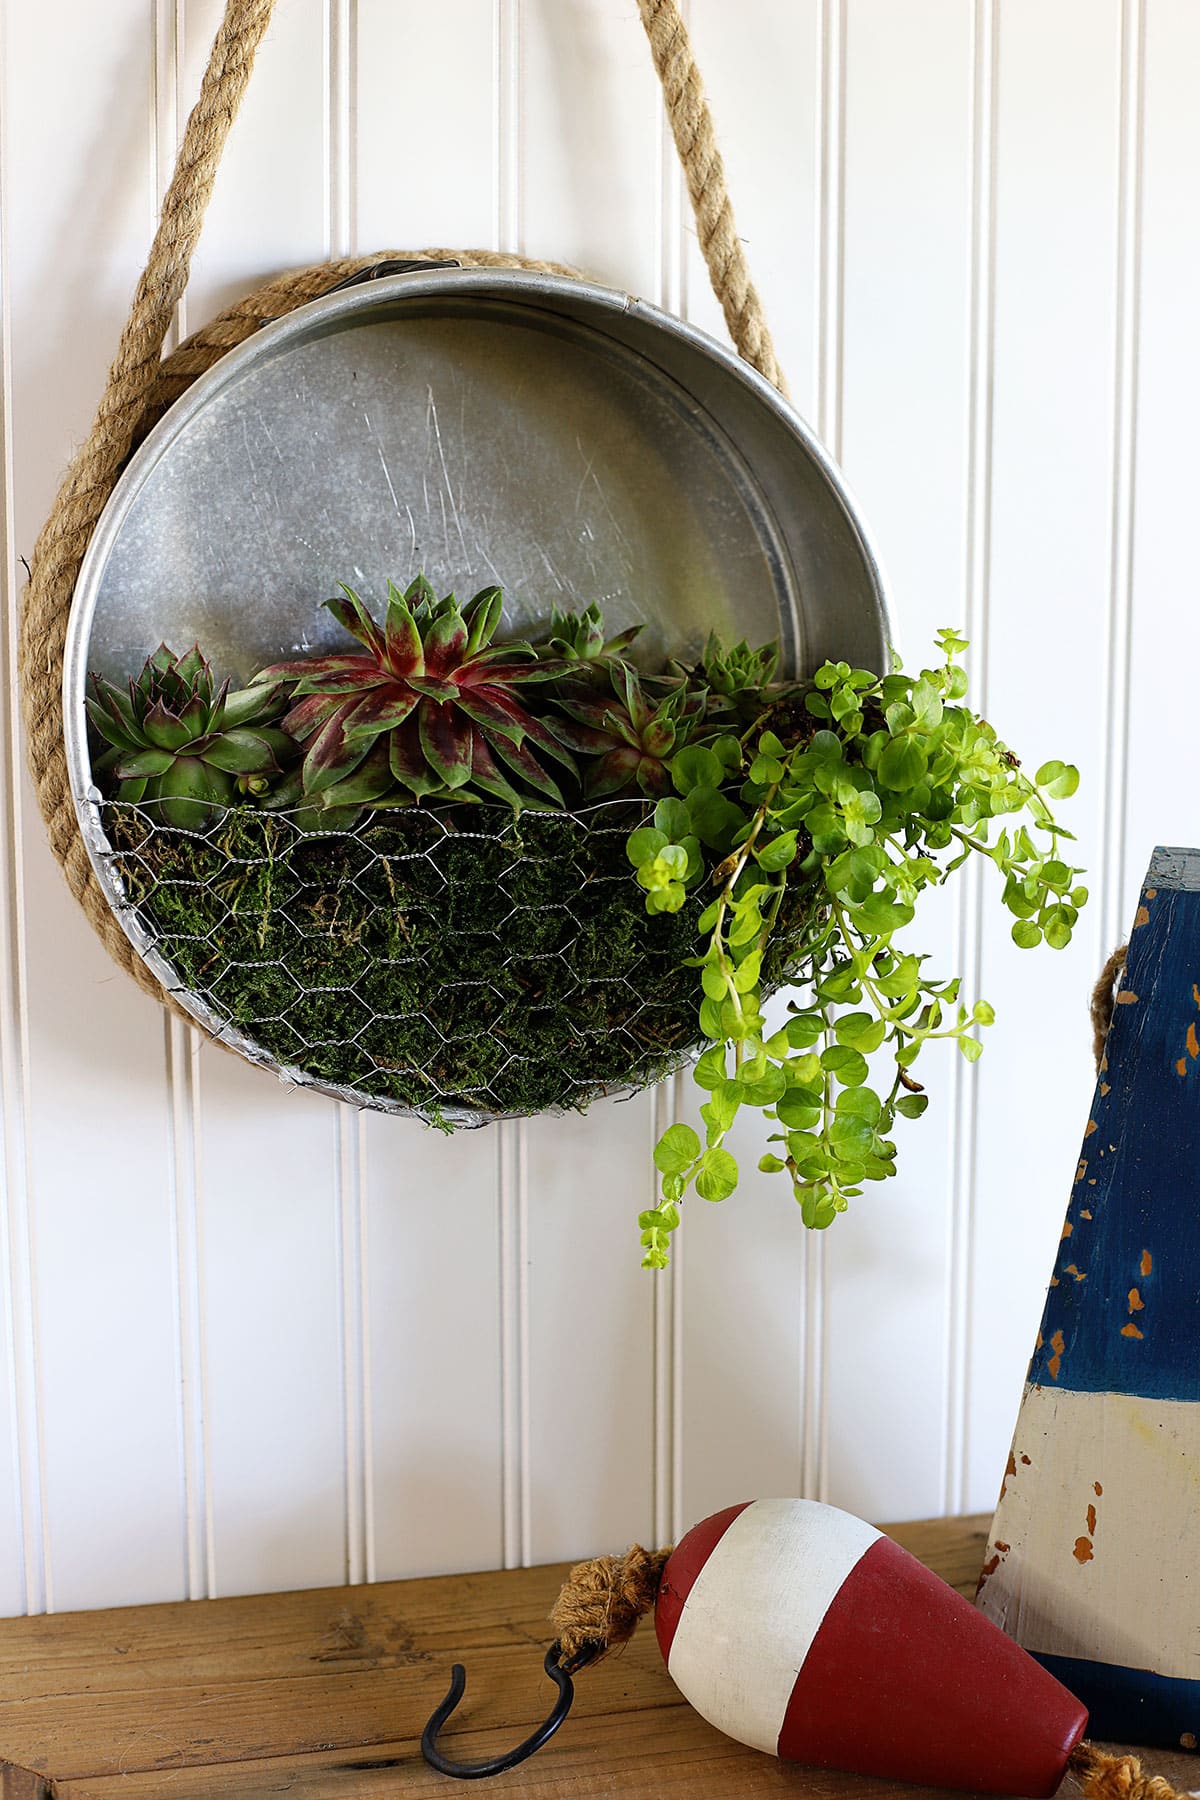
Well, I'm not making a cheesecake anytime soon (my waistline can't handle that), so I decided to repurpose one of them into a planter. But not just any old planter, a nautical farmhouse planter for succulents!
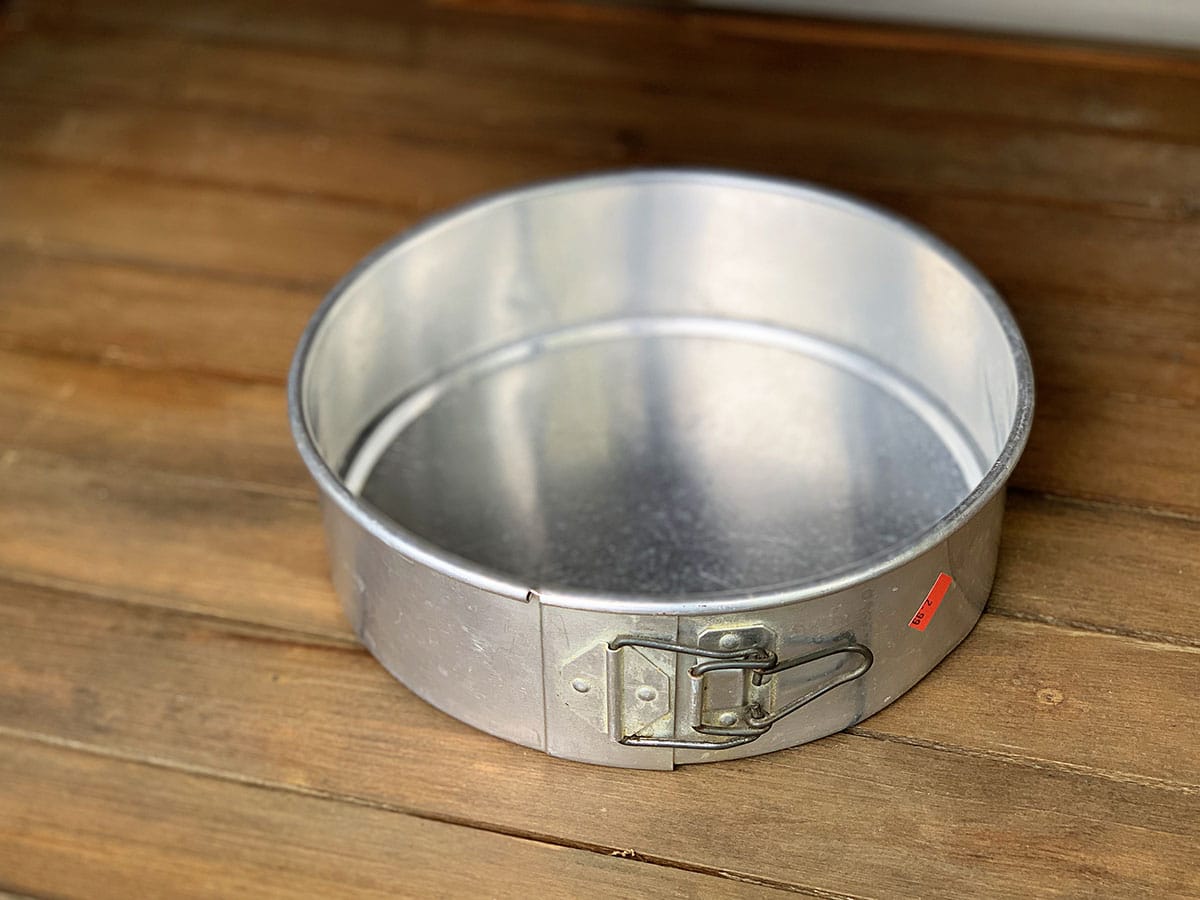
The latch looks farmhouse-ish and the nautical part is due to it being summer. I guess.
✨ BTW, today is Thrift Store Decor Wednesday, so make sure you hang around to the end of the post to see the rest of the team's thrift store repurposes for the month!
(This post contains some affiliate links for your convenience. You can read my full disclosure policy here.)
Nautical Farmhouse Succulent Planter
This simple thrift store repurpose is best used as an outdoor planter if using real plants, since you will have to water them and you don't want the water dripping down the wall.
If you are using faux succulents you can use it wherever the heck you want.
Supplies
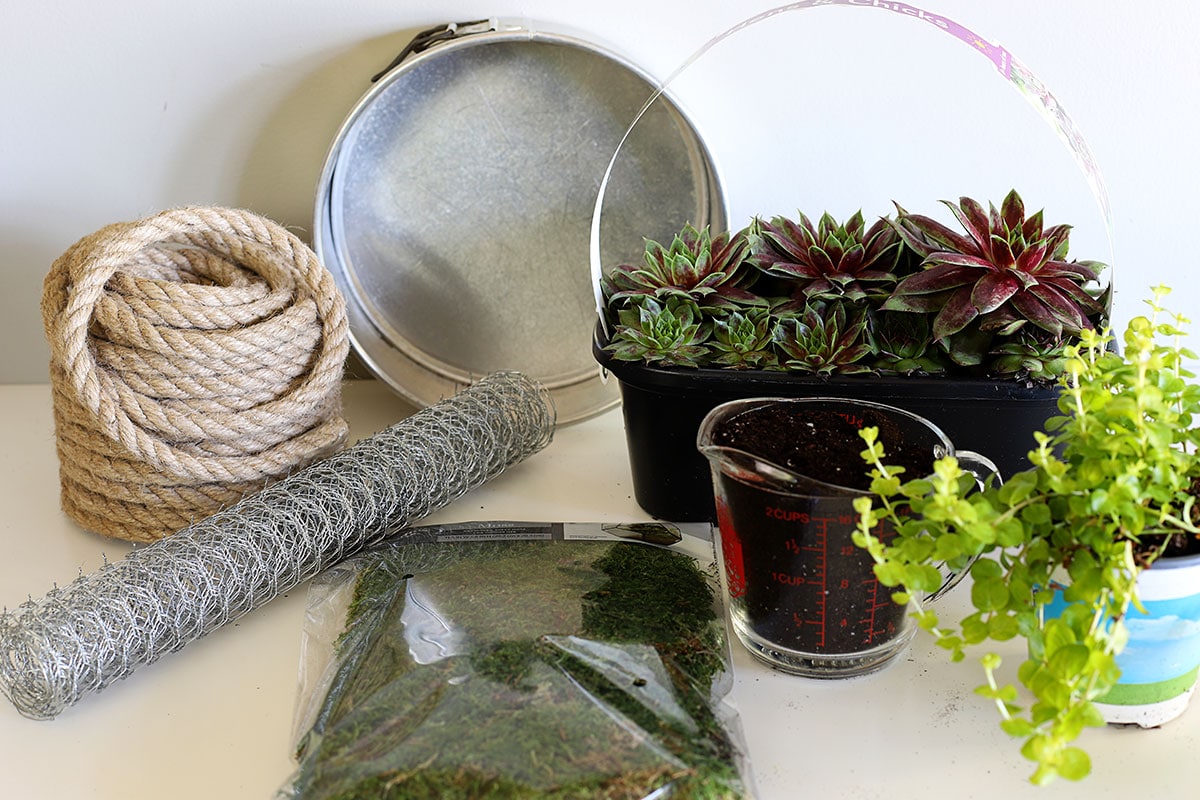
- Springform Cake Pan* (thrift stores are apparently chock-full of them)
- Approx. 1 yard of Jute Roping
- Chicken Wire
- Preserved Sheet Of Moss
- Succulents (I used Hens And Chicks)
- Creeping Jenny (pairs wonderfully with succulents)
- Potting Soil for Cactus & Succulents
*can substitute a round cake pan with no lip
Tools
- Drill and Drill Bits (⅛" works well)
- Glue Gun and Glue Sticks (this is my Ryobi Cordless one)
- Scissors and/or Wire Cutters
Instructions
Time needed: 15 minutes
- Gather Your Supplies
Having everything together makes the project go very quickly.
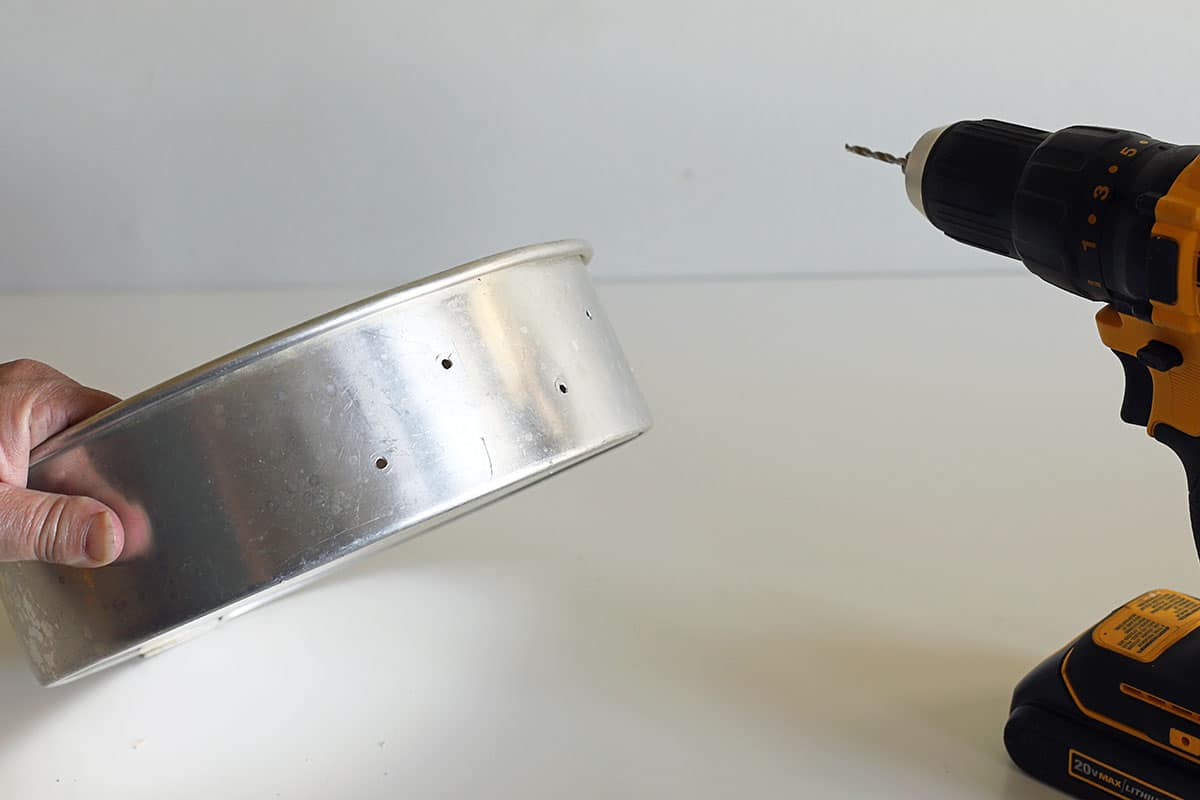
- Drill Drainage Holes
Using your drill and a ⅛" drill bit, make 5-6 small holes in the bottom side of the cake pan.
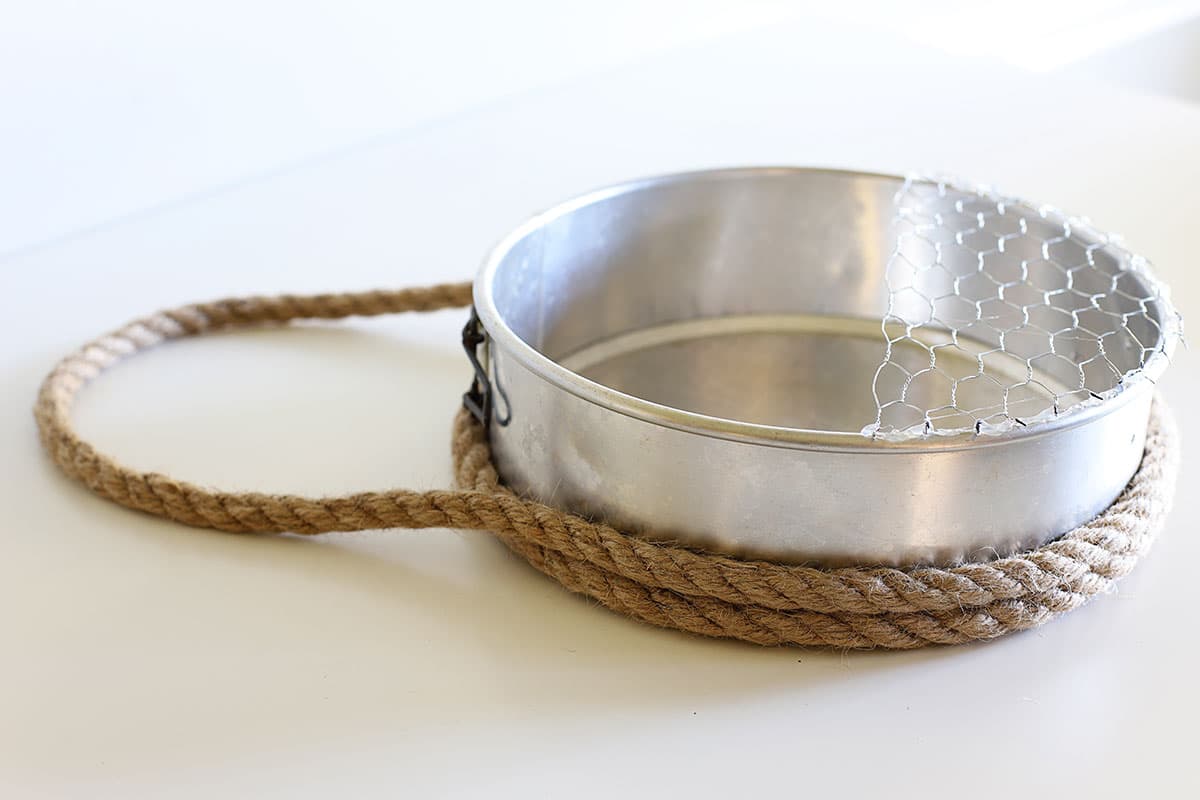
I drilled them opposite the springform mechanism because I thought the latch lent a farmhouse vibe to the project and I wanted it visible. - Measure For Your Chicken Wire
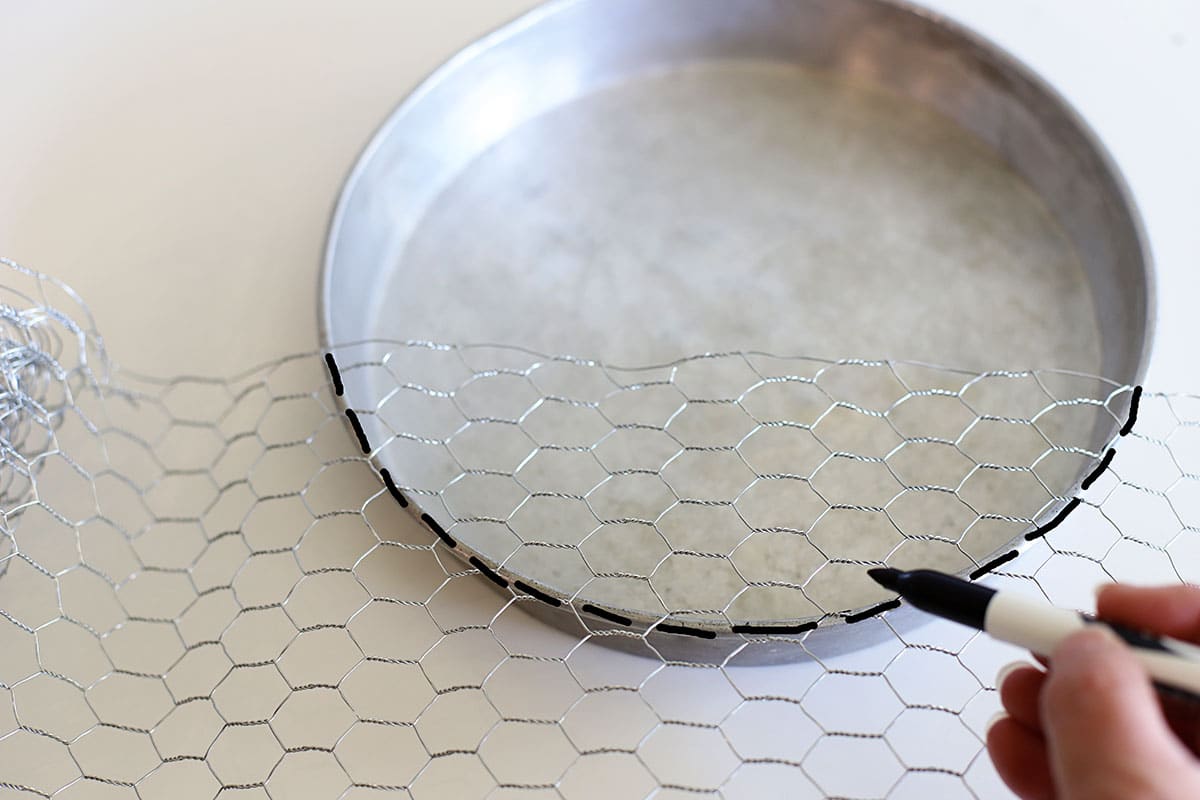
Lay your chicken wire over the bottom part of the pan and draw an outline of where you will need to cut the chicken wire. You want the chicken wire to cover the bottom ⅓ to ½ of the pan.
Use the manufacturer's edge for the straight part going across the pan since it is not sharp. - Cut Chicken Wire
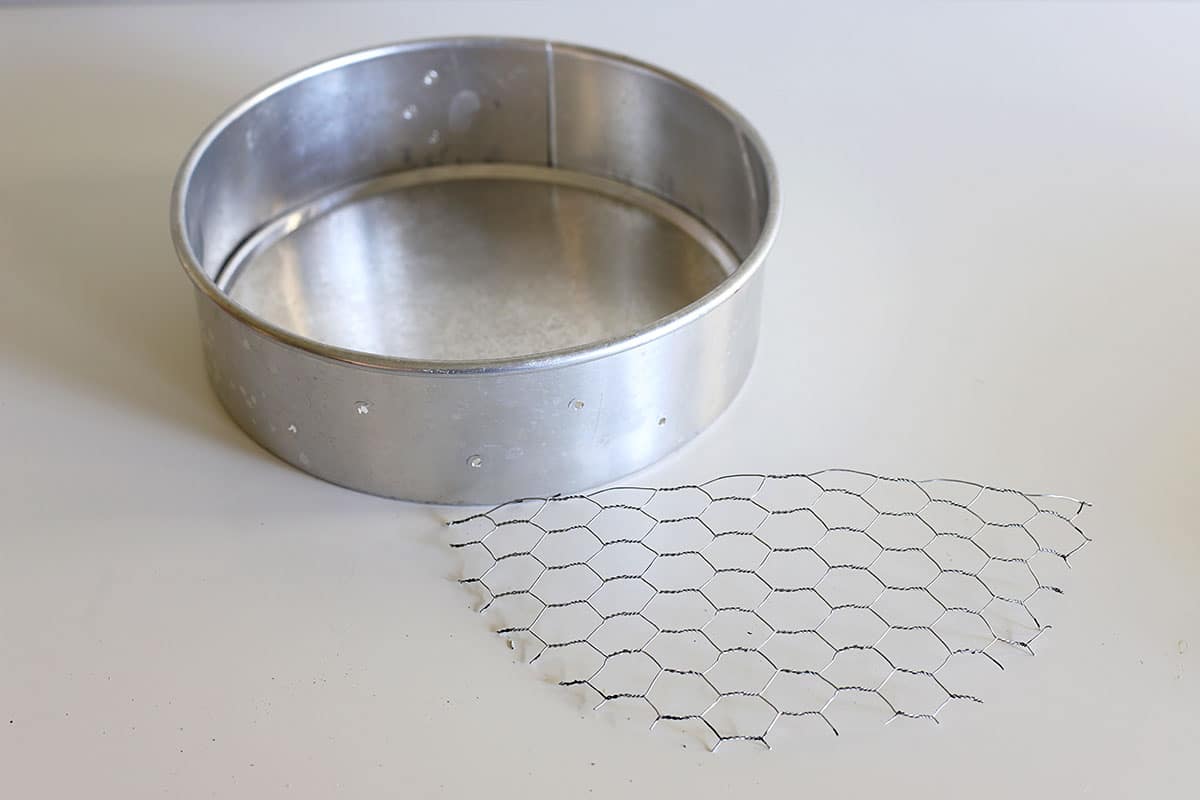
Cut your semi-circle of chicken wire out with the wire cutters or strong scissors.
Please use proper safety equipment for this - gloves and eye protection. The cut edges of the chicken wire will be sharper than you'd think. - Adhere Chicken Wire
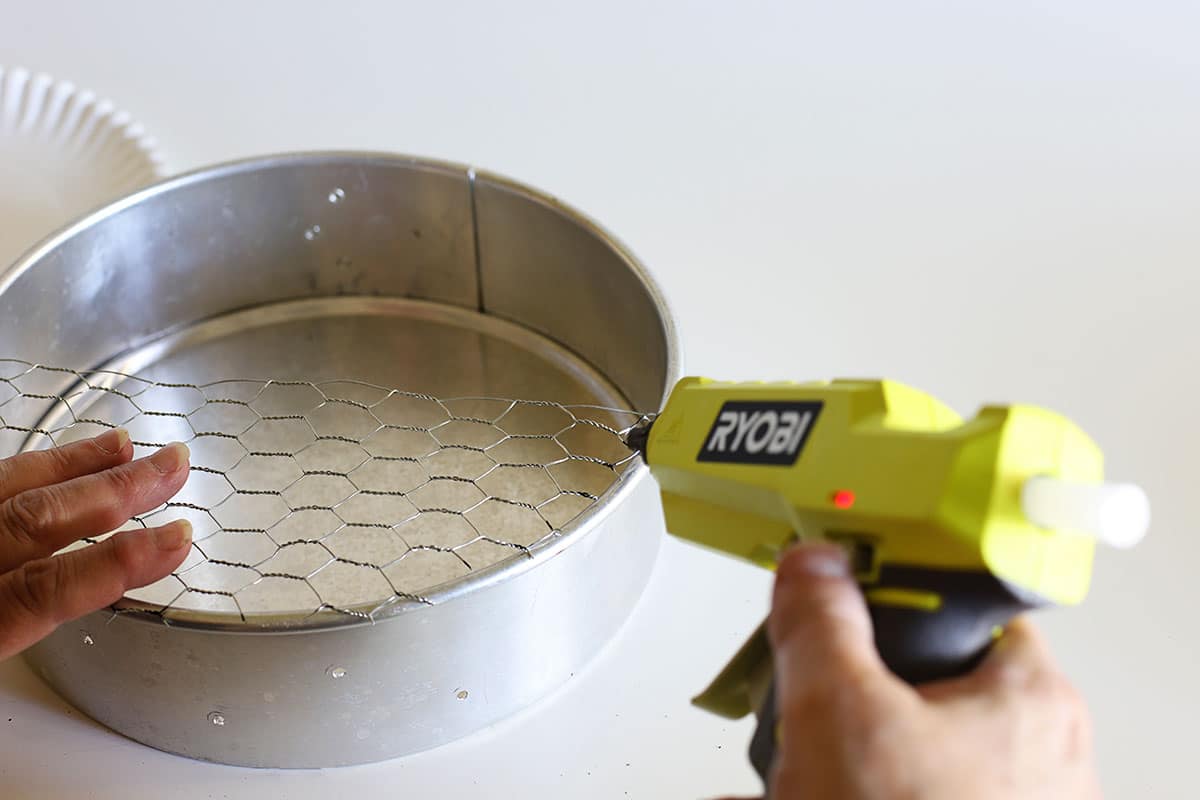
Run a bead of glue along the rim of the cake pan and press your chicken wire onto it.
I worked in 3 small sections so I could allow the glue to set up before moving on to the next section. - Attaching The Nautical Roping
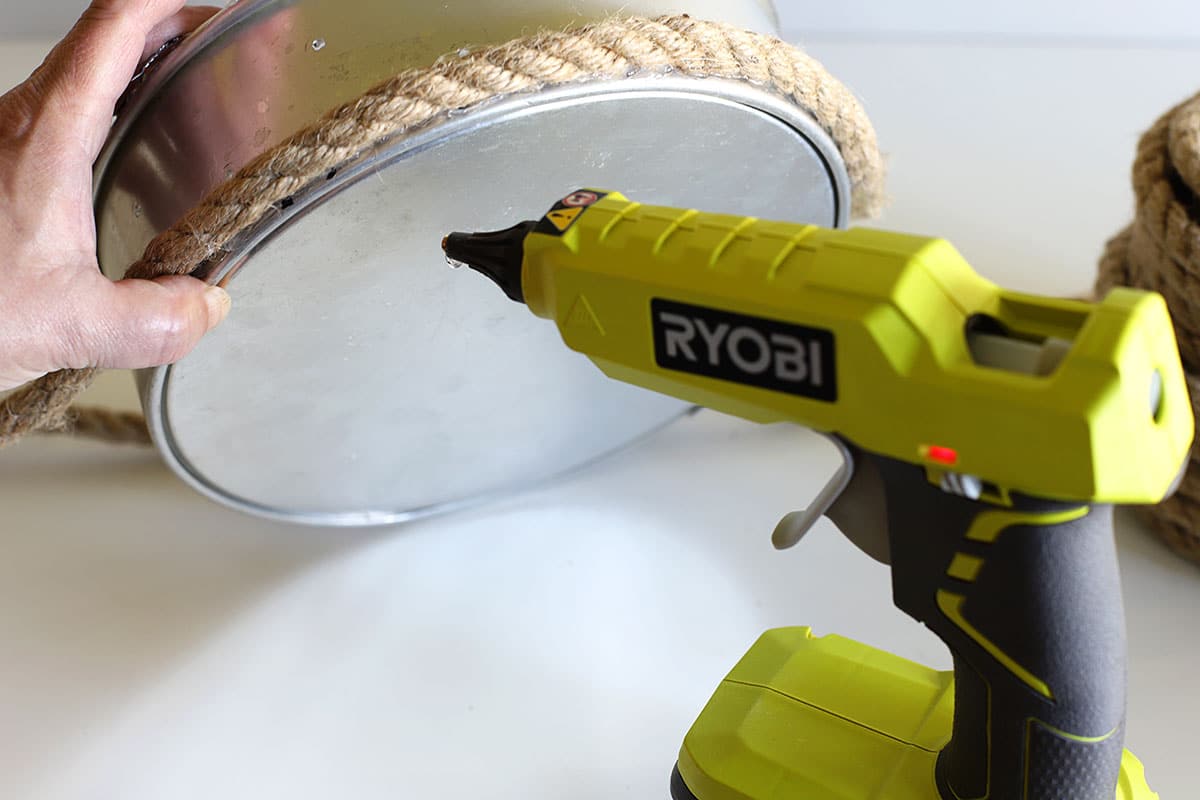
After the glue was firmly set on the chicken wire I moved on to the rope detail. I hot glued rope around the bottom of the pan.
- Finishing Up The Rope Detail
I wrapped the rope twice around the bottom and on the last pass left a long loop up top with which to hang the planter (so it's only the top ⅛ of the pan that doesn't have two sections of roping).
- Add Moss
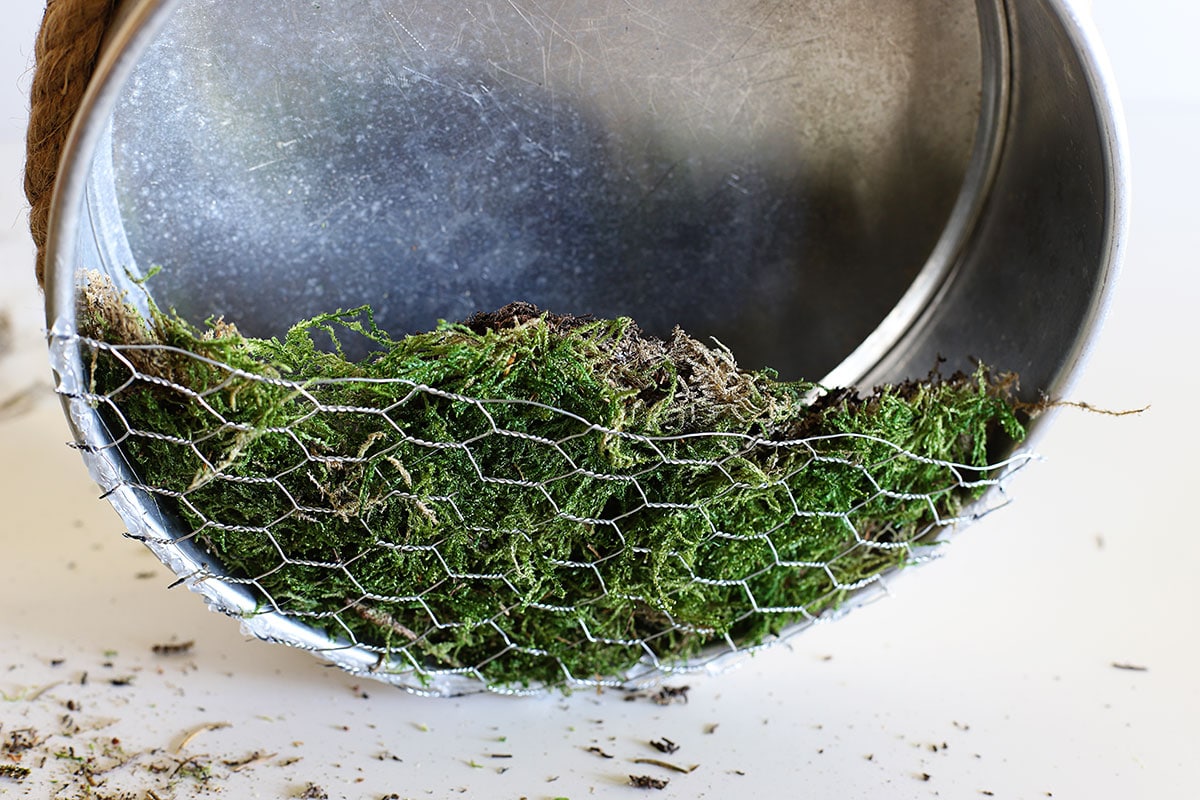
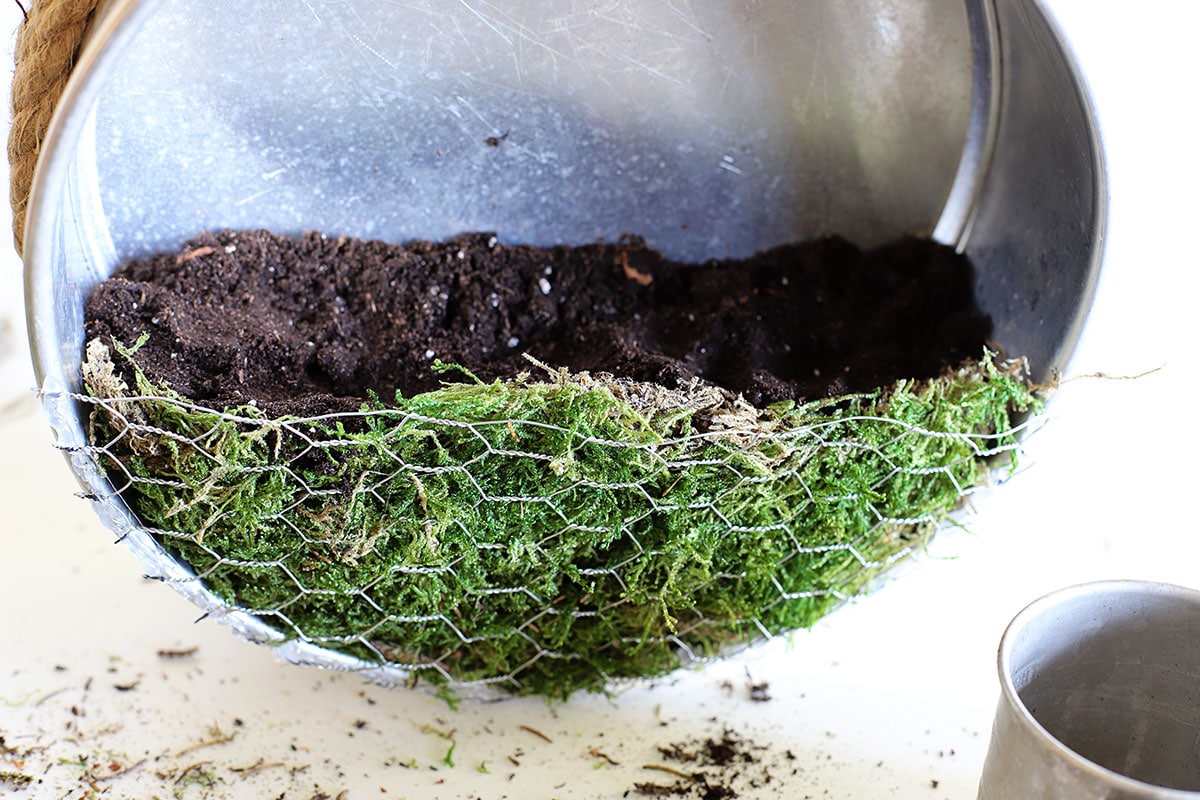
Place sections of moss right up against the chicken wire. This will keep the dirt from falling out through the chicken wire and also make the planter prettier.
- Add Potting Soil
Next, add just enough potting soil to go to the top of the chicken wire.
I used a potting soil specifically made for cactus and succulents, but you could substitute a typical potting soil (like Espoma or Miracle Grow) if you prefer.
The cactus and succulent soil drains easily and is fast drying (succulents tend to rot if left standing in water), so if I have cactus and succulent potting soil on hand I prefer to use it for my succulents.
- Plant Succulents
Now you're ready to plant your succulents.
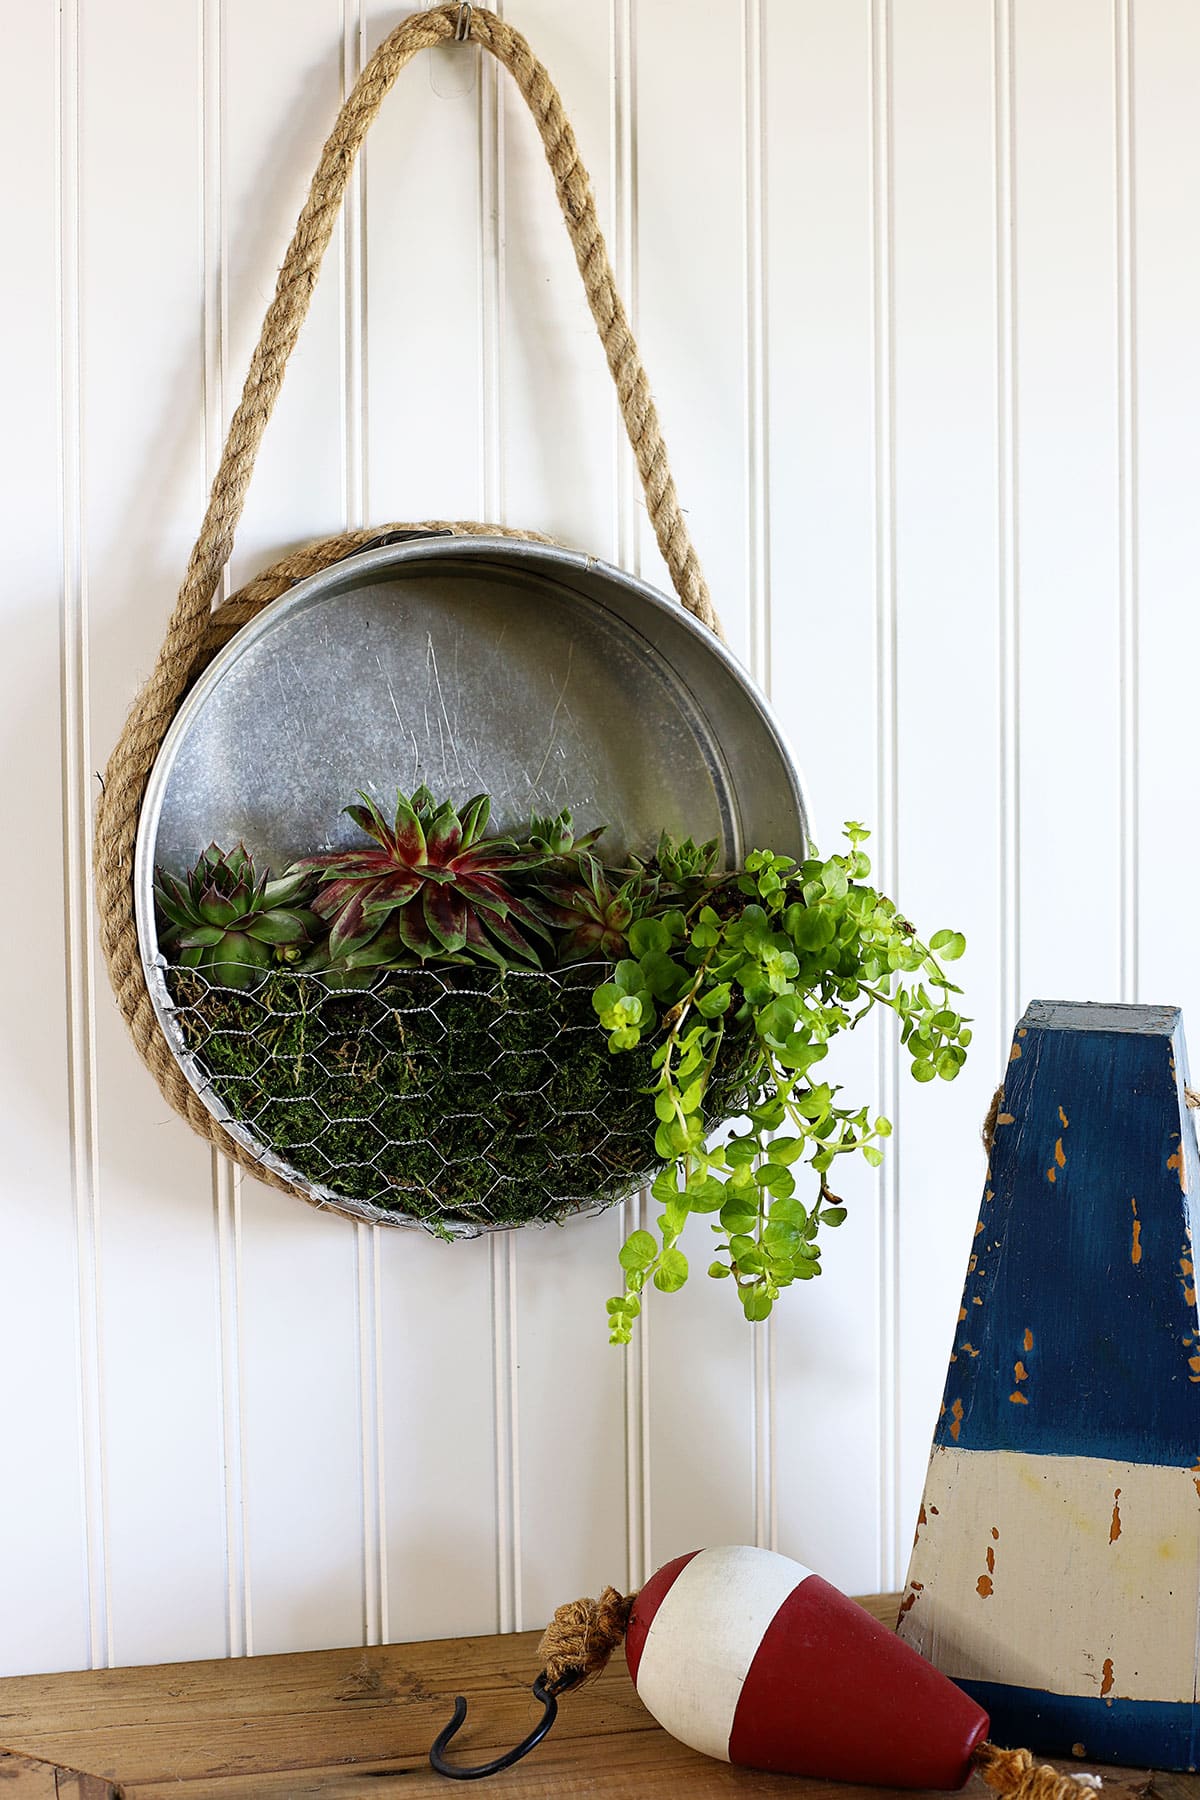
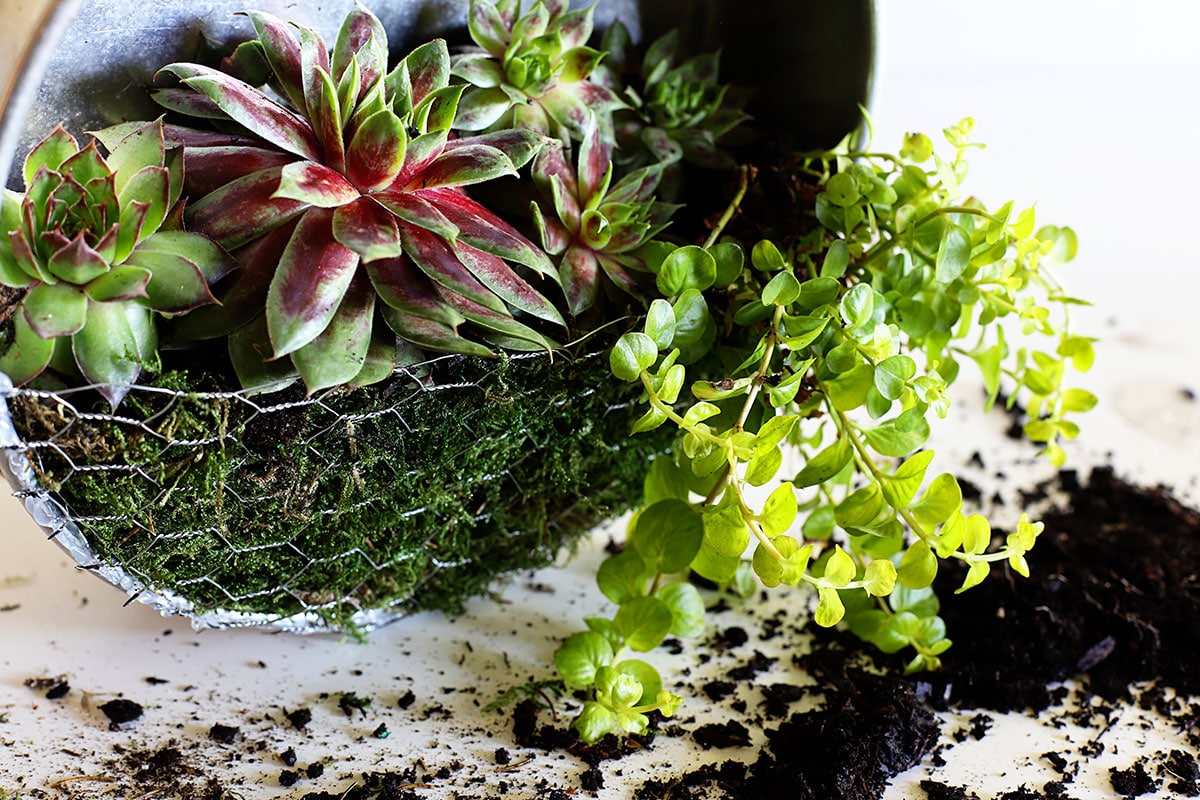
I wasn't sure how many plants would fit into the planter, so I bought a big pot of Hens And Chicks and one pot of Creeping Jenny. Although Creeping Jenny is not actually a succulent (it's a perennial ground cover also used in planters and baskets), I liked its trailing habit and it should do well with the succulents.
I just tucked various sized Hens And Chicks into the soil and filled one corner with the trailing Creeping Jenny.
Hens And Chicks Care
Hens And Chicks are very easy to grow. As with most succulents, they enjoy full sun and use very little water. They should be allowed to dry out between waterings.
They do not like their roots to be standing in water, that is why specialized succulent potting soil that drains easily is preferred, but not absolutely necessary.
One of the best parts of growing Hens And Chicks is that they constantly multiply. The hens (larger plants) produce chicks (babies) so you will always have a new supply of Hens And Chicks. You can pull off the chicks when they get larger and transplant them or just leave them attached to the mother plant.
In the planter we've made here, I would pull off some of the babies in a few months so I can keep the planter tidy and more compact.
Some Other Succulent Projects I've Made Recently:
Vintage Kitchen Tools Repurposed For Gardening
How To Plant A Fun Succulent Planter Bowl
How To Make A Succulent Log Planter (this is a great one to make for the summer patio)
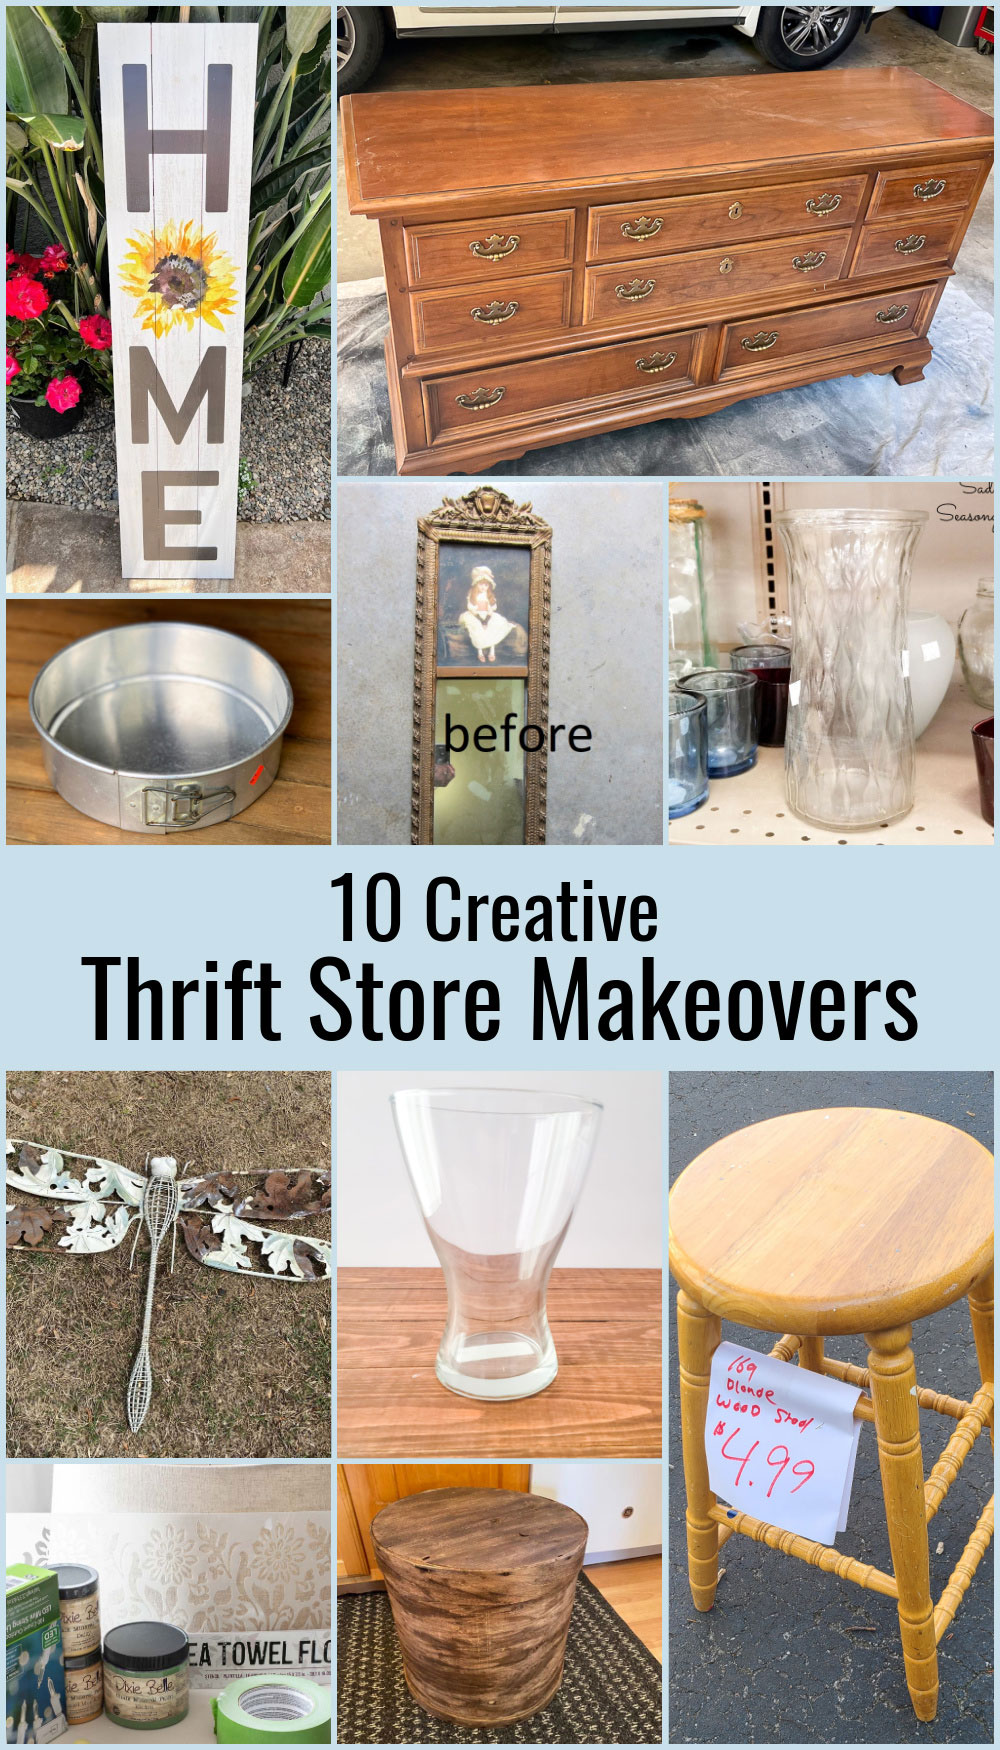
Thrift Store Decor Team Projects
Now let's go see what the other Thrift Store Decor Team members are up to today!
Lampshade Makeover Idea for a Front Porch - Reinvented Delaware
Round Wooden Box Sunflower Table - Organized Clutter
How to Strip and Bleach Wood Furniture - Our Southern Home
Making Boho Vases from Clear Glass Vases - Sadie Seasongoods
Metal Garden Dragonfly Refresh - Shop At Blu
DIY Frosted Seaglass Vase - Domestically Speaking
Spray Paint A Trumeau Mirror - Petticoat Junktion
Farmhouse Bar Stool - My Repurposed Life
DIY Welcome Porch Sign - My Uncommon Slice Of Suburbia
DIY Nautical Farmhouse Planter - House of Hawthornes (that's me)


Maryann
Ok I'm totally making this! Love succulents and it's got that great coastal vibe with the rope!
Christy @ Our Southern Home
I can get over all the poor cast-off springform pans! All those lost dreams of homemade cheesecake. LOL! I absolutely love how this turned out. Your creative genius strikes again.
gail
So clever Carlene! I see these pans all the time at thrift stores! You really hit this one out of the park!
pinned!
gail
Kristin salazar
WOW, this is really thinking outside of the box, I love how it turned out!
Cindy
This is soooo adorable! I should make some of these for our local vendor booth - our local customers would love them! Awesome project, Pam! Pinned 😊
Sarah Ramberg
This is TOO FREAKING CUTE and I love it!! Now I want to make one myself, LOL.
Sue at Blu
I just love this project! So perfect for a deck or small entry! Life’s too short…eat the cheesecake! Lol
Carlene @ Organized Clutter
I didn't see this coming! Very cool idea Pam. Pinned!