One day while shopping at my local thrift store I ran across a Royal Dansk Danish Butter Cookies tin. Minus the yummy cookies.
When I opened the tin I was surprised it wasn't filled with the customary old lady sewing supplies.
You know, thimbles, thread, needles, measuring tape, and darning egg.
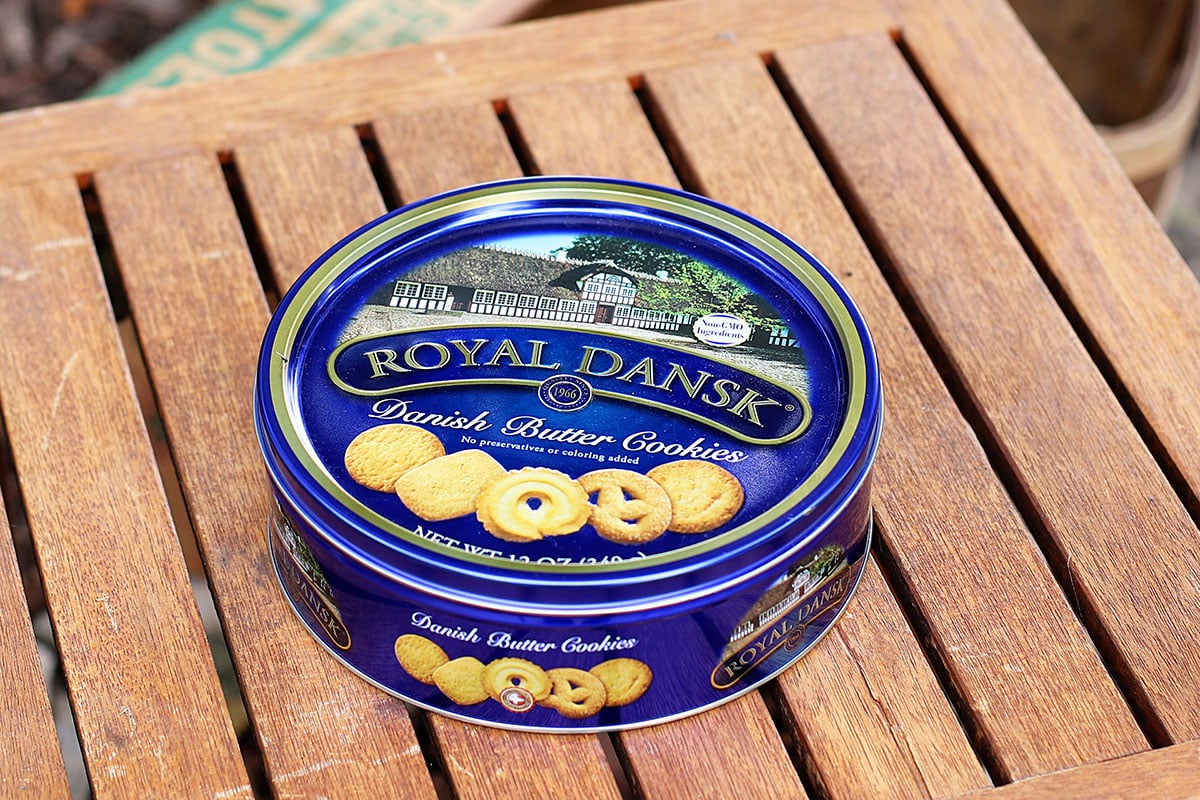
The tin ended up not being really old, but at the time I bought it, I thought it might be. The bar code on the side of the tin should have been a hint as to its age.
I decided to use it in a repurposing project anyhow. We're going to make a cookie tin bird feeder!
✨ BTW, today is Thrift Store Decor Wednesday, so make sure you hang around to the end of the post to see the rest of the team's thrift store repurposes for the month!
Table Of Contents
Why Did So Many Grandmas Use Danish Butter Cookies Tins To Store Sewing Supplies?
Back in the days before Tupperware and mass-produced storage options (hello, The Container Store), a butter cookies tin was a nice storage option. Chances are one of their kids gave the tin of cookies to them at Christmas or Hannukah and, after eating the cookies, they decided to hang onto it.
Don't underestimate the Depression era and WWII philosophy of not letting anything go to waste either. Why throw away a perfectly good and sturdy tin?
Sort of like today's "It's a good box".
And they were also the perfect size to throw things in and tuck in an end table. When cleaning out my mom's house I found all sorts of tins, butter tubs, and scented body powder containers filled with odds and ends.
Chances are, even if your grandma had a fancy sewing basket, they still had a Danish butter cookies tin filled with day-to-day sewing supplies they could keep handy.
Another dilemma. Why did grandpas store screws, washers, and nails in coffee cans? I can't tell you how many estate sales I go to and see cool old coffee cans with great graphics and have to ask the estate sale worker if I can dump out the screws and just buy the can.
Spoiler Alert - the answer is normally NO, but they suggest I can dump them out at my own darn house!
(This post contains some affiliate links for your convenience. You can read my full disclosure policy here.)
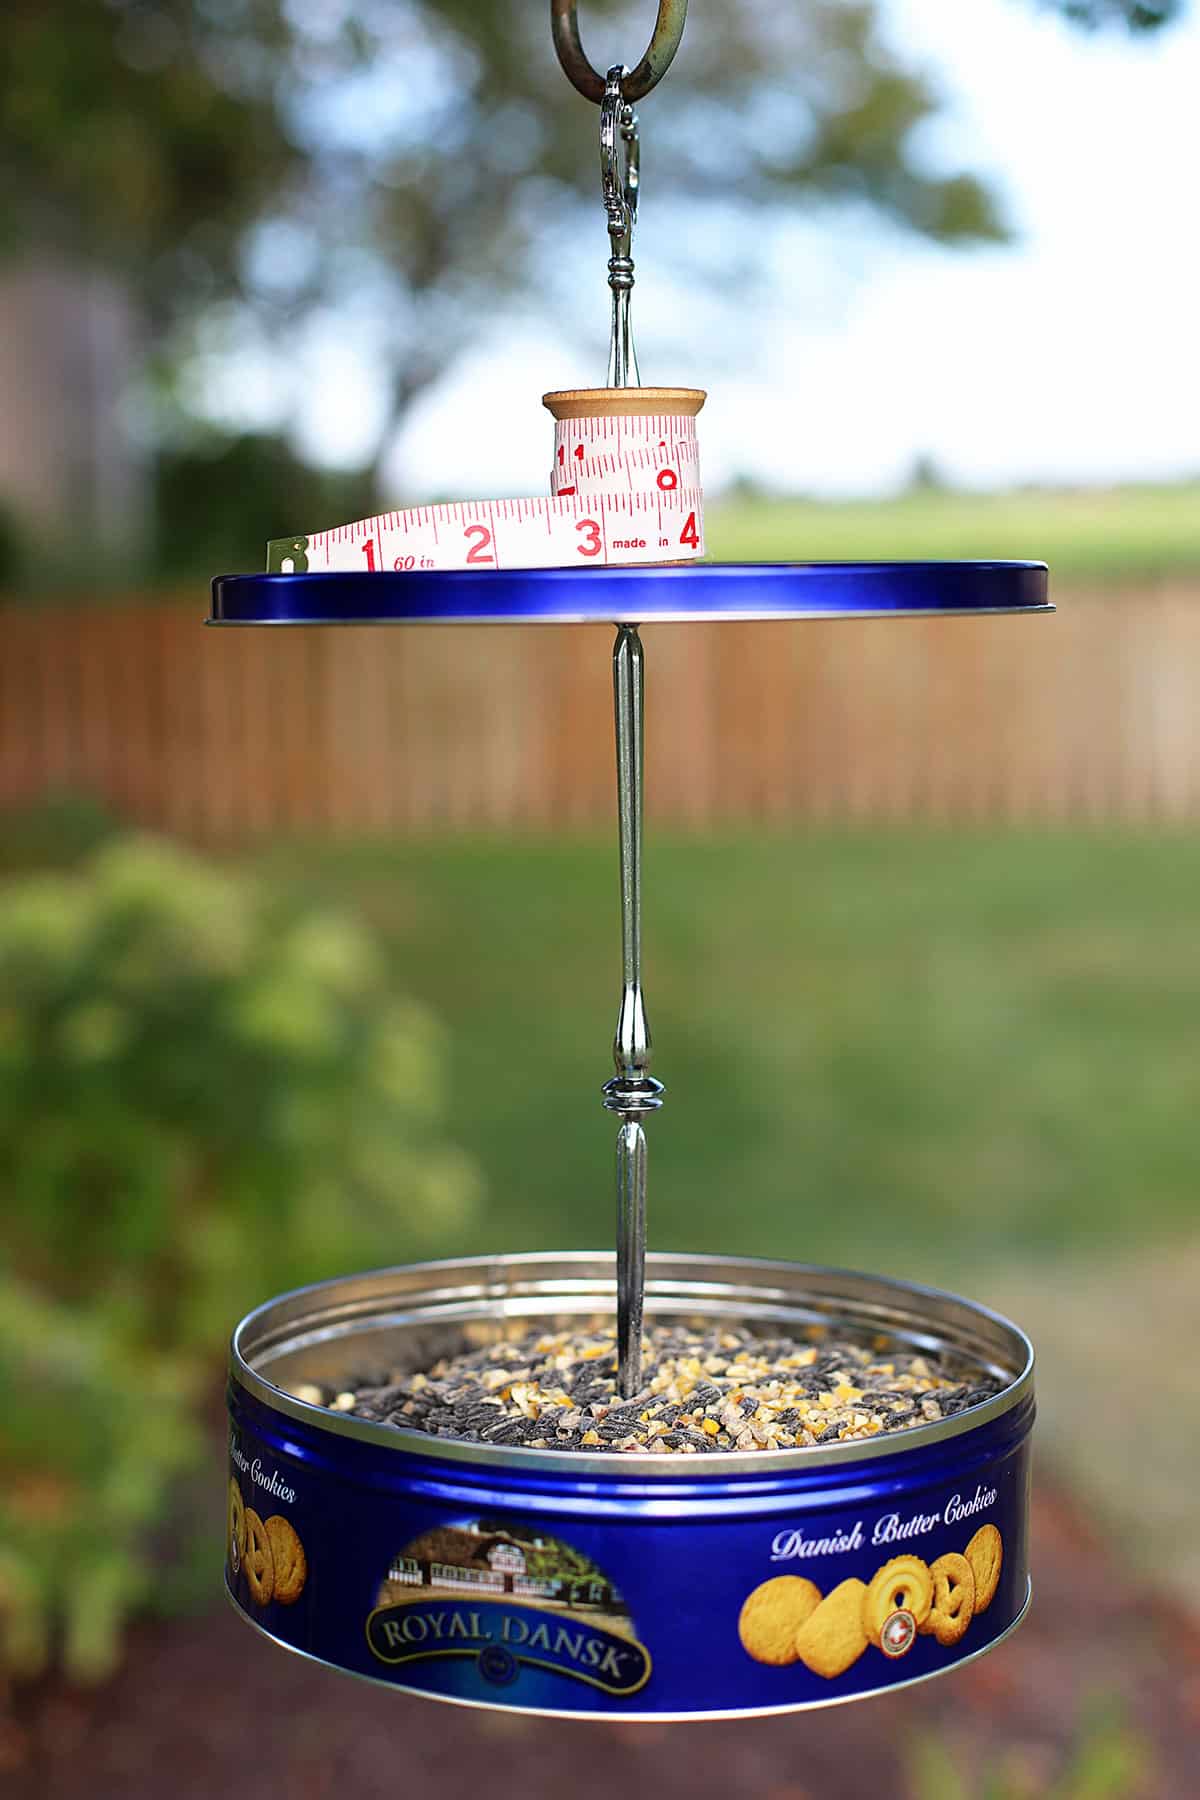
Learn To Repurpose A Danish Butter Cookies Tin Into A Bird Feeder
Supplies
- Danish Butter Cookies Tin - brand does not matter
- 1 Set Cupcake Stand Hardware
- Drill
- ⅛" Drill Bit
- ¼" Drill Bit
- Hammer
- Metal Punch/Awl or Nail (to start hole)
- Felt Tip Marker
- Birdseed (this is my favorite all-around variety)
- Glue Gun with Glue Sticks (Optional)
- Large Empty Thread Spool (Optional)
- Soft Vinyl Measuring Tape For Sewing (Optional)
Besides finding a tin at the thrift store, you can raid your grandma's sewing room stash or you can find Danish Butter Cookies Tins on Amazon. Bonus if you buy from Amazon - you get to eat the cookies too.
Safety Gear
Since we're drilling a few holes in metal here, it's always a good idea to use proper safety precautions.
- Gloves
- Eye Protection
DIY Bird Feeder Instructions
Time needed: 30 minutes
Upcycled Bird Feeder
- Find The Center Of Your Tin
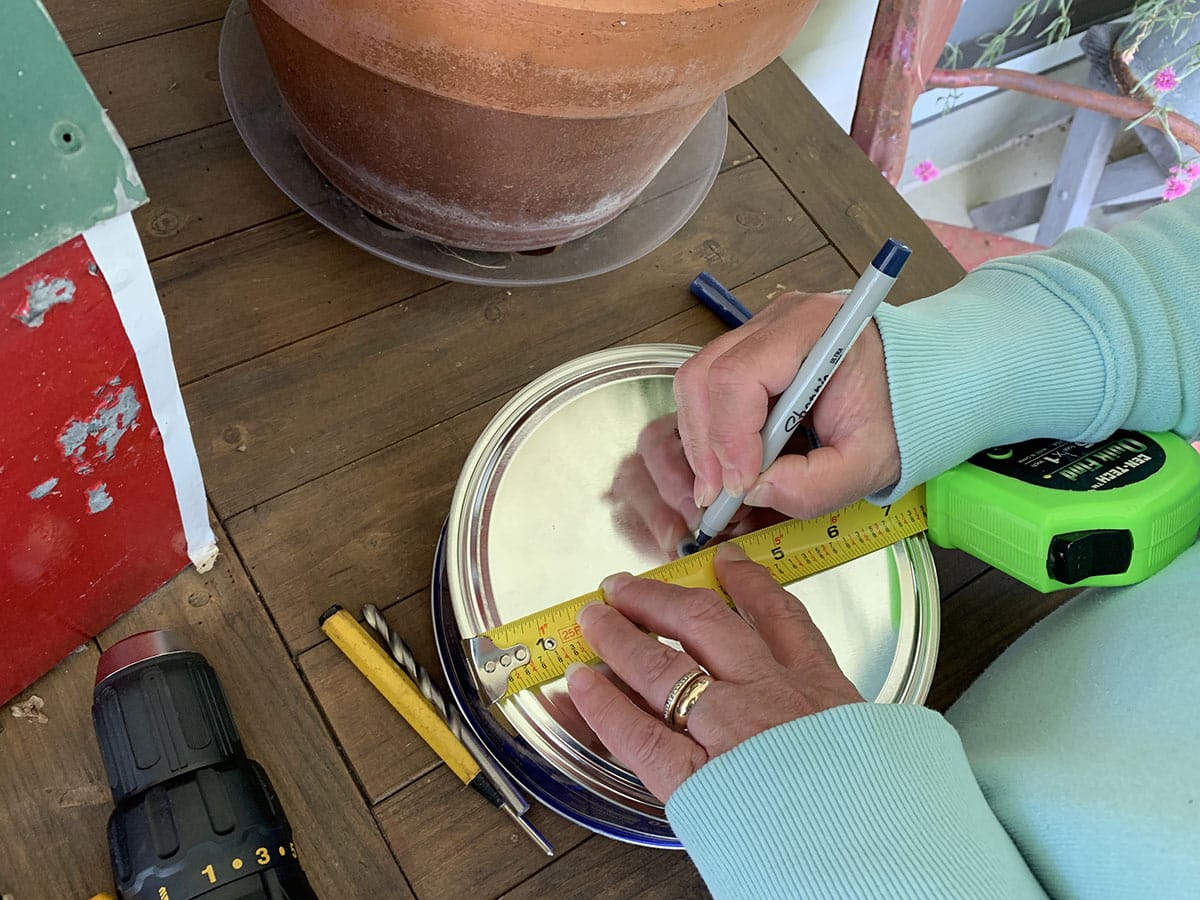
Take a tape measurer and measure to the middle of your tin on both the lid and the base. Mark the center points with a dot with your felt tip marker.
- Score An Indentation In The Middle
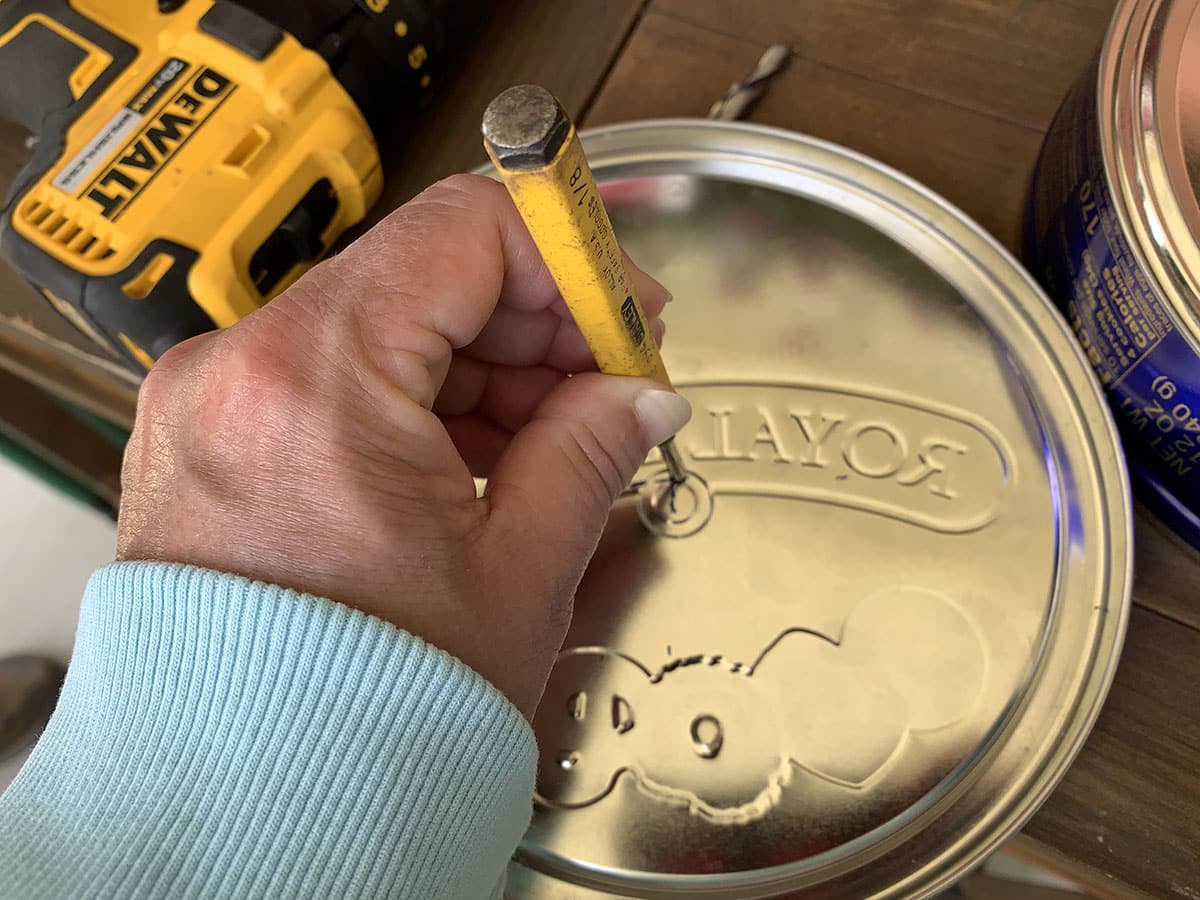
Using your metal punch/awl/center punch (it goes by different names) or nail, tap an indent where you marked with the dot.
This creates a divot so your drill won't start drifting when you start to drill. - Drill Pilot Holes
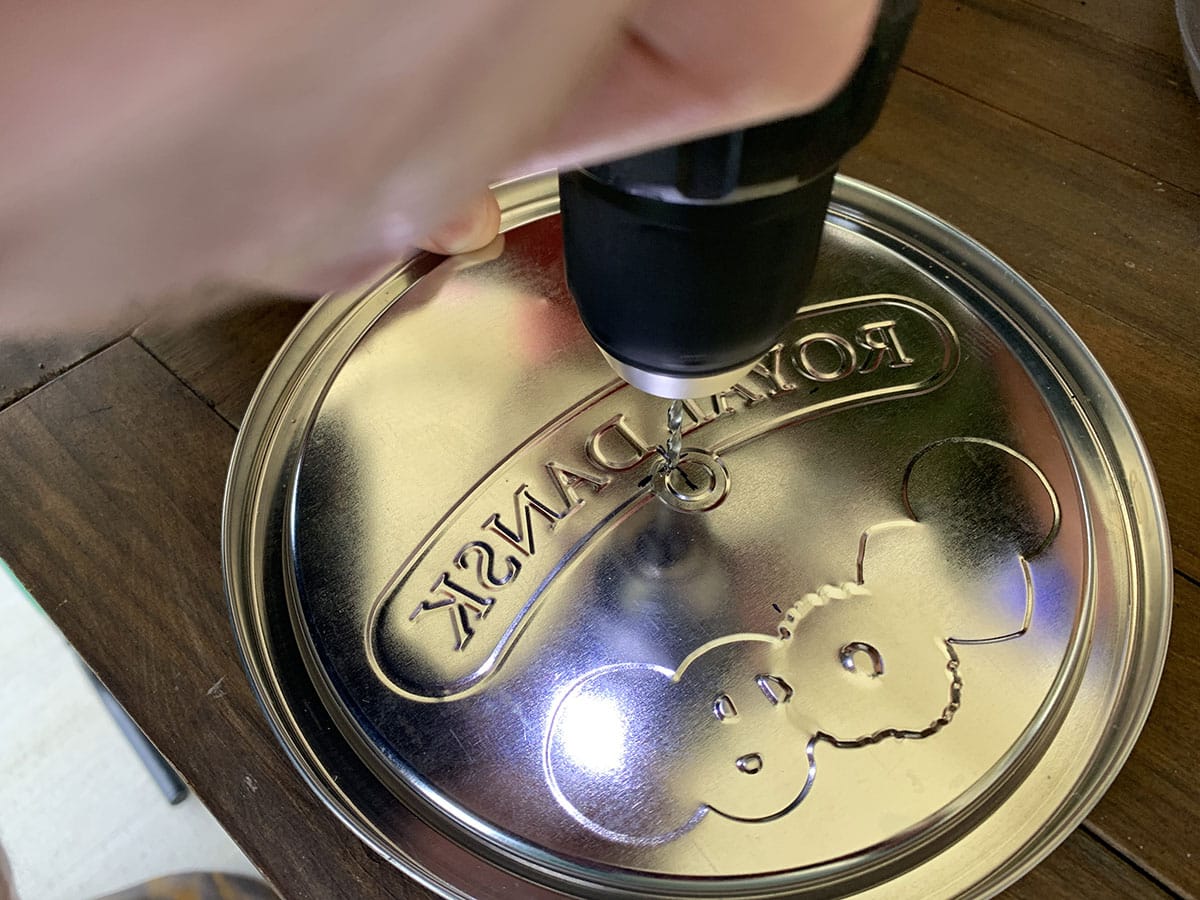
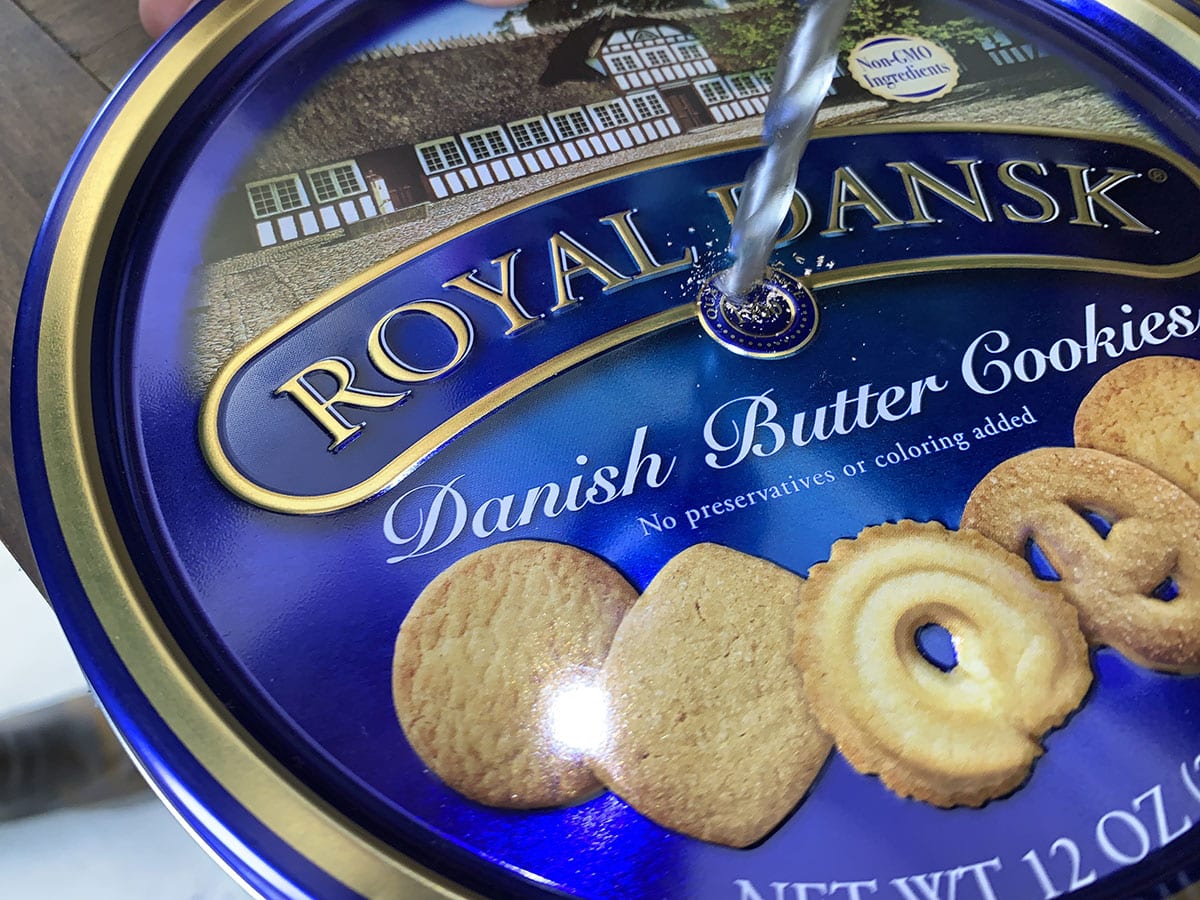
On both the lid and the bottom, take your small ⅛" drill bit and drill straight through the indent creating a pilot hole.
This pilot hole makes it much easier to drill your "real" sized hole. - Expand Each Hole
Using your ¼" bit you will now go through the ⅛" hole to widen it to the correct size.
By going through these incremental steps you will be making a cleaner hole with less jagged edges than if you try to do it all at once with just the large drill bit.
Don't those cookies look yummy! - Make Drainage Holes
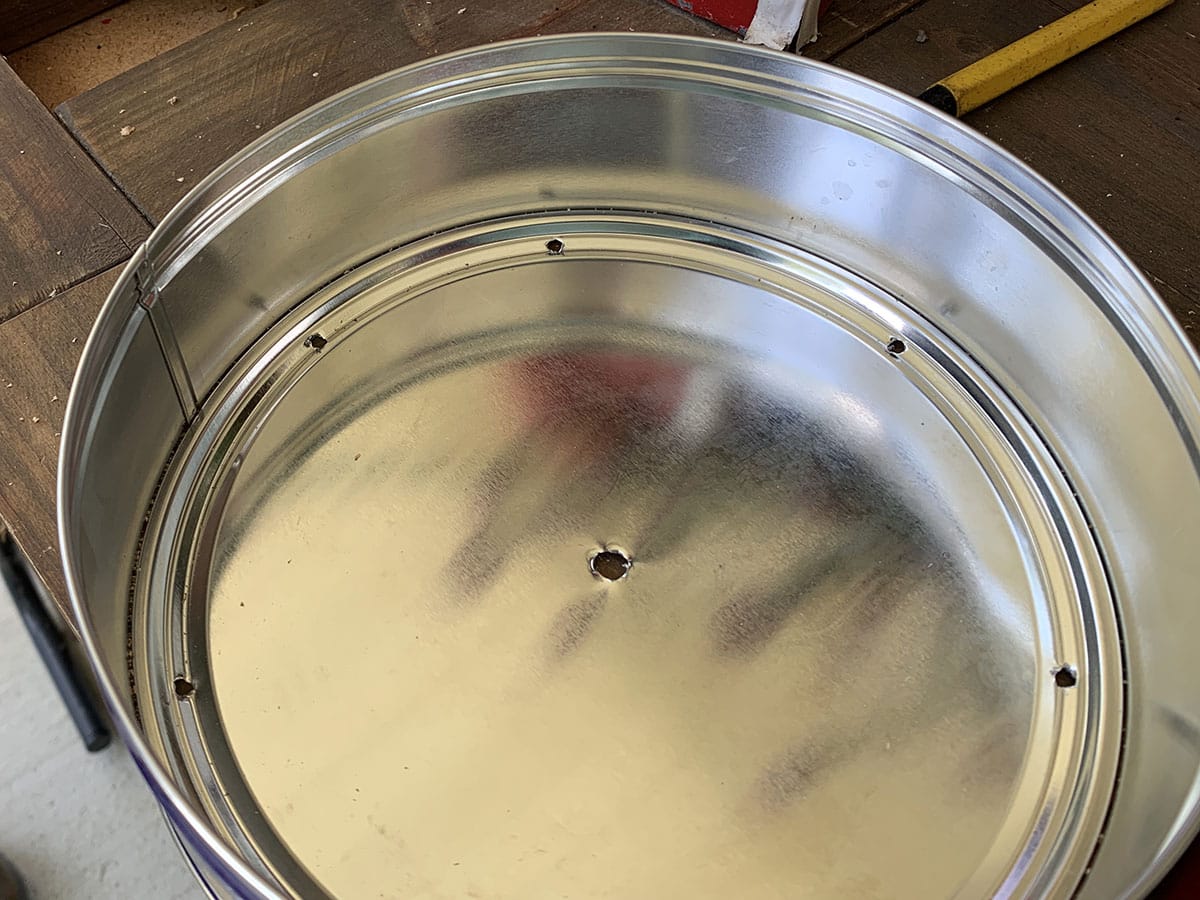
Since this will be outside you will need a way for the rain to drain off the seeds. Take your ⅛" bit and make 6-8 small holes around the edge of the bottom of the tin.
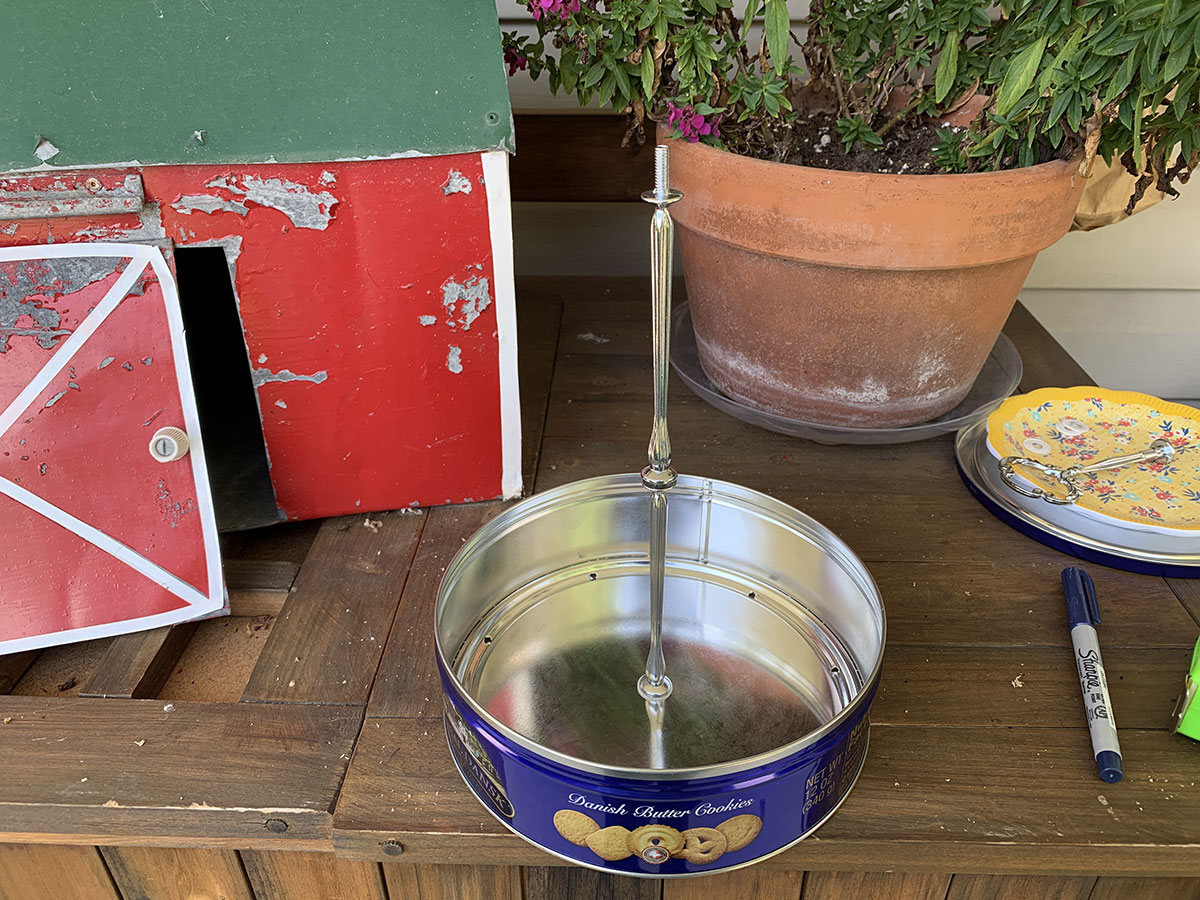
- Attach Hardware To The Bottom
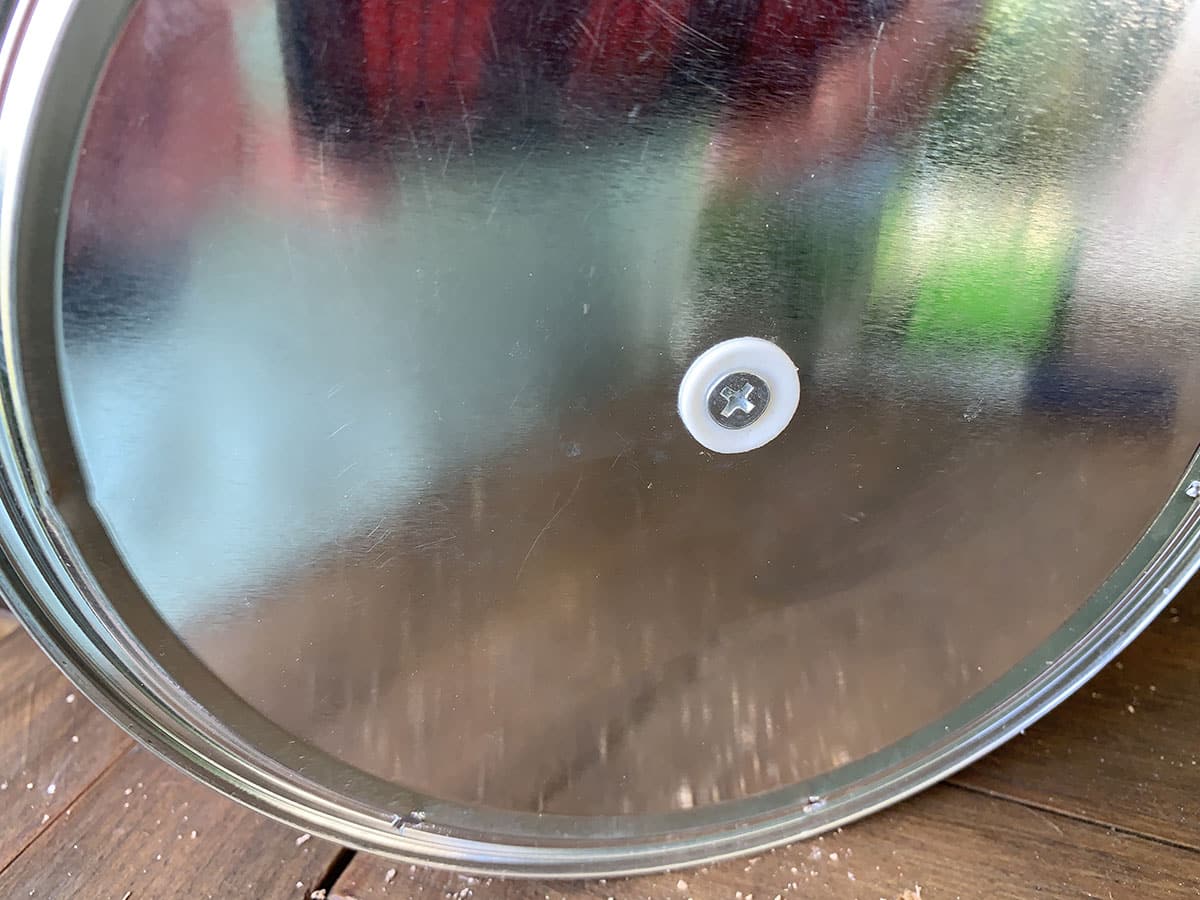
On the underside of the bottom part of the tin slide a plastic washer (they come in the kit) over the screw (also comes in the kit) and thread it up through the bottom.
- Attach Middle Spindles
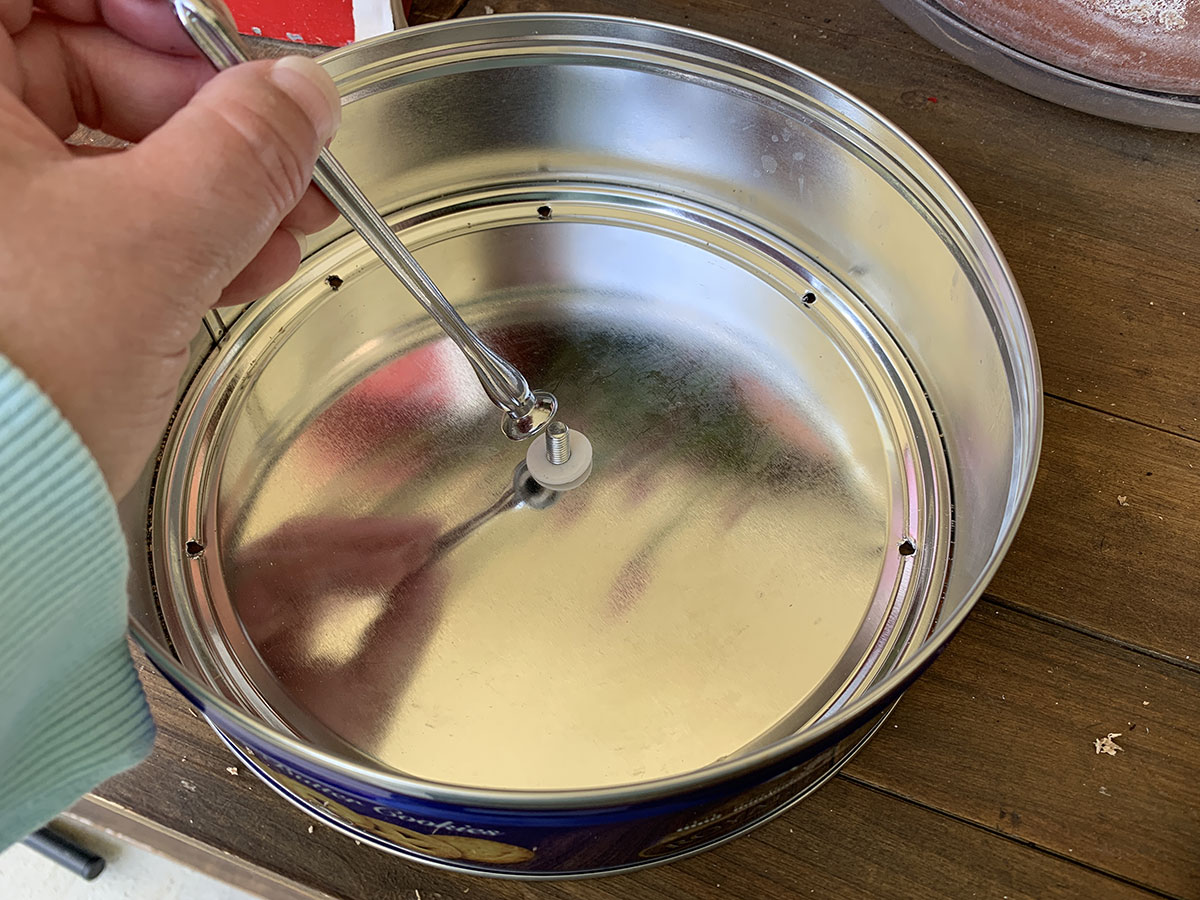
To make a "roof" for the feeder, slide a washer over the screw and attach 1 of the spindles by twisting it onto the screw.
- Add 2nd Sprindle
Screw the 2nd spindle directly on top of the 1st one.
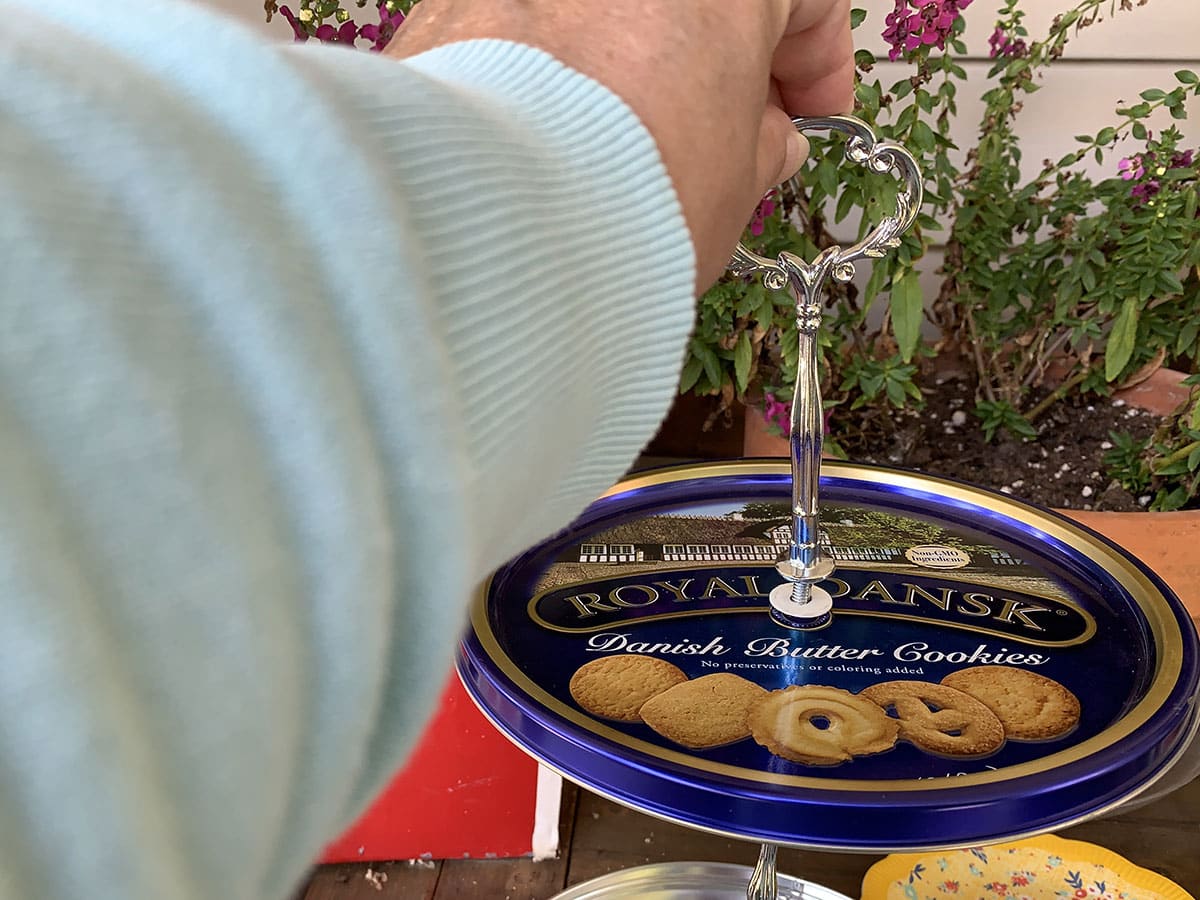
Just one spindle will not make the roof tall enough for the birds not to hit their heads. - Attach The Roof (Lid) And The Handle
Attach another washer on top of those spindles which will be sandwiched between the spindles and the "roof".
The very last item you will attach is the spindle with the handle on it which will serve as the hanger.
Once all are attached you can tighten up the spindles. - Fill And Hang
Fill your feeder with birdseed and hang it in a tree.
🐦Bird Feeding Tip - If you have a problem with squirrels, chipmunks, or whole flocks of odd-looking birds swooping in and devouring your birdseed in seconds try using Safflower seeds in your feeder. Cardinals, blue jays, and other sunflower-loving birds love safflower seeds, but those pesky grackles, starlings, and squirrels do not.
Want To Add A Little Bling?
Now if you want to get all fancy and cute, you can bore out the hole in a wooden spool and slide it over the top handle before attaching the roof.
If you want to get super fancy you can hot glue a sewing measuring tape to the spindle.
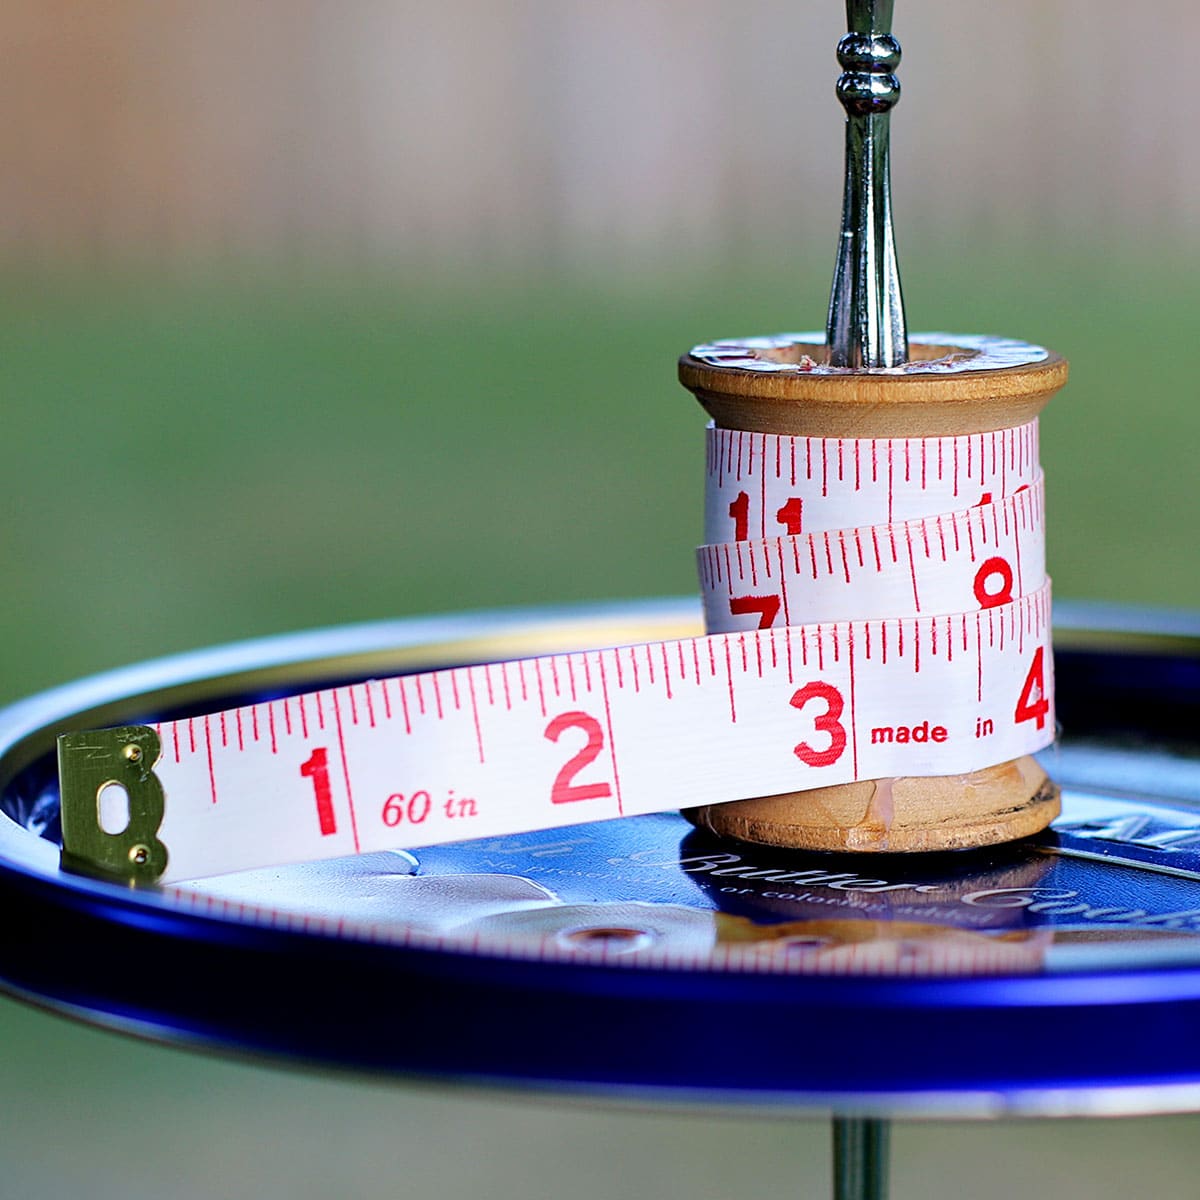
It just depends on how cute you want to get with it. Honestly, the wooden spool and tape measurer will not last a really long time outside in the elements. Maybe a year or so???
But seriously, could I do a post about repurposing a Danish butter cookies tin and not pay homage to the millions of grandmas out there who invented this delightful storage option?
Did your mom or grandma use one of these tins for sewing supplies?

Now let's go see what the other Thrift Store Decor Team members are up to this month!
Thrift Store Decor Team Projects
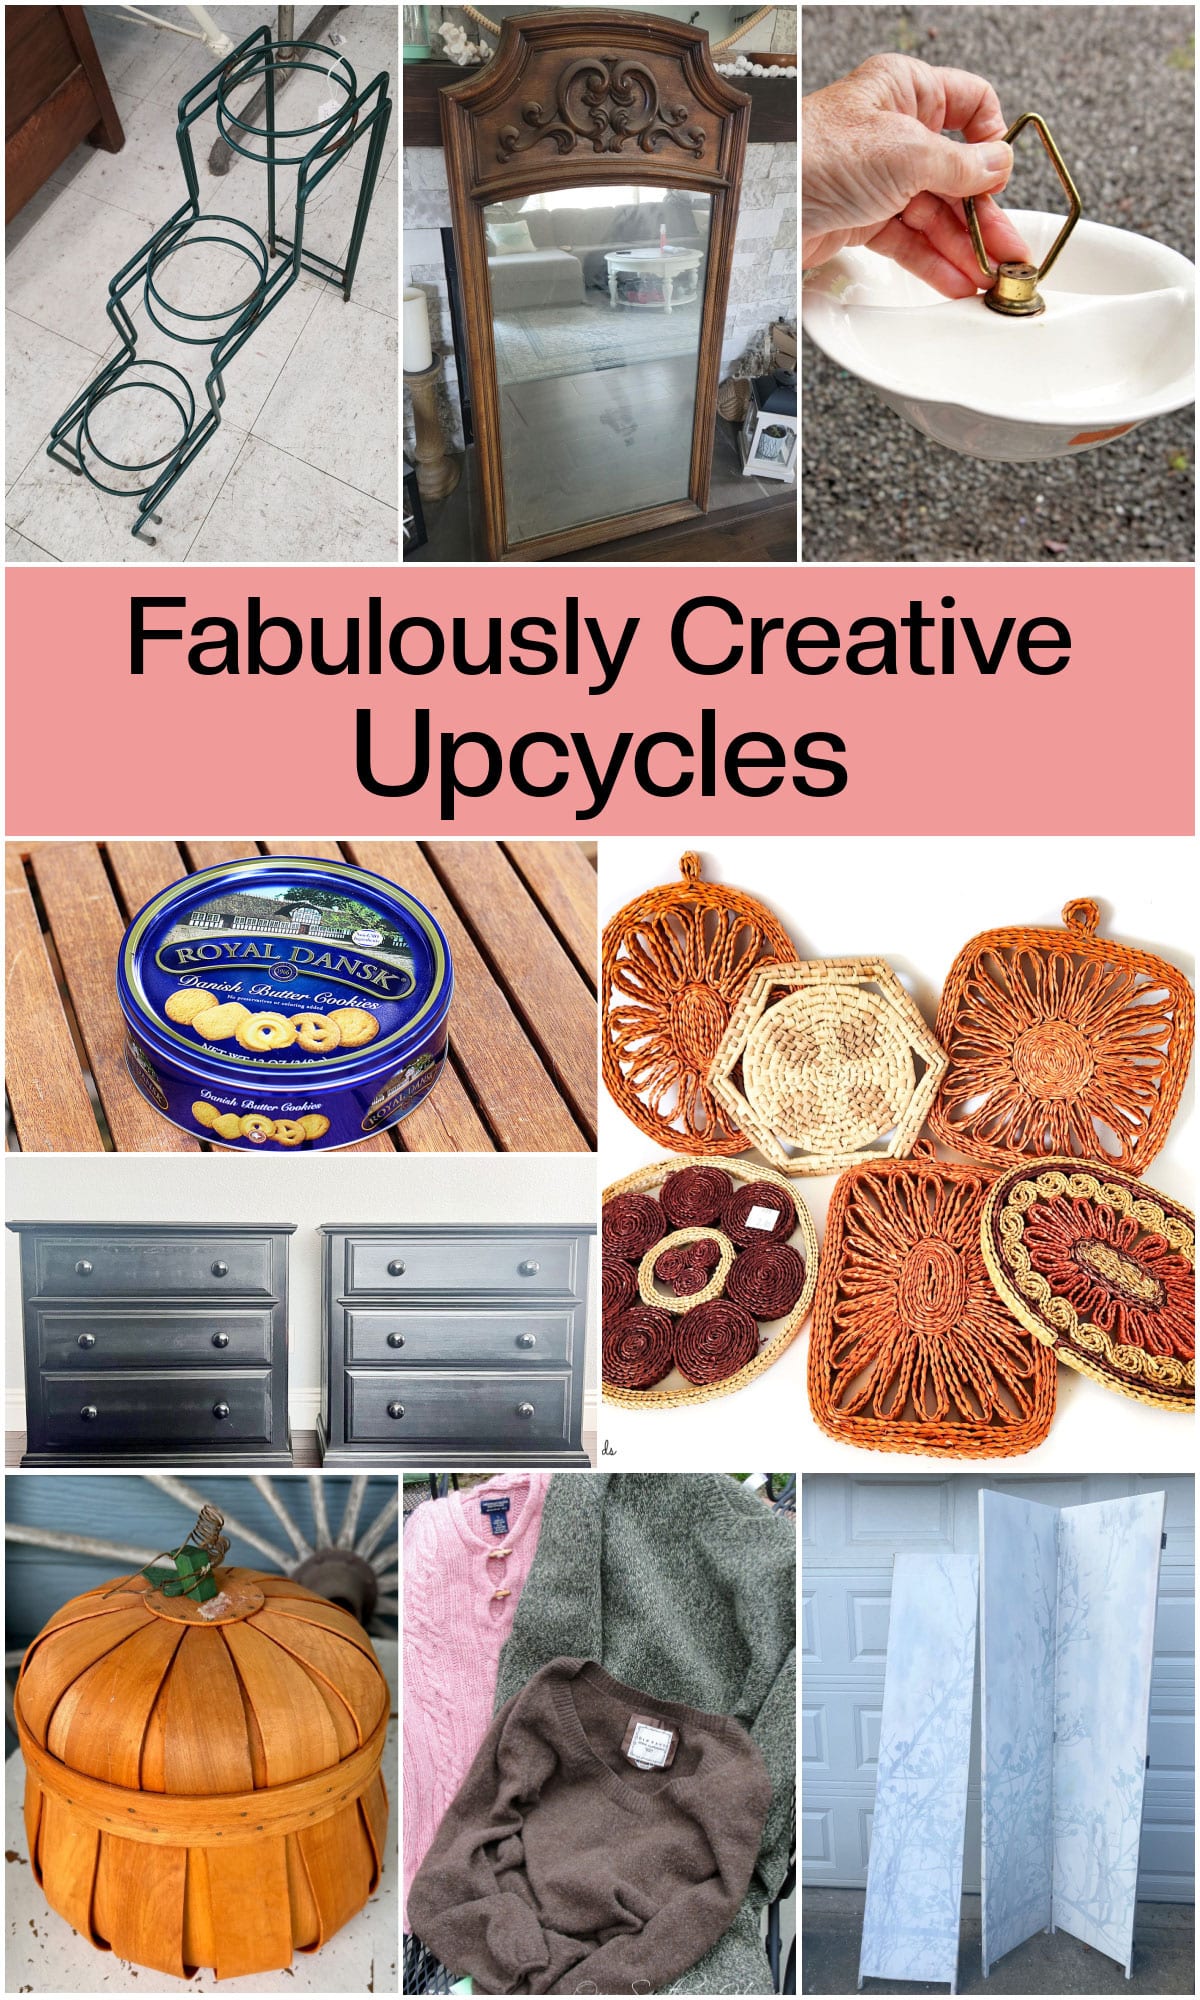
3 Tier Wrought Iron Plant Stand For Fall - My Repurposed Life
Thrifted Pumpkin Basket Makeover - Organized Clutter
Hanging Candy Dish - Petticoat Junktion
DIY Felted Fall Leaves - Our Southern Home
Pumpkin Decor From Straw Trivets - Sadie Seasongoods
How To Make A Painted Surface Look Like Wood - My Uncommon Slice of Suburbia
DIY 3 Panel Room Divider Makeover - Shop At Blu
Easy Modern Mirror Edge - Domestically Speaking
DIY Bird Feeder - House of Hawthornes (that's me)
More Projects You May Enjoy:
DIY Bird Bath Thrift Store Edition


Christy | Our Southern Home
You are so clever! This birdfeeder is adorable. I loved those cookies growing up.
Carlene Blair
Super cute! Very clever, I didn’t see that coming at all.
Leslie D. Schmidt
This is adorable, Pam. We never had these cookies at home. My mom's tin was one that had held a large fruit cake. But it held the same memories. Thanks for the trip on the nostalgia train.
Kristin salazar
What a fabulous idea, I love it! You sure took me down memory lane with my grandparents and parents, cookie tins and coffee tins all over filled with so many surprises!
Maryann
I love your transformation & that cookie tin brings back so many memories.
Donna
Very cute! Great use for all my extra old tins!
Sarah @ Sadie Seasongoods
How SMART to use the cupcake stand hardware. I made a platform feeder once and had to use a threaded rod cut to size, blah blah blah. Such a hassle! But this is so much better...should I make a joke about you being a smart cookie?? 😉
gail
How cute is this birdfeeder!! I really love how it turned out. I'll be making some birdhouses and birdfeeders next year for my new recreational property.
pinned
gail
Sue at Blu
You've done it again, Pam. What a creative feeder. I love the measuring tape addition. PS...My mom's cookie tin was filled with buttons! Pinned