

I promised to show you how I stamped my silverware from this post about shopping at Ikea,so I've put together a silverware stamping tutorial for you.
It is really so darn simple.
First you need to find some silverware suitable for stamping.
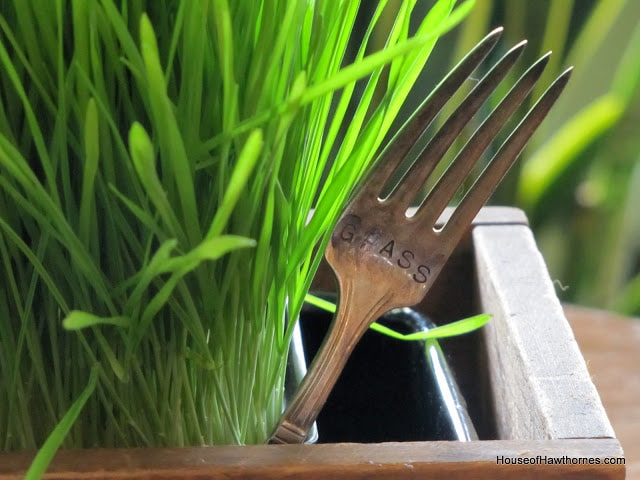
In my experience, silverplated silverware is much easier to stamp than stainless steel.
Can you hand stamp stainless steel? Technically you can, but it isn't advisable for a couple reasons. It will take forever, it is very hard on your stamps and hammers and it is also very hard on your body to be hitting something that unforgiving over and over again!
If you are going to stamp a knife, be aware that a lot of silverplated knives actually have stainless steel blades (again, harder to stamp onto). So in my example below I used a butter knife which was totally silverplated. It's all one long piece of silverplate rather than the table knife which is half silverplate and half stainless.

I bought my stamps about a year ago at Harbor Freight. We have a Harbor Freight in town, but you can order them online also at their website Harbor Freight Online.
They have three different sets listed. I used the ⅛" set. Harbor Freight has things on sale a lot, plus they also have 50% off coupons if you get their flyers or sign up for their email list.
You might think that I shop here a lot, but not really. My husband is their #1 customer though. By the looks of his garage, we should probably buy stock in the company.
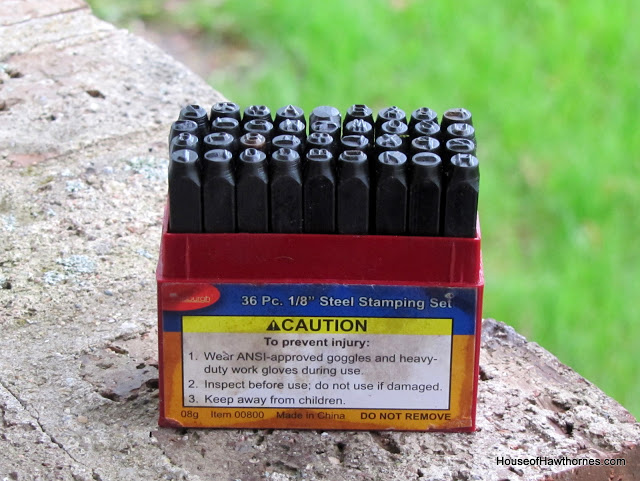
The stamps are long pieces of steel with a letter or number on the end.
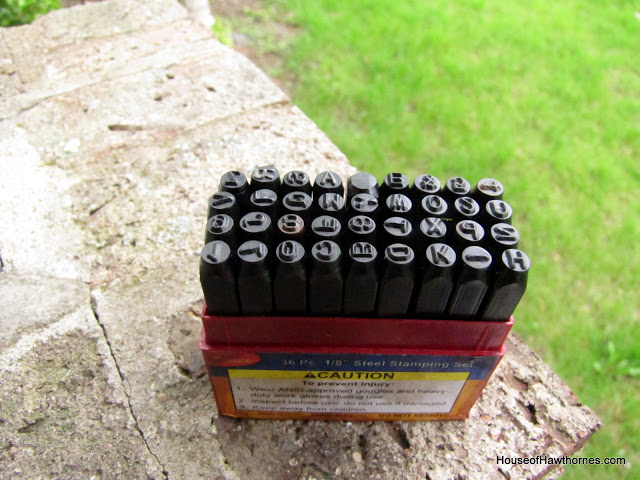
I have recently seen stamping sets at Michaels and JoAnn Fabrics too!
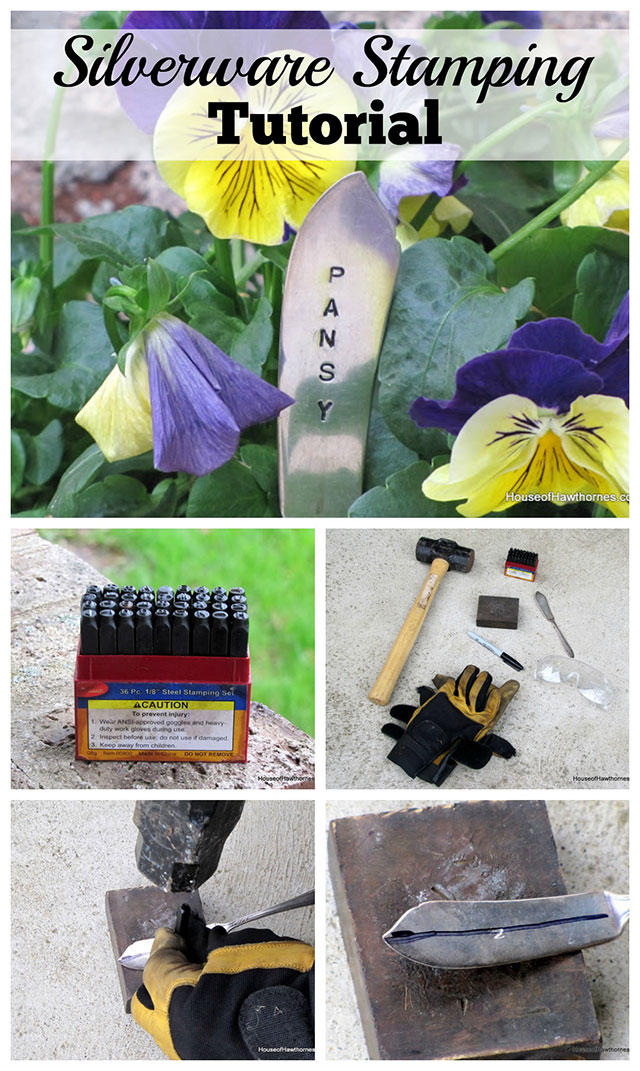
Supplies:
- the steel stamping set
- a piece of silverware
- a hammer of some kind - I prefer a larger metal mallet type hammer (better to smash your fingers with)
- a magic marker
- an anvil or something to stamp onto (I used a small brass block that I found in the garage)
- and for safety you should wear gloves and safety glasses
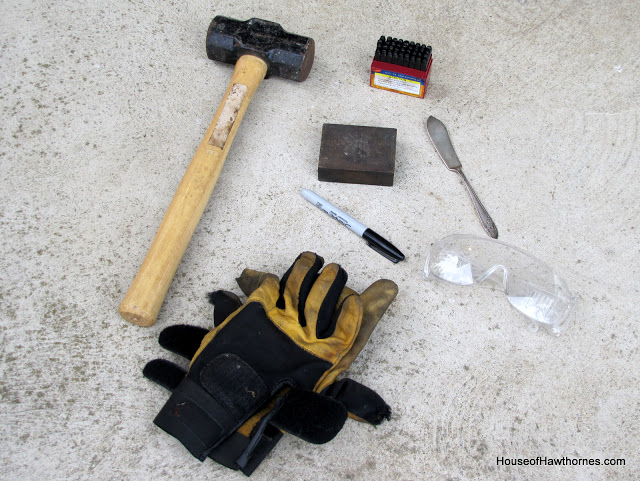
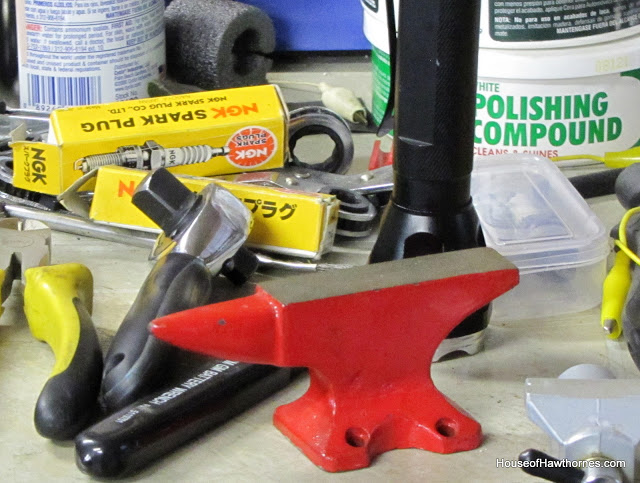
Instead of the brass block, which you may or may not find in your garage, you could use the flat part of a vise
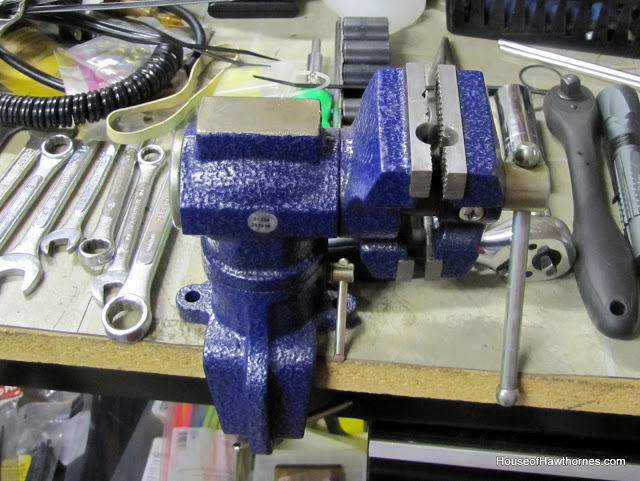
or an anvil.
Isn't this one cute. It looks like a cartoon version. Where's Wile E. Coyote?
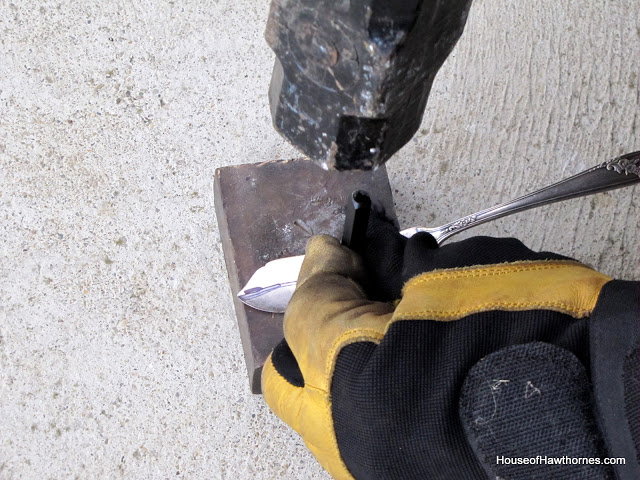
This is where it gets really simple.
I figured out the middle letter of the word I was going to stamp and stamped that letter first. Just give the stamp a good old whack with the hammer.
If you hit it really hard you just need one whack. If you're using a smaller hammer you may need to hit it a few times.
Just be careful to not smash your fingers. I found the gloves really useful to hold onto the stamps more firmly.
I drew a line down the middle of the knife so I could somewhat keep the letters lined up. BTW, I don't go for perfection, to me it's more of a handmade look.
The word was PANSY, so I started with the N in the middle.
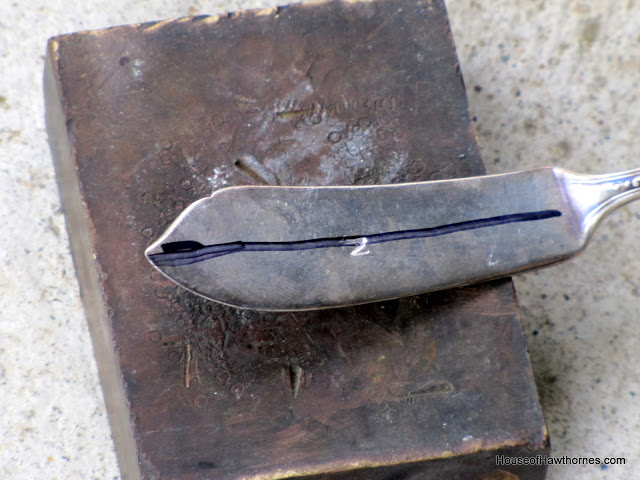
And then went outward from that letter. So after the N, I did the A and S and finally the P and Y.
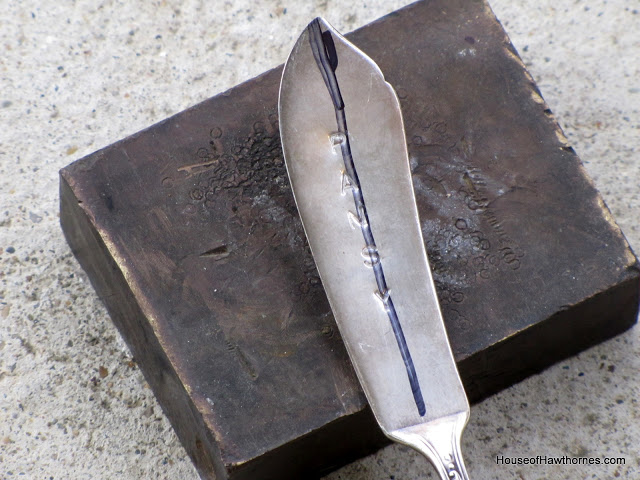
When I was done, I rubbed some marker onto the letters and then wiped the excess off with a paper towel.
You don't have to do this step, but I found it made the letters pop out visually a little more. You can use a Sharpie for this, but be warned that it does dry fast and takes a lot of elbow grease to rub it off.
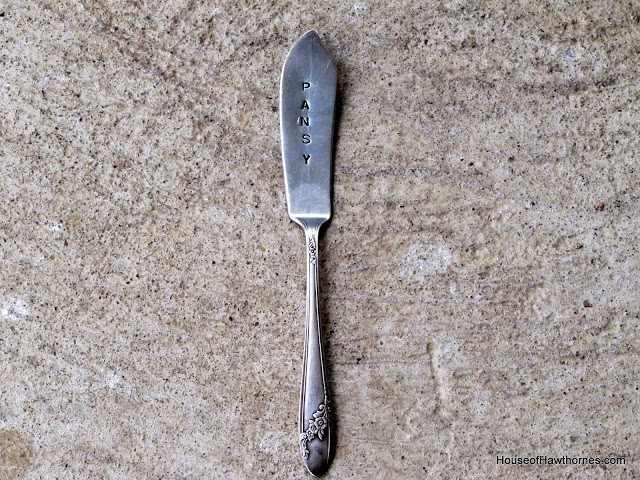
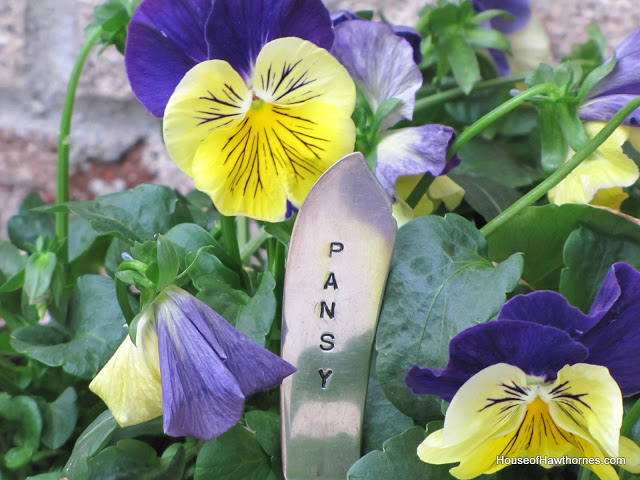
Voila, the only thing left is to put it in a pot of viola (Oh, I crack myself up).
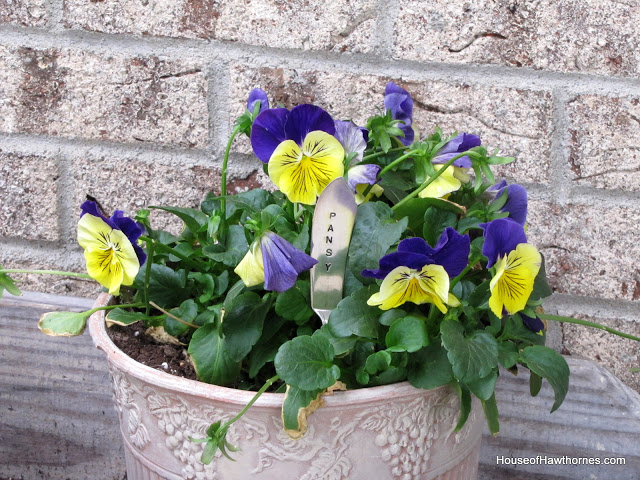
The possibilities really are endless once you buy your stamps. You can stamp knives, forks, spoons, metal jewelry tags or just about anything metal.
Since Mother's Day is just around the corner, I wanted to show you what you could make with a fork.
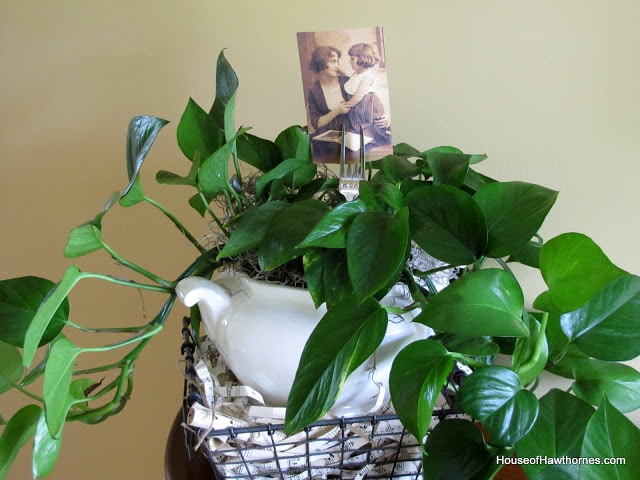
The image is from The Graphics Fairy.
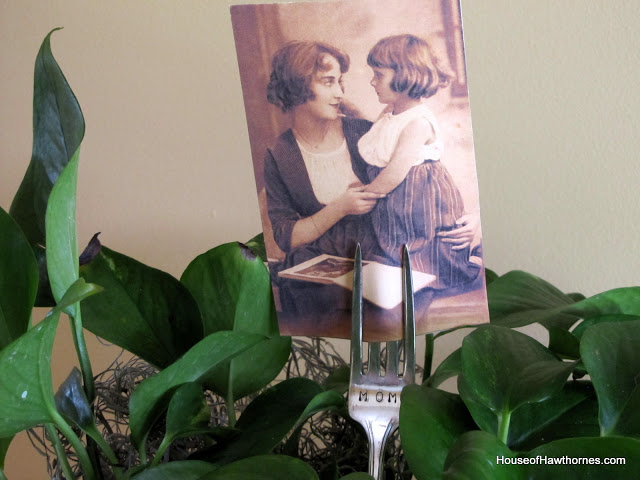
Have fun stamping. Watch out for your thumbs!
Edited To Add:
I've had quite a few people asking about using them for weddings (stamping Mr. and Mrs. on forks or wedding dates, ect). A very cute idea, BTW.
I would say if you are expecting people to eat with them, I would skip the steps about using a magic marker, because that could be toxic. And you certainly don't want to start the marriage off on a bad note. If you still want to do the last step where you "color" them in a little, you could use liquid food coloring and wipe it into the letters a little.
And I would pick up a couple extra pieces of silverware, so you could practice first, because it does take a couple tries to know how hard you have to hit it to get a clean indentation.
Cute Sayings To Stamp On Wedding Silverware
For Forks (one on each fork)
- Mr/Mrs
- Bride/Groom
- I Do/Me Too
- Mrs Smith/Mr Smith
- Love/Birds
For Spoons
- Spooning Since 2016
- You Make Life Sweeter
For Knives
- Spread Love (Laughter, Joy, Peace also work)
- Forever & Ever
- Always Forever
- Meant To Brie
- The Best Is Yet To Come

Other Posts You May Enjoy:
Spring Teacup Table Decorations
Michelle @Shellsshabbyshack
Pam,
I've been dying to see this tutorial and my computer was down for most of the day. I'm so happy you shared this. I can't wait to try it. The stamps are really inexpensive..I'm surprised. We have a Harbor Freight less than 5 minutes away.
Great tutorial! Love the "mom" fork with photo.
Thanks for sharing! ~Michelle 🙂
Jane
Great tutorial...informative and entertaining! I didn't realize the stamp set was so inexpensive. I'm going to order some! Thx!!
Jane
⚜ ↁℯℬℬᴵℰ⚜
Love this idea Pam!
Carol A.Bender
My daughter just started to do this. I love it! I especially love your mother's day gift idea.
Beverly@southernhomesweethome
Thanks so much for sharing that! I love stamped silverware..
Sarah
How cool!
Christie
Love that!
Sherry
That is wonderful! Love how simple that was and cute!
Sherry
Kim K.
Awesome tutorial. Great ideas for Mother's day.
marty (A Stroll Thru Life)
This is just so cute and such a great tutorial. Love it. I need to try this. Hugs, Marty
Sherry@Back2Vintage
This is fascinating!!! Thanks for sharing!!!
Tete
Love it and thanks for sharing your secret! You are so sweet and I have loved your forks forever! Would you ever think about selling some?
Hugs- Tete
Pat
I would have never guessed how to do this. Your choices are so pretty. Now you have to come up with more ideas for our stamped silverware! Thanks so much!
Pat
Wanda @ Just Vintage
They're darling! And thanks for the encouragement! You didn't realize you were encouraging me, did you? I've had my stamps for months now. Since last fall? Maybe? But just can't get up the courage to try it. Who knows why? Maybe your post is just the one to cause me to pull it all out and give it a go.
Happier Than a Pig in Mud
I love it and can't believe a set of stamps is only $5! This may be something to add to my list of wanna-do's:@)
Pattie
Those are so cute.. I may just have to try this.. hope your having a good Sunday
Pattie