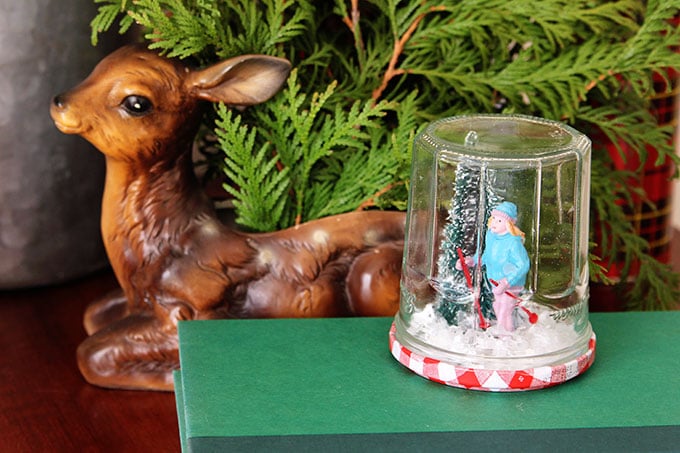
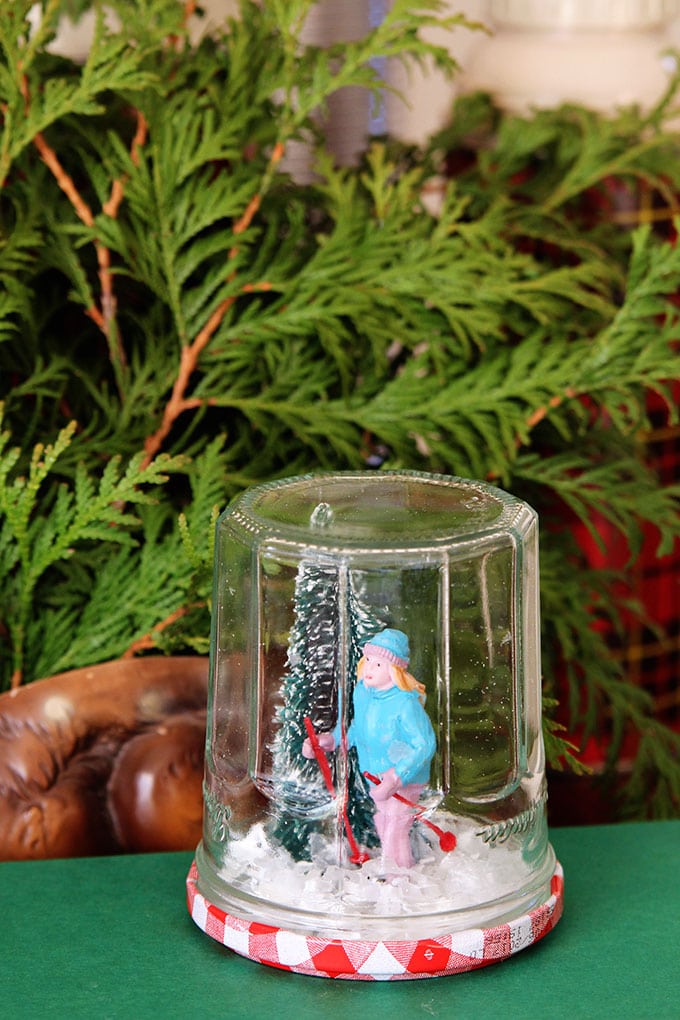
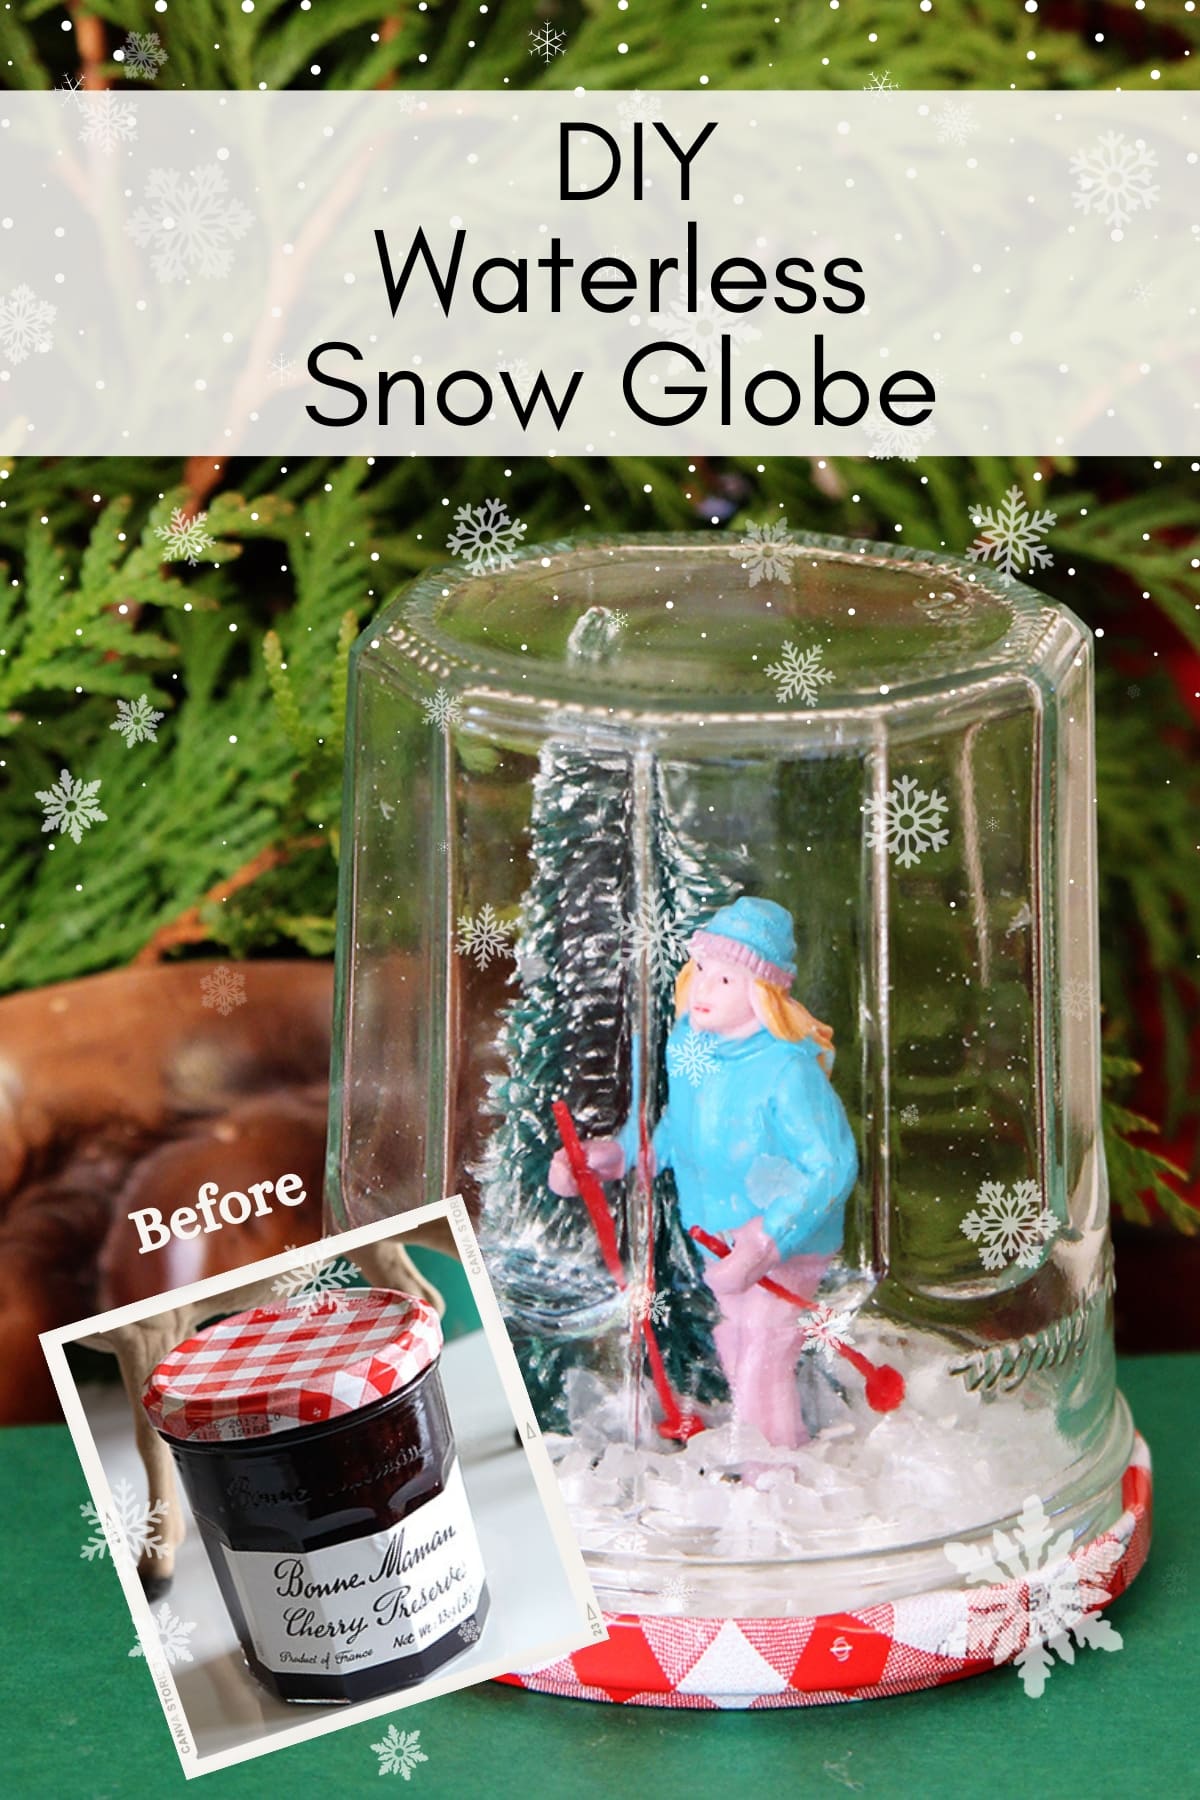
That's me in that DIY snow globe there.
Just cross-country skiing through life. Eyes forward, head up, not a care in the world.
No idea I'm about to butt my head up against the glass.
Just in my own little world, waiting for someone to come along and shake it up a bit.
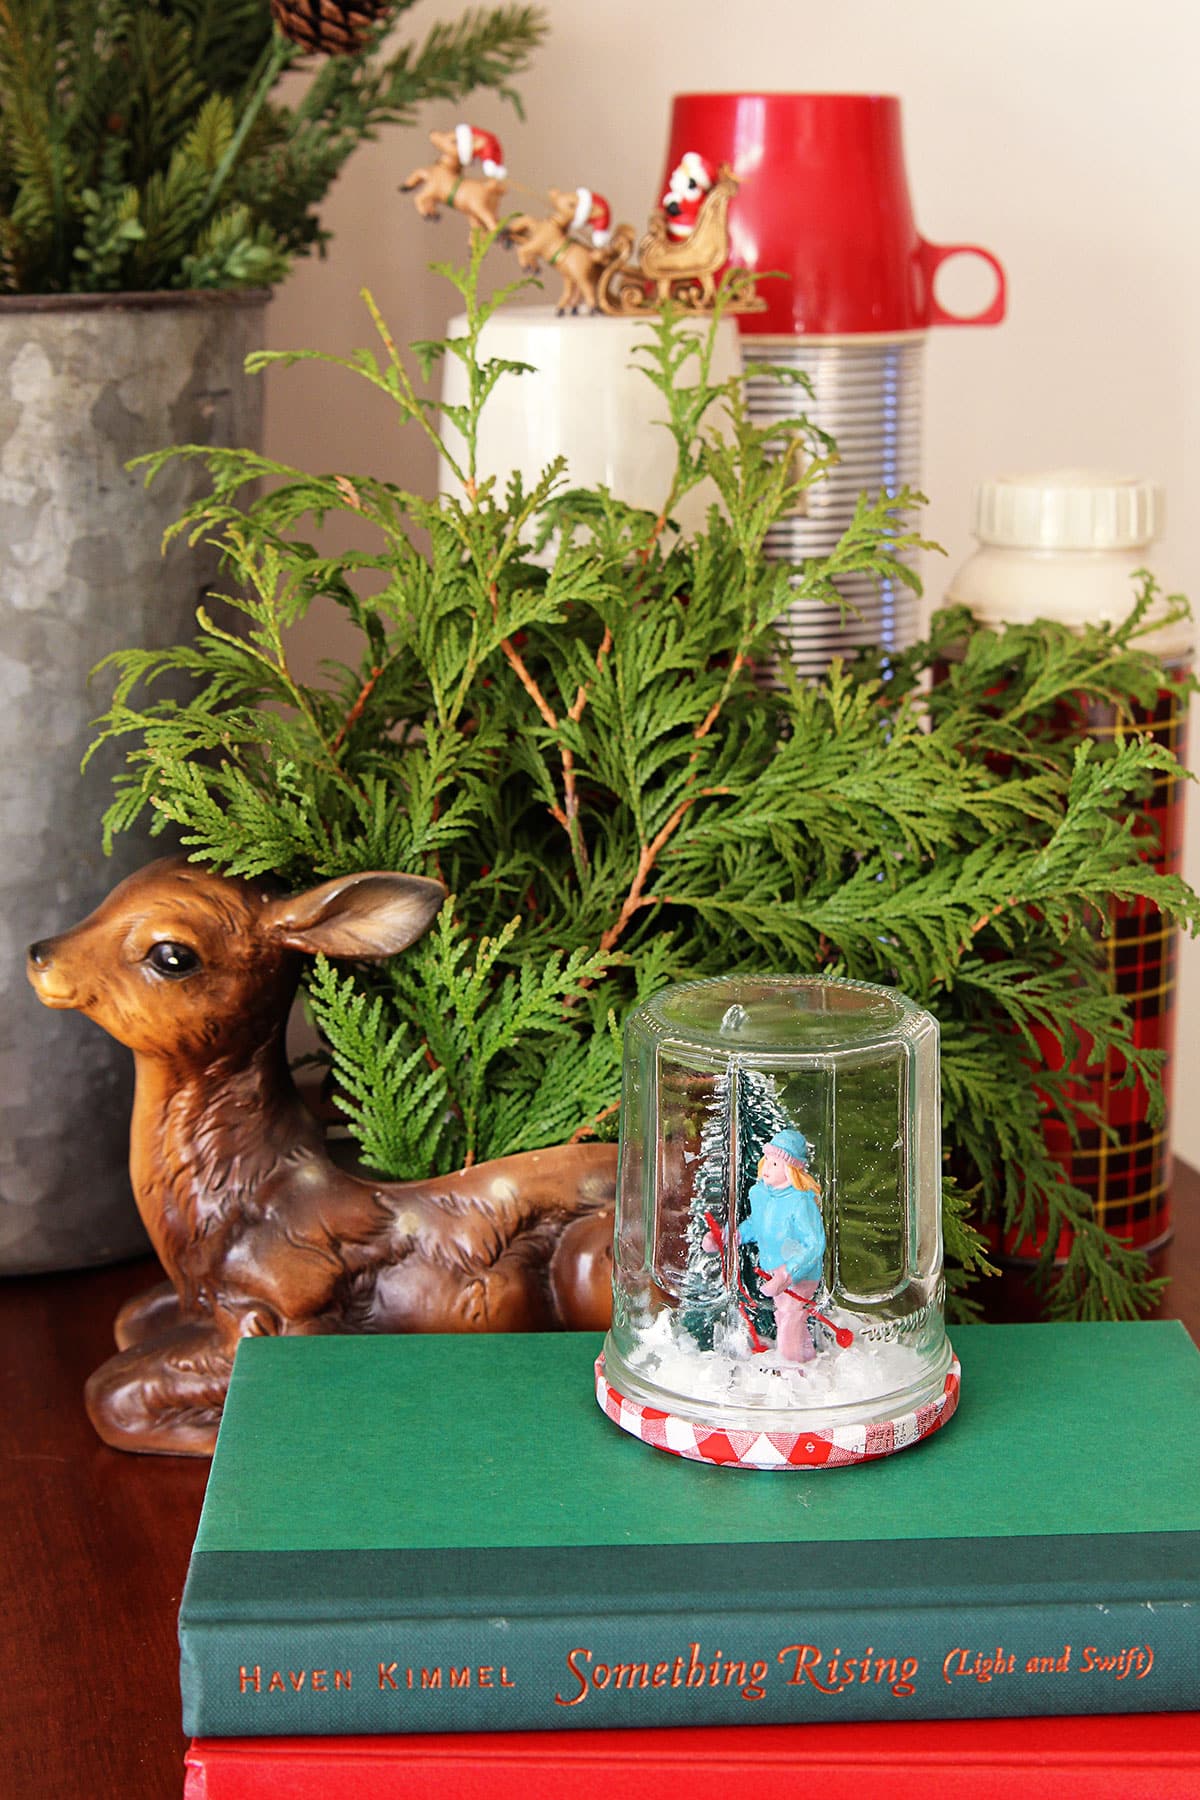
I do love a good snow globe though! But I don't like the water in them, because eventually the water leaks out or dries up and then you are out of luck.
No chance of that with my DIY snow globes, because THERE IS NO WATER INVOLVED!
If repurposed thrift store finds are your thing, my friends and I have collected over 100 Best Thrifty Christmas Decor Ideas all in one place for you.
(This post contains some affiliate links for your convenience. You can read my full disclosure policy here.)
DIY Waterless Snow Globe
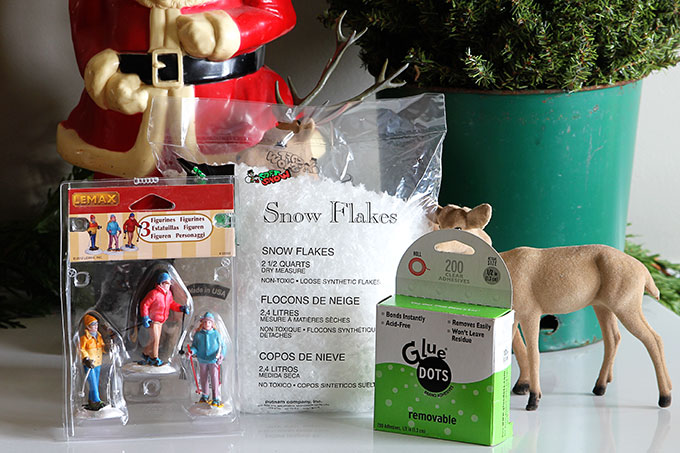
Supplies Needed:
- Glass jar (jelly and pickle jars are good choices)
- Fake snow (my favorite fake snow for snow globes)
- Glue dots or hot glue gun
- Figurines and/or mini craft Christmas trees (can be found at craft stores, model train stores, flea markets, dollar stores)
Instructions:
Find a super cute jar. Yes, not all jars are created equal.
I like the 13 oz Bonne Maman jelly jars for this because they have festive red gingham lids and the sides of the jars are pretty much straight up and down.
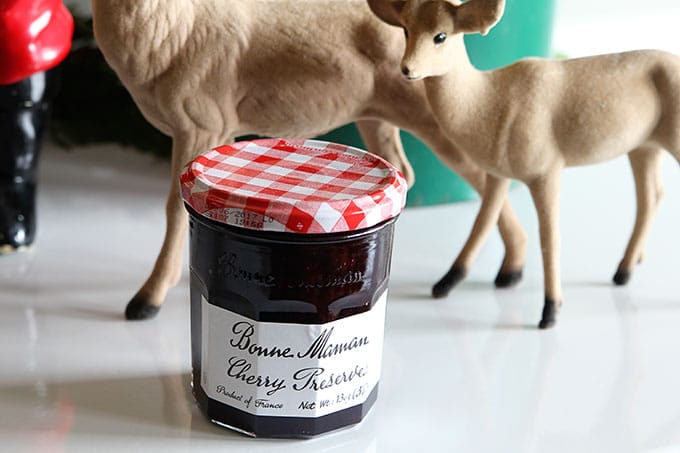
Smucker's has jars with gingham lids also, but the mouth isn't quite as large. And this is one time where having a big mouth is a good thing.
Move the jelly to another container, so you can eat it later. Then soak the jar to remove the label.
Dry jar thoroughly.
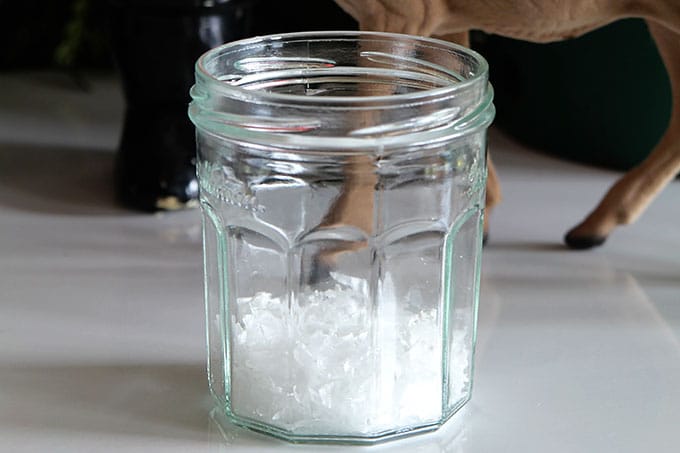
Put a couple of teaspoons of fake snowflakes in the bottom of the jar.
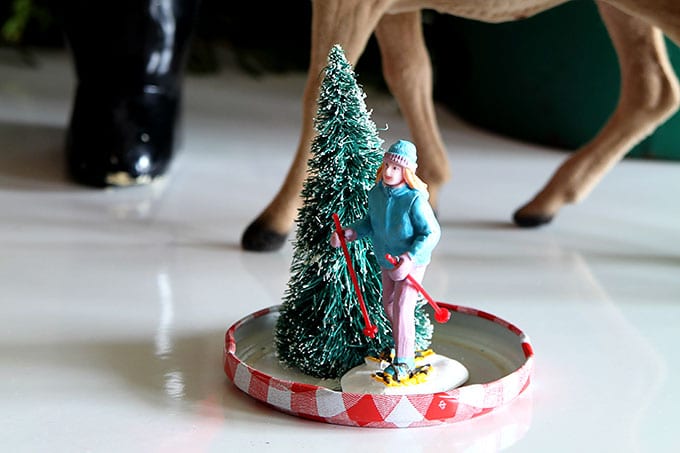
Glue your skier or whatever figurine you choose to the lid.
You can either use glue dots or a hot glue gun. (Although I showed you glue dots in the photo, I ended up adding a bit of hot glue just to make sure it was stuck down well enough to make it through a few blizzards).
Screw the lid back on the jar, being careful not to let all the blood rush to the head of your skier.
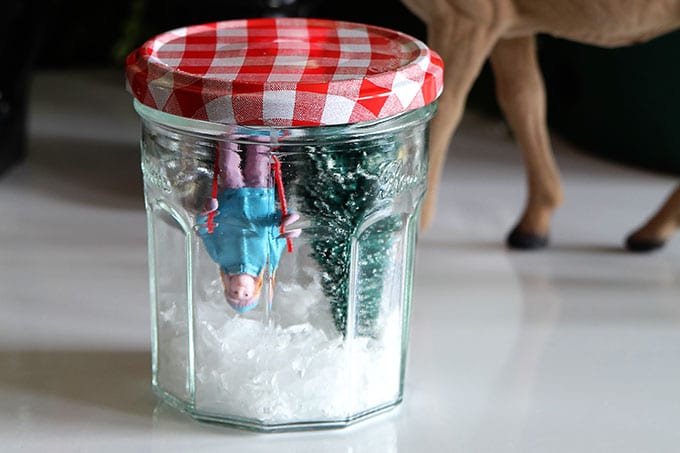
Turn the jar over and shake the "snow" down to the bottom.
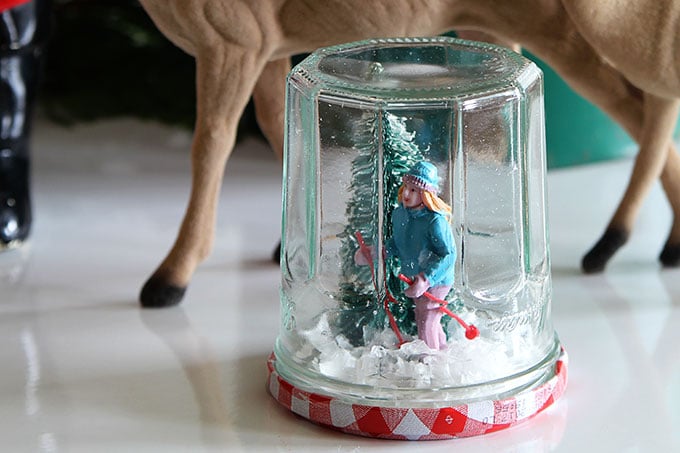
And that's about it. All you have to do now is find a fun place to display your new waterless snow globe.
Now you can go back to making my famous Tom & Jerry drink recipe, baking Christmas cookies and wrapping all your Christmas presents.



Candi
I came for the craft idea, stayed for the smarty pants writing! Thank you.
Vickie
Love the waterless snow globe, Pam! Our oldest daughter made them one year, and several of them leaked all over the furniture they were sitting on. Bad.
melinda
Super easy and fun to boot!!
M : )
Brenda Kula-Pruitt
I love it! And I especially love the way you write!
Brenda
chris aka monkey
you crack me up, i love this we have 2 toddler monsters here and i could glue a water globe to the 16' tall ceiling and they would get it and have water all over before i could jump the toddler gate and get to them, this way i could glue the lid shut and won't have green grody water next year lol xx
Linda @ Itsy Bits And Pieces
This is so cute, Pam! I've made snow globes before...but have never thought of using the little characters and accessories from the craft store! I feel like a whole new world of snow globe making is open to me! Thanks for sharing...pinning!
Sherry@Back2Vintage
Your sense of humor is the best part of this post, though I love the snow globe, too. Great tutorial.... I just might have to try this! Thanks for the holiday inspiration.... and humor!!!