

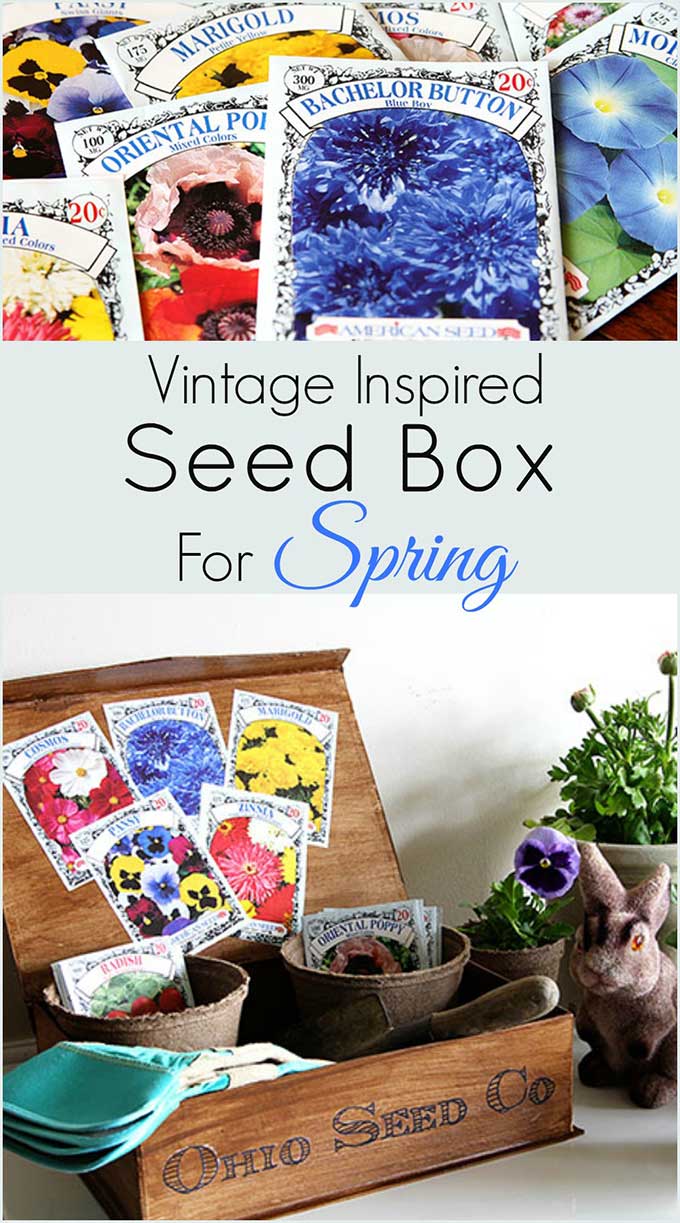
I have been lusting after all the vintage seed boxes that I've been seeing around the internet.
Lusting after one doesn't make me want to spend upwards of $100 for one though.
You know me, I'm cheap with a capital C. (I guess I could have just spelled it with a capital C then).
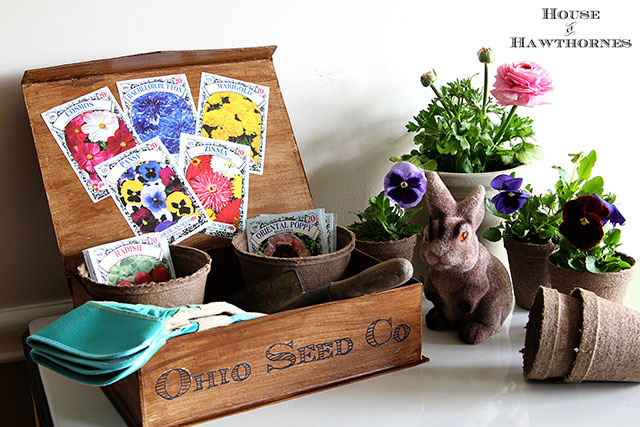
So I decided to try my hand at making one myself.
Authentically vintage? Not really.
In my price range? Absolutely.
How To DIY A Vintage Inspired Seed Box
Supplies:
- Paper mache box
- Water-based stain
- Seed packets
- Mod Podge
- Super cute doodads to accessorize your seed box
Directions:
Now, you could use an old wooden box for this, but for some reason around here old wooden boxes cost an arm and a leg. Possibly a spare kidney too.
So I decided to use a paper mache one I found at Jo-Ann Fabrics instead.
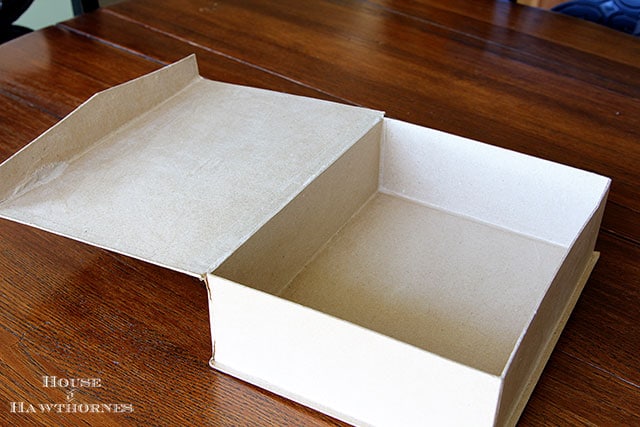
It was part of a set of nesting boxes with attached lids and the whole set of 3 was around $9. But, or course, I used a 40% off coupon.
No need to pay full price at Jo-Ann's. Ever.
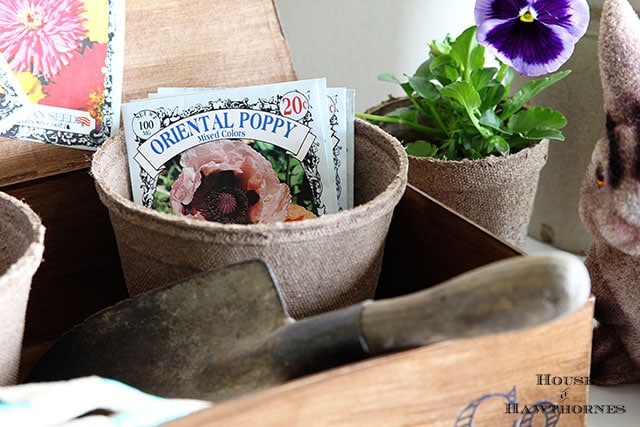
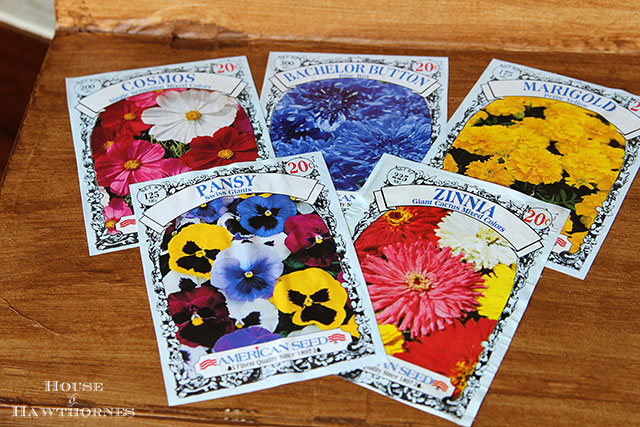
I found these colorful seed packets at Wally World (Walmart to the rest of you).
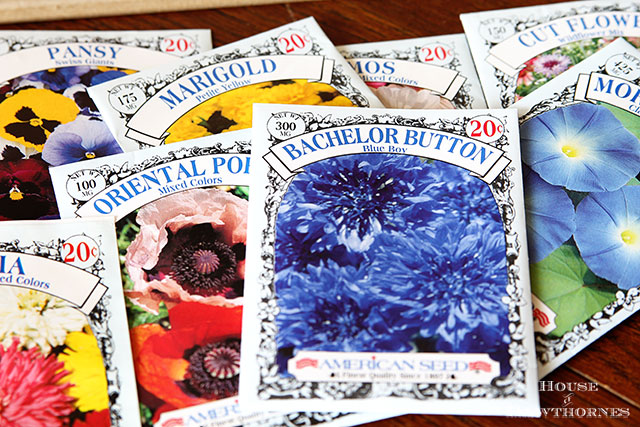
I loved them, first of all, because the graphics and design have a vintage look.
And second of all, they were 20 cents each.
So not only were they inexpensive, but the 20 cent price printed on the packet made them appear that they were from a long time ago. A time when seeds actually cost 20 cents a packet.
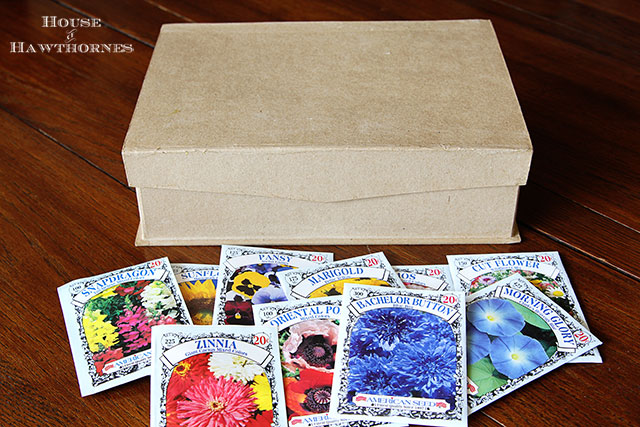
I started out by staining my box with Minwax's Express Color in Pecan, which is a water-based stain.
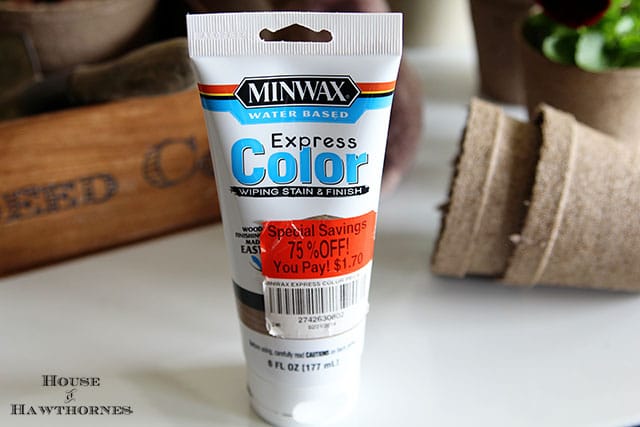
Notice the clearance sticker and price. They only had this one tube with that price tag on it, so Mrs. Cheapo grabbed that tube.
Now, I'm not a chemist here or anything, but staining a paper box with regular oil-based stain seemed to be courting a fire or spontaneous combustion or something. So when I saw this water-based stain I thought it was the way to go.
I applied the stain with a foam paintbrush, just painting it on in long strokes, to mimic wood. You can use a rag to apply it, but you won't get the same faux graining as a brush.
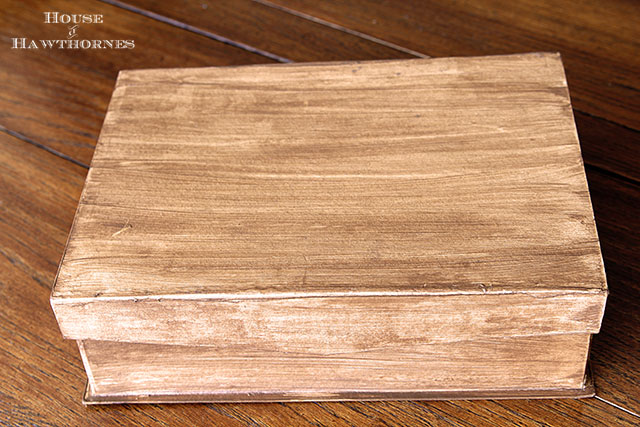
It does look rather wood-like, I might add.
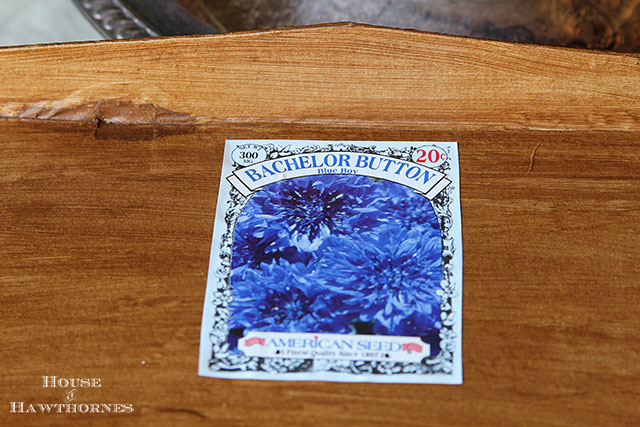
Then I cut the front covers off the seed seed packets that I wanted to Mod Podge onto the lid.
And put the seeds and the back covers into plastic bags, so that I could still use the seeds later.
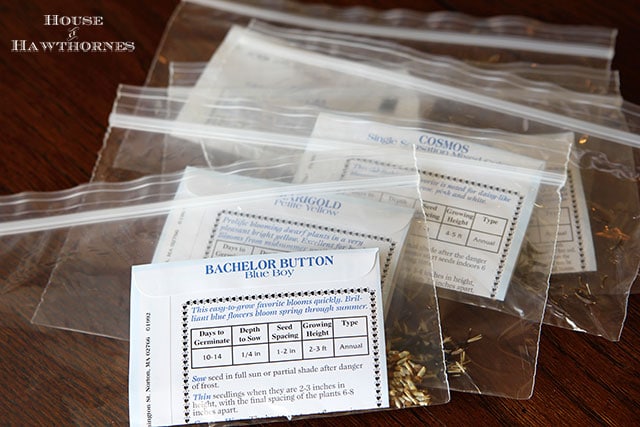
I also thought this would come in handy when the DEA finds a bunch of baggies in my cupboard 🙂
I applied the Mod Podge to the back of the packets and "glued" them into place.
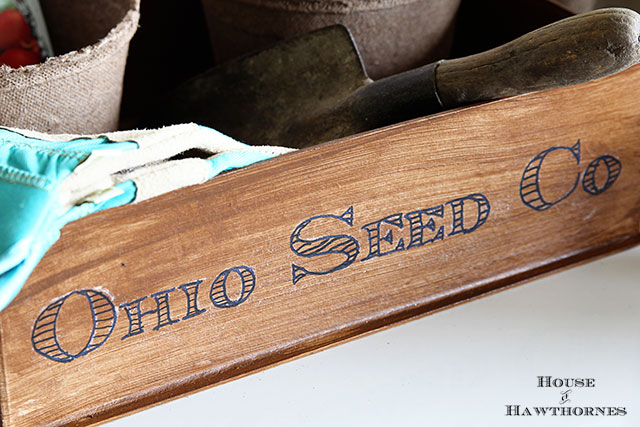
For the writing on the front of the box, I just printed out some wording on my computer, rubbed chalk onto the back of the paper, traced over the letters to get the chalk outline onto the box and then went over the chalk with a black Sharpie.
Originally, I had planned to distress my seed packets with those fancy inks from Tim Holtz.
Totally off topic, but did you know that Howard Stern, the radio personality, is a fan of Tim Holtz's inks. Small world.
Anywho, I tested a brown distressing ink out on a sample seed packet and because the packets have a sort of blue color to them, the distressing was coming out a distressingly strange color.
Not Mr. Holtz's fault, just couldn't get the look right, so I just skipped the distressing.
So, totally different look than I originally envisioned, but you know what? I'm sort of liking the bright colors!
We've had a long, hard winter and by golly, I'm going to let my bright and sunny freak flag fly!
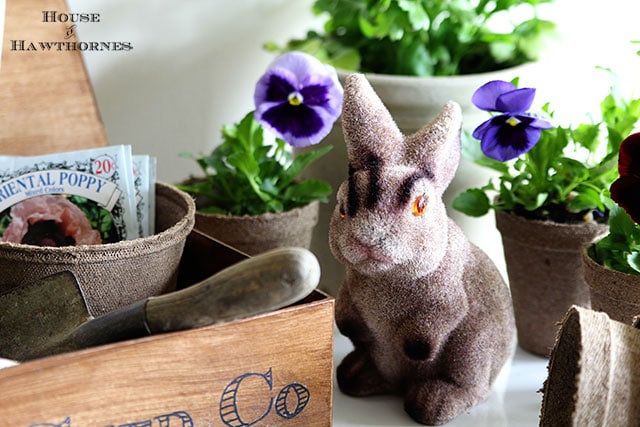
Almost forgot, the bunny wanted me to show you that he has a problem.
He has hole in his back.
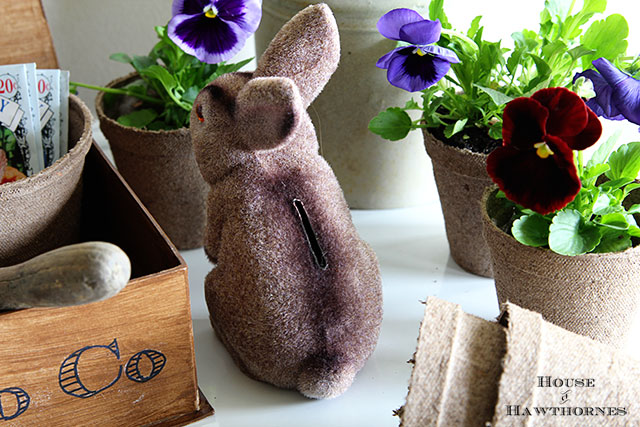
May have been a knife accident.
May be that he is a bank.
Could go either way.

Do you have a love of these old vintage seed boxes too?
If you have one I'd love to see it. I promise I won't be jealous when you tell me you found it an an estate sale for 50 cents.
Other posts you may enjoy:
DIY Easter Egg Temporary Tattoos: Vintage Style
Vintage Easter Images: Adorable Free Printables
ThrifterSisters
You ARE a crafting guru!! This is the sweetest idea and I am definitely pinning it. I am a little craftily challenged but you did an amazing job breaking it down! Even I should be able to figure it out (maybe).
Have an awesome weekend!
Erica
Robin Johnson
Your seed box looks amazing! What a fun project.
P.
Great project! Thanks for sharing how you did it. Hey, that flocked bunny bank brought back memories. We had those as kids ('60s and '70s).
The Speckled Hen Cottage
Oh to cute! But, the bunny's kind of scary! I see a pretty purple pansy peeking out~~~
Linda @ Itsy Bits And Pieces
This turned out so great, Pam...love the box technique, I thought it was wood! Thanks for the tip about the water-based stain!
Faye
This turned out really good! I love the seed packets, they really do have that old tyme look. You did a great job!
heidi defaut
as usual, i loved your post. very clever.i find it to be so much more fun to create something like this than to just get it somewhere. you did a GREAT JOB!
Cozy Little House
I already saw this on Pinterest and pinned it. Love these boxes! The real deals are REAL expensive.
Brenda
TARYTERRE
LOVE the seed box. Clever way to get one.
The Old Parsonage
I've found that there are usually no original ideas - it's jut that they are original to us:)
Love your version and thanks for the quick tutorial!
Leann
Musings from Kim K.
Love this idea and all the fabulous step-by-step instructions. Your Howard Stern reference completely cracked me up. Even though it feels like forever before we can plant, I must go get some seed packets. Another wonderful project, Pam. Well done!
Kellee the Caffeinated
I love Tim Holtz inks for scrapbooking!
Donna Wilkes
Pam, the bunny is vintage. My husband gave me one for Easter when we were in college in 1975! I still have him. Love the seed box idea. You also reminded me to go get the 20 cent seed packets before they run out. I save the packets for small gifts after using the seeds. So I guess I am cheap in all caps!
Stacey
You succeeded in making it beautiful! You've got me thinking about how I could make one too.
Linda@Coastal Charm
Pam,
Ahhhh...you sure did a wonderful job on this seed box...love how thrifty you were with making it.
Blessings,
Linda
Kirby Carespodi
I LOVE this! And the bunny needs to get to the emergency room.