Wow, today's project did not turn out the way I first intended.
But I do like the finished project!
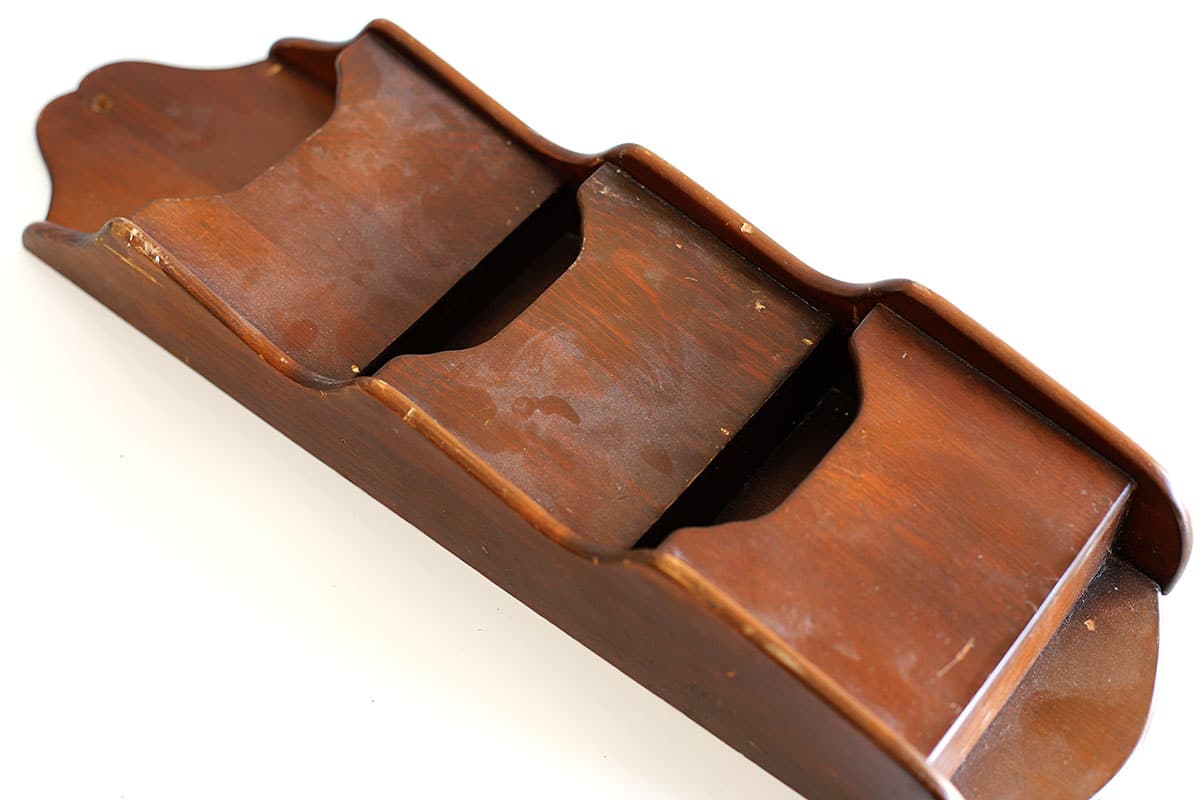
You see, when I found this old mail organizer at the thrift store I knew what I wanted to use it for.
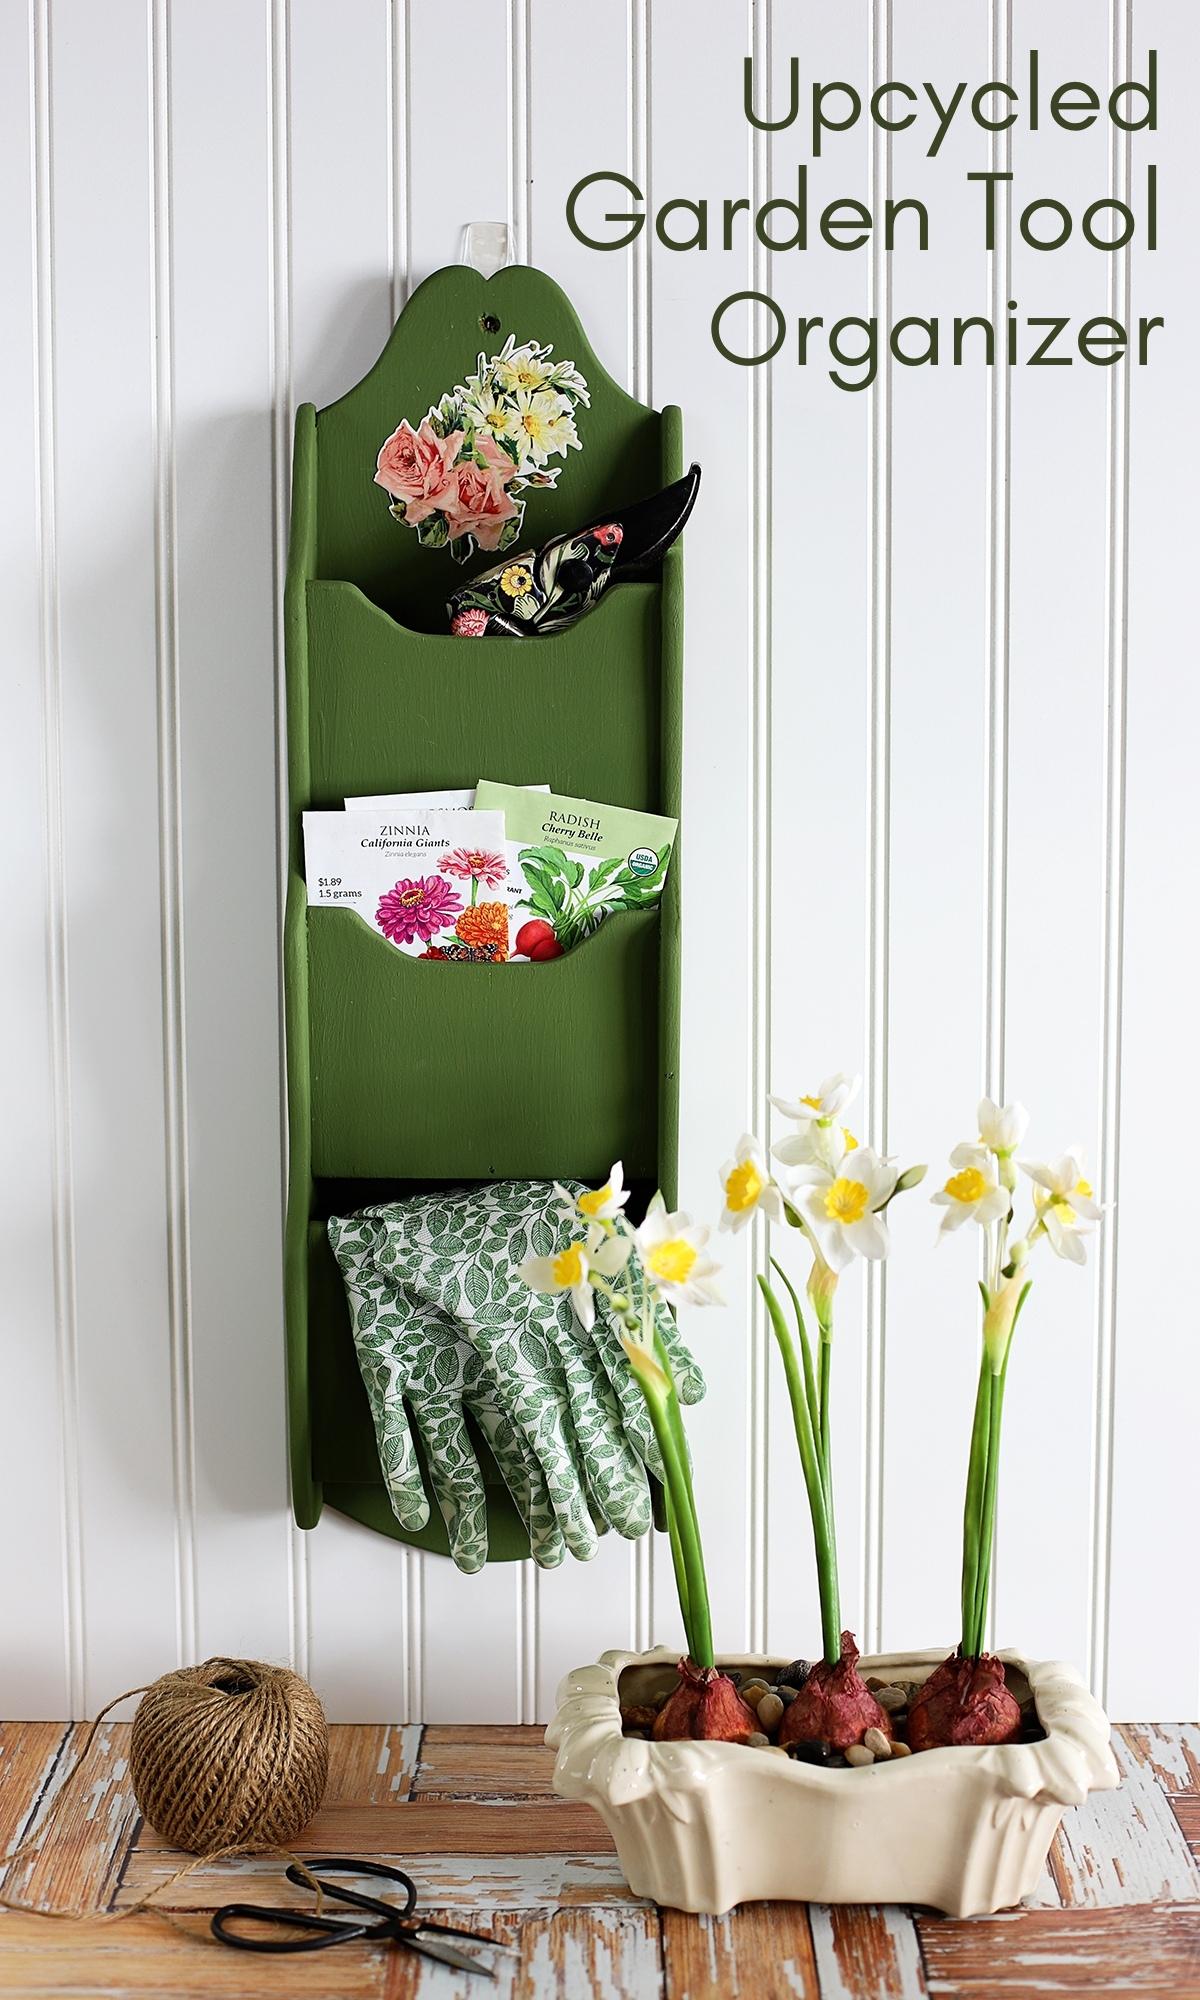
Spoiler Alert - I am repurposing a 1970's mail organizer into a garden tool holder, so I'll have my most used garden tools right beside the back door.
Plus I thought it would be a good project to try out the "using oven cleaner to strip wood" fad I've seen on the internet.
Sort of like a 2 for 1 deal.
Only with thrift store projects.
I'm going to tell you right now if you are not a fan of long-winded stories you can use the Table Of Contents right below here to skip to the tutorial.
Table of contents
✨ BTW, today is Thrift Store Decor Wednesday, so make sure you hang around to the end of the post to see the rest of the team's thrift store repurposes for the month!
Stripping Wood With Oven Cleaner
Yeah, it doesn't work.
Well, at least not as well as I would like and not on the piece I was trying to work with.
The theory is you can spray oven cleaner on a piece of stained wood, scrub it a bit with a dish brush and the oven cleaner will magically and effortlessly eat away the stain.
But it doesn't work. Did I mention that?
I thought it would end up looking like my bowl from Bleaching Wooden Bowls For A Modern Farmhouse Look post.
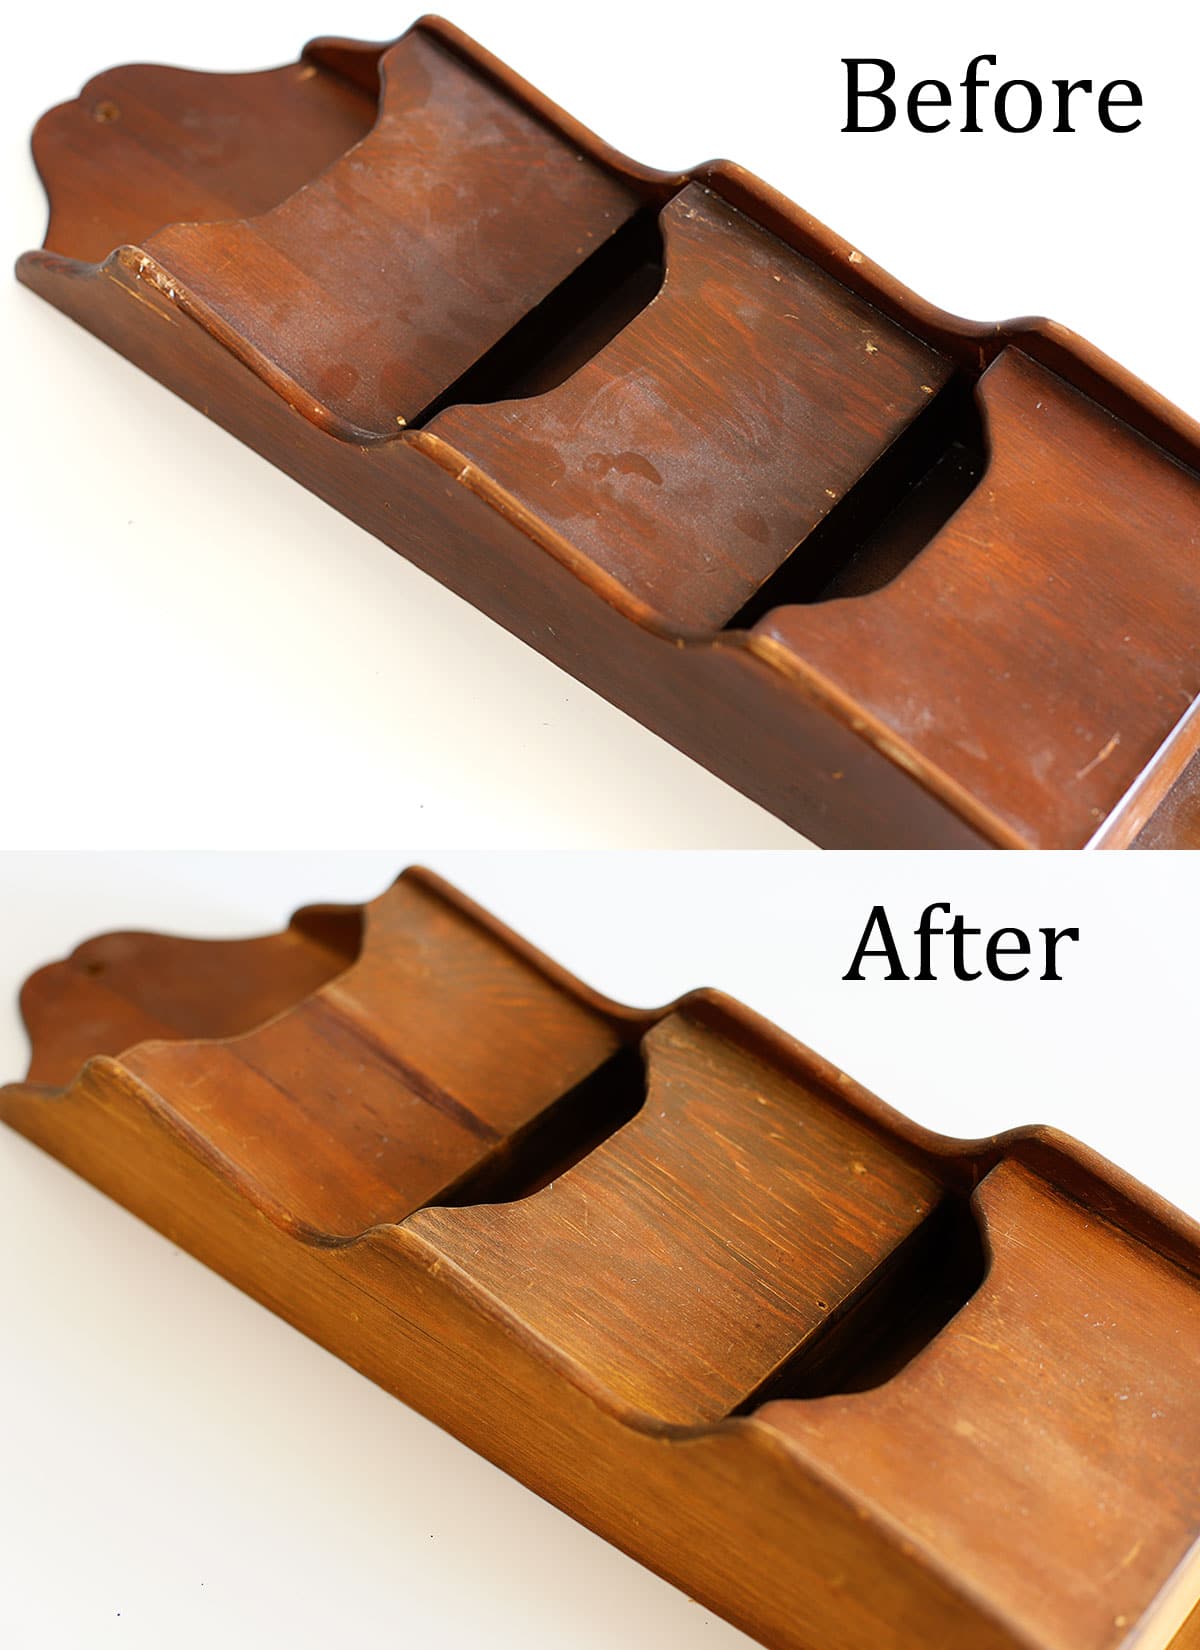
But the oven cleaner just ate off the varnish of the piece and did not eat off the stain (I coated it 3 separate times and I felt that was enough of an experiment and time investment).
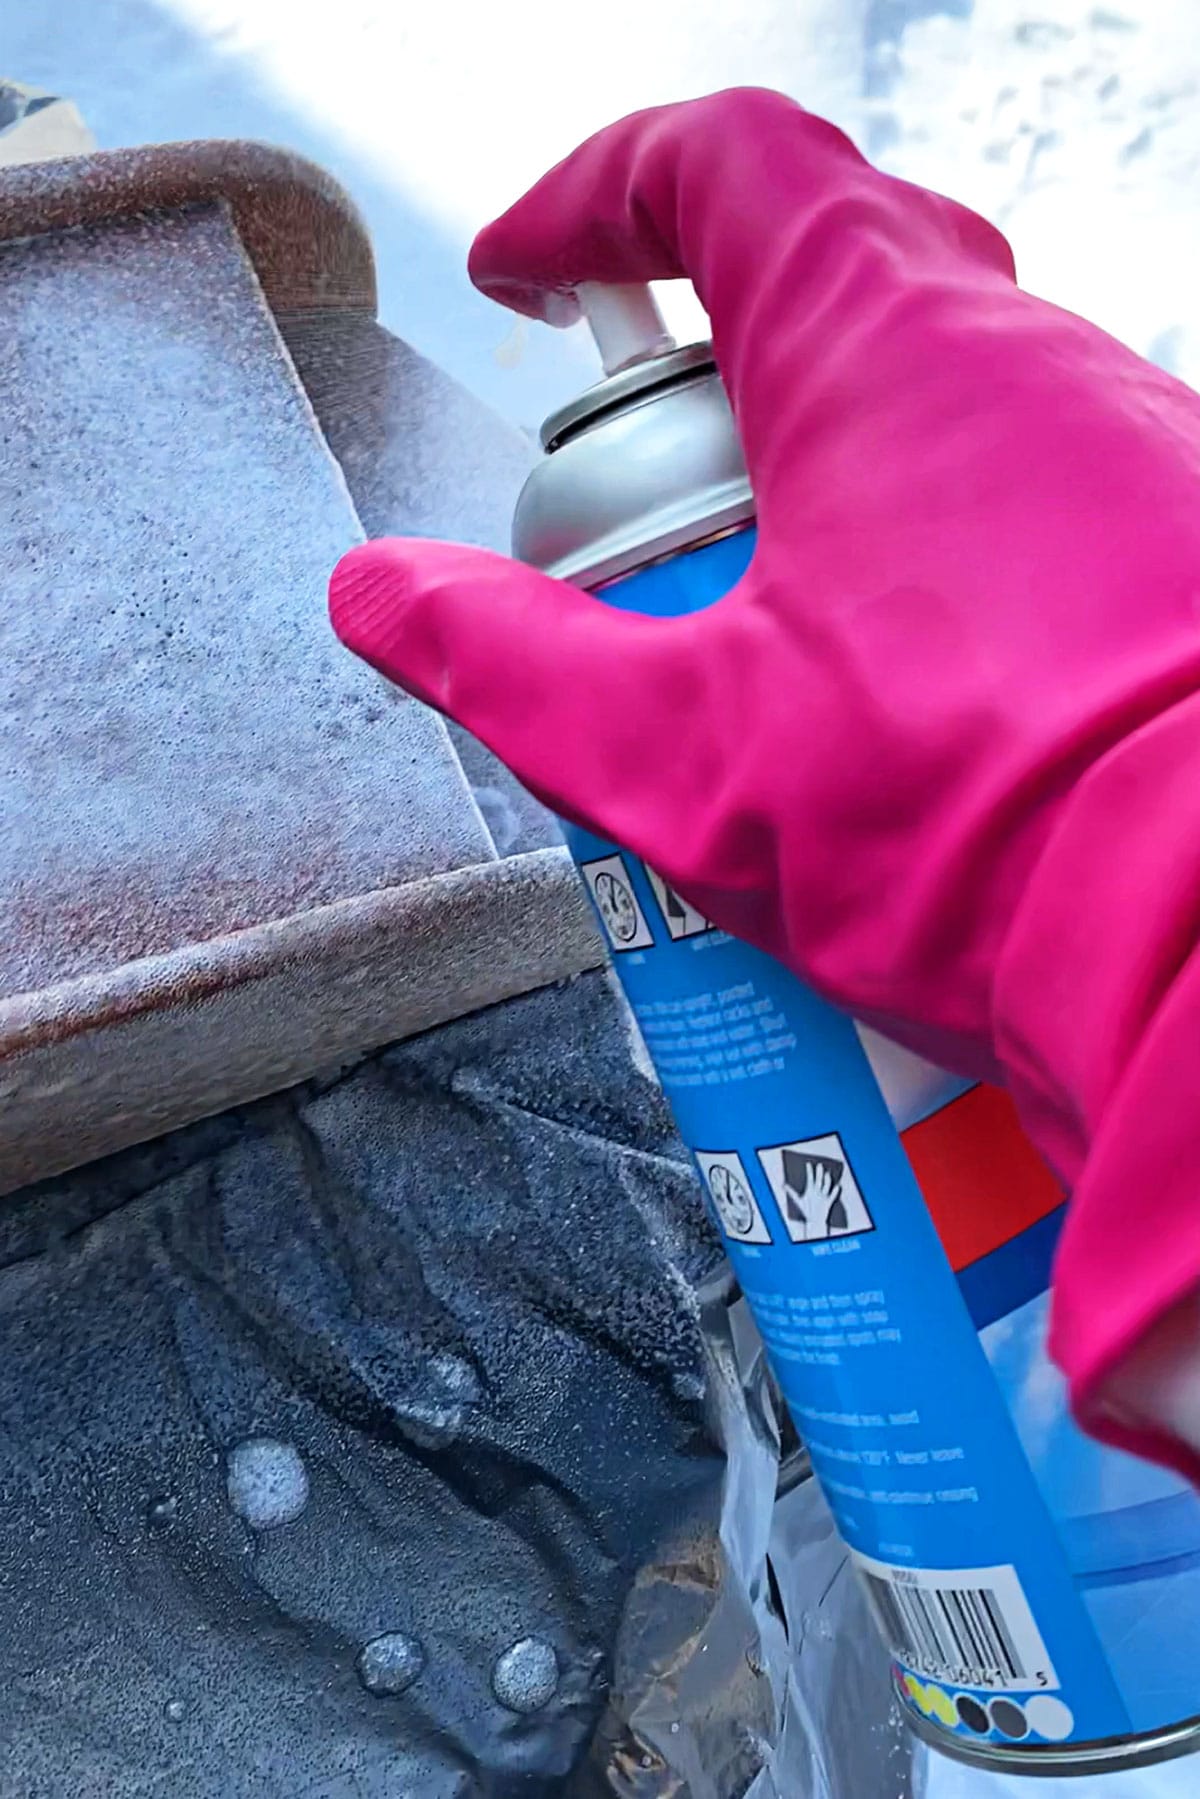
And lest you think I am a stripping novice, I stripped my first piece of furniture when I was 14 and have stripped a whole lot since then with all different types of products.
I even stripped my front door a few years ago.
The Other Reason I Don't Like The Oven Cleaner Method
Besides THAT whole doesn't work issue, when you get done using the oven cleaner you are supposed to absolutely douse/drench/drown the poor defenseless wooden piece with water to get every last bit of oven cleaner off.
I have seen people use hoses, power washers, you name it to put an insane amount of water onto that wood.
And no piece of wood likes that.
You are essentially waterlogging the wood.
Now I knew that ahead of time and it is why I wanted to try it on this $2.99 mail organizer that has seen better days.
But no way in heck am I going to do that to an antique dresser.
No way.
So anyhow, back to the post. My whole idea of showing you how to strip wood with oven cleaner turned into me painting the piece instead.
Twice.
BTW if you are interested in thrift store wooden decor upcycles, I have an article showing how I updated a bucket-like thing into something pretty cool using waterslide decals. No stripping involved, just a little sanding - Thrift Store Treasues: How To Enhance Wooden Decor With Waterslide Decals .
TUTORIAL: Repurposing A 1970's Wooden Mail Organizer
(This post contains some affiliate links for your convenience. You can read my full disclosure policy here.)
Supplies
- Wooden Mail Organizer
- Chalk Paint (I used Spanish Moss from FolkArt)
- Chip Wood Brushes
- Jim Holtz Botanical Pieces (totally optional)
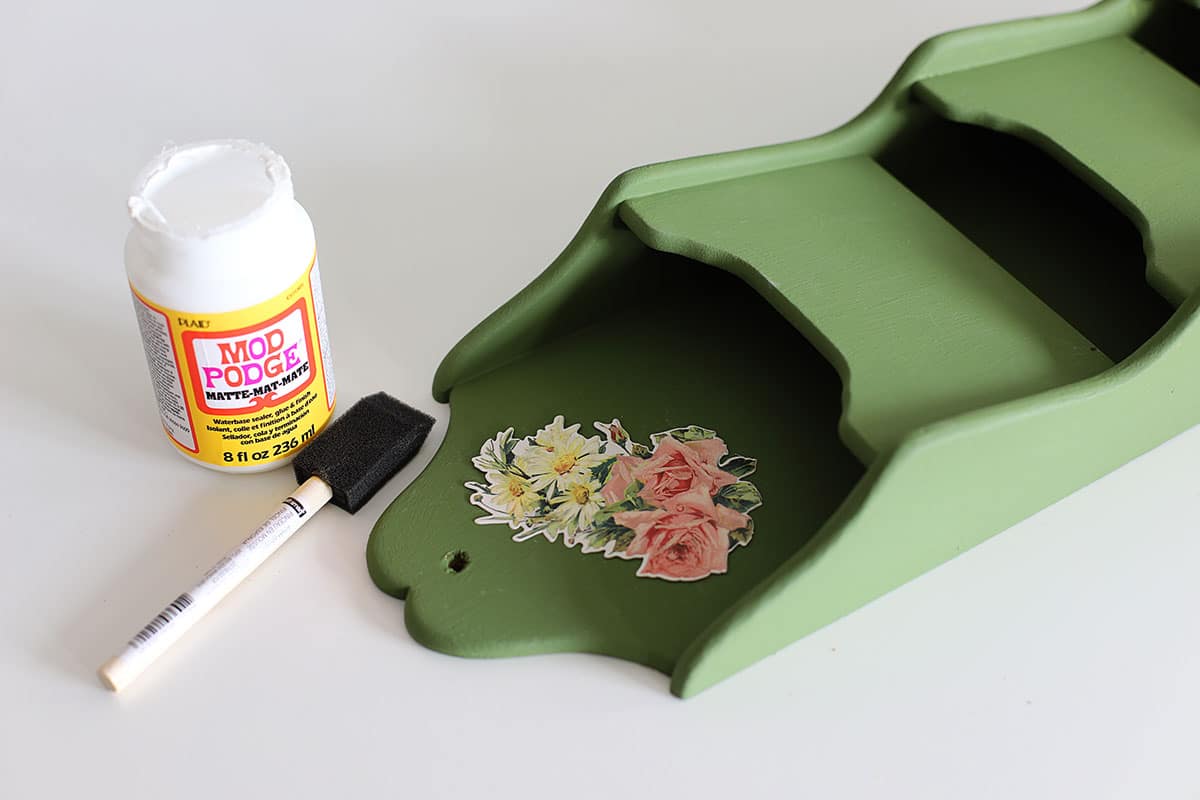
- Mod Podge or Glue
Instructions
So after the whole oven cleaner fiasco, I was left with a mail organizer that didn't have the varnish on it anymore. Still had the stain, but the varnish was gone.
So I guess it did save me the step of roughing up the wood with sandpaper.
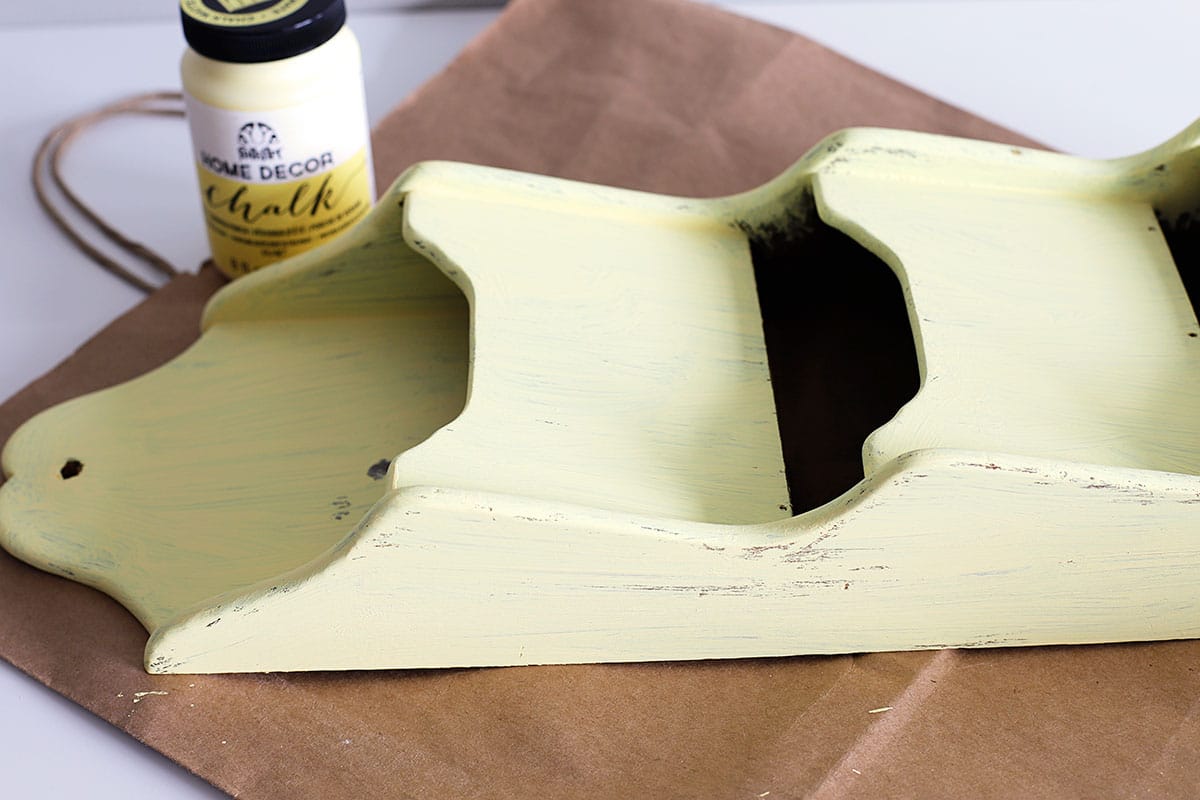
I thought I'd paint it a bright sunny yellow color to welcome in spring, so I used Folk Art's Summer Porch Chalk Paint.
It looked pretty in the jar.
Except the color turned out to be a very odd shade of yellow in reality. It was bright and muted at the same time. It just wasn't what I had envisioned.
At all.
So then I switched to the Spanish Moss color.
Even though it brought back memories of my mom's avocado green kitchen appliances from the 1970's, I was kind of digging it for a 1970's mail organizer.
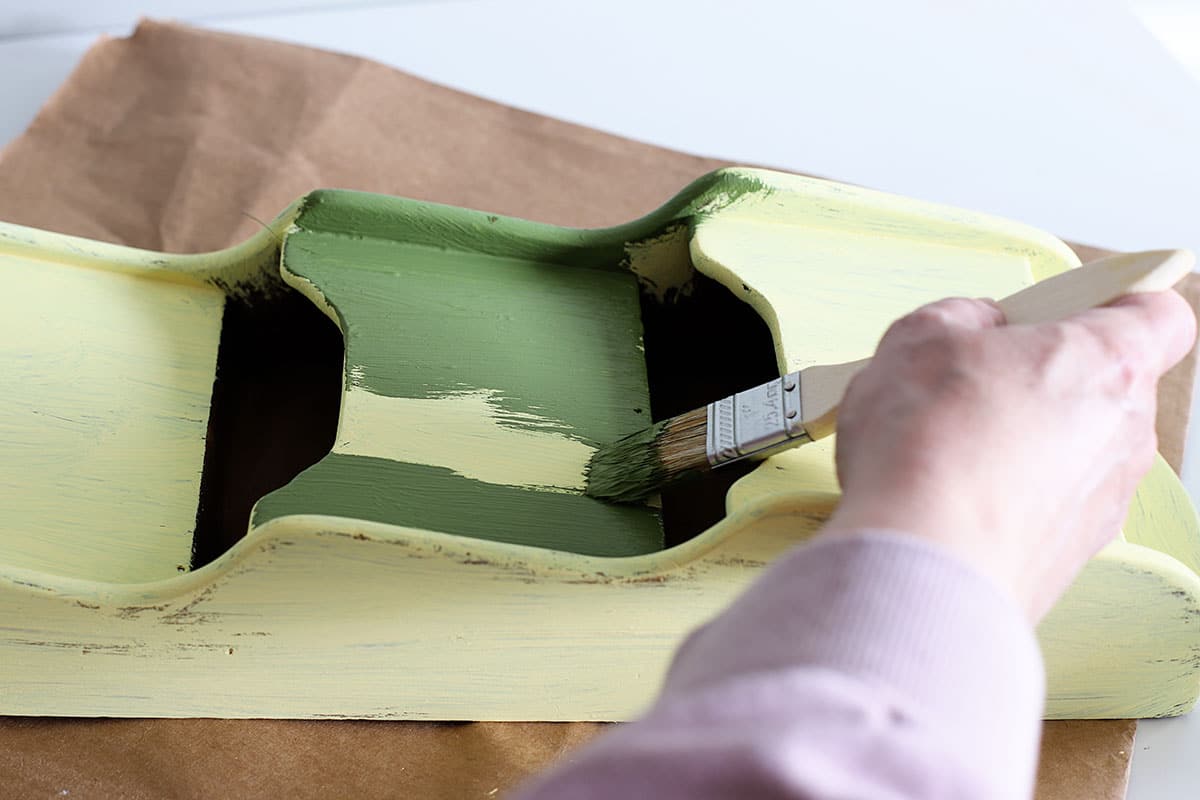
Plus, green sort of goes with gardening. Green thumb and all that!
From there I just added one of the Tim Holz Botanical pieces to it by brushing Mod Podge on the back of the floral piece and pressing it onto the wood.
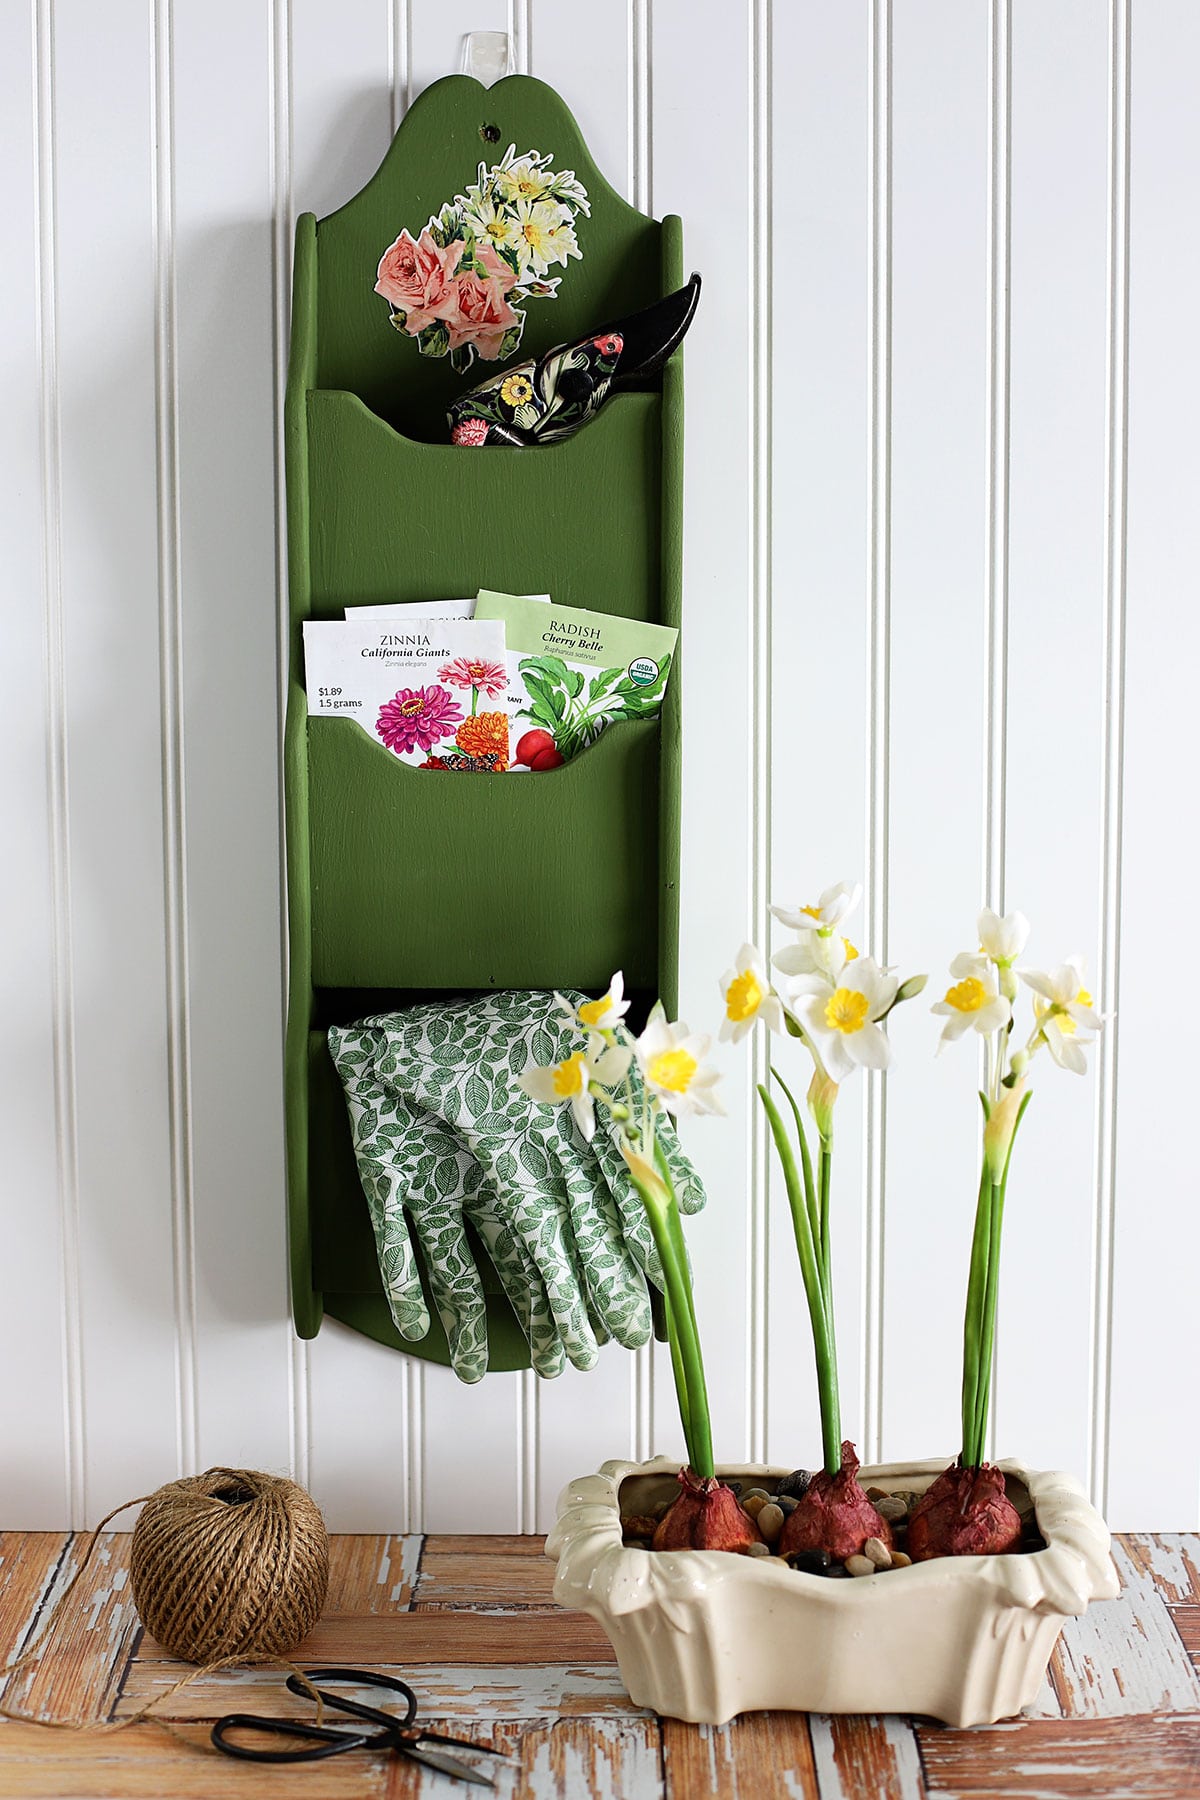
And accessorized it.
It makes the perfect garden tool holder to hang beside the back door. I can grab my pruners and gloves before heading out to play in my flower beds.
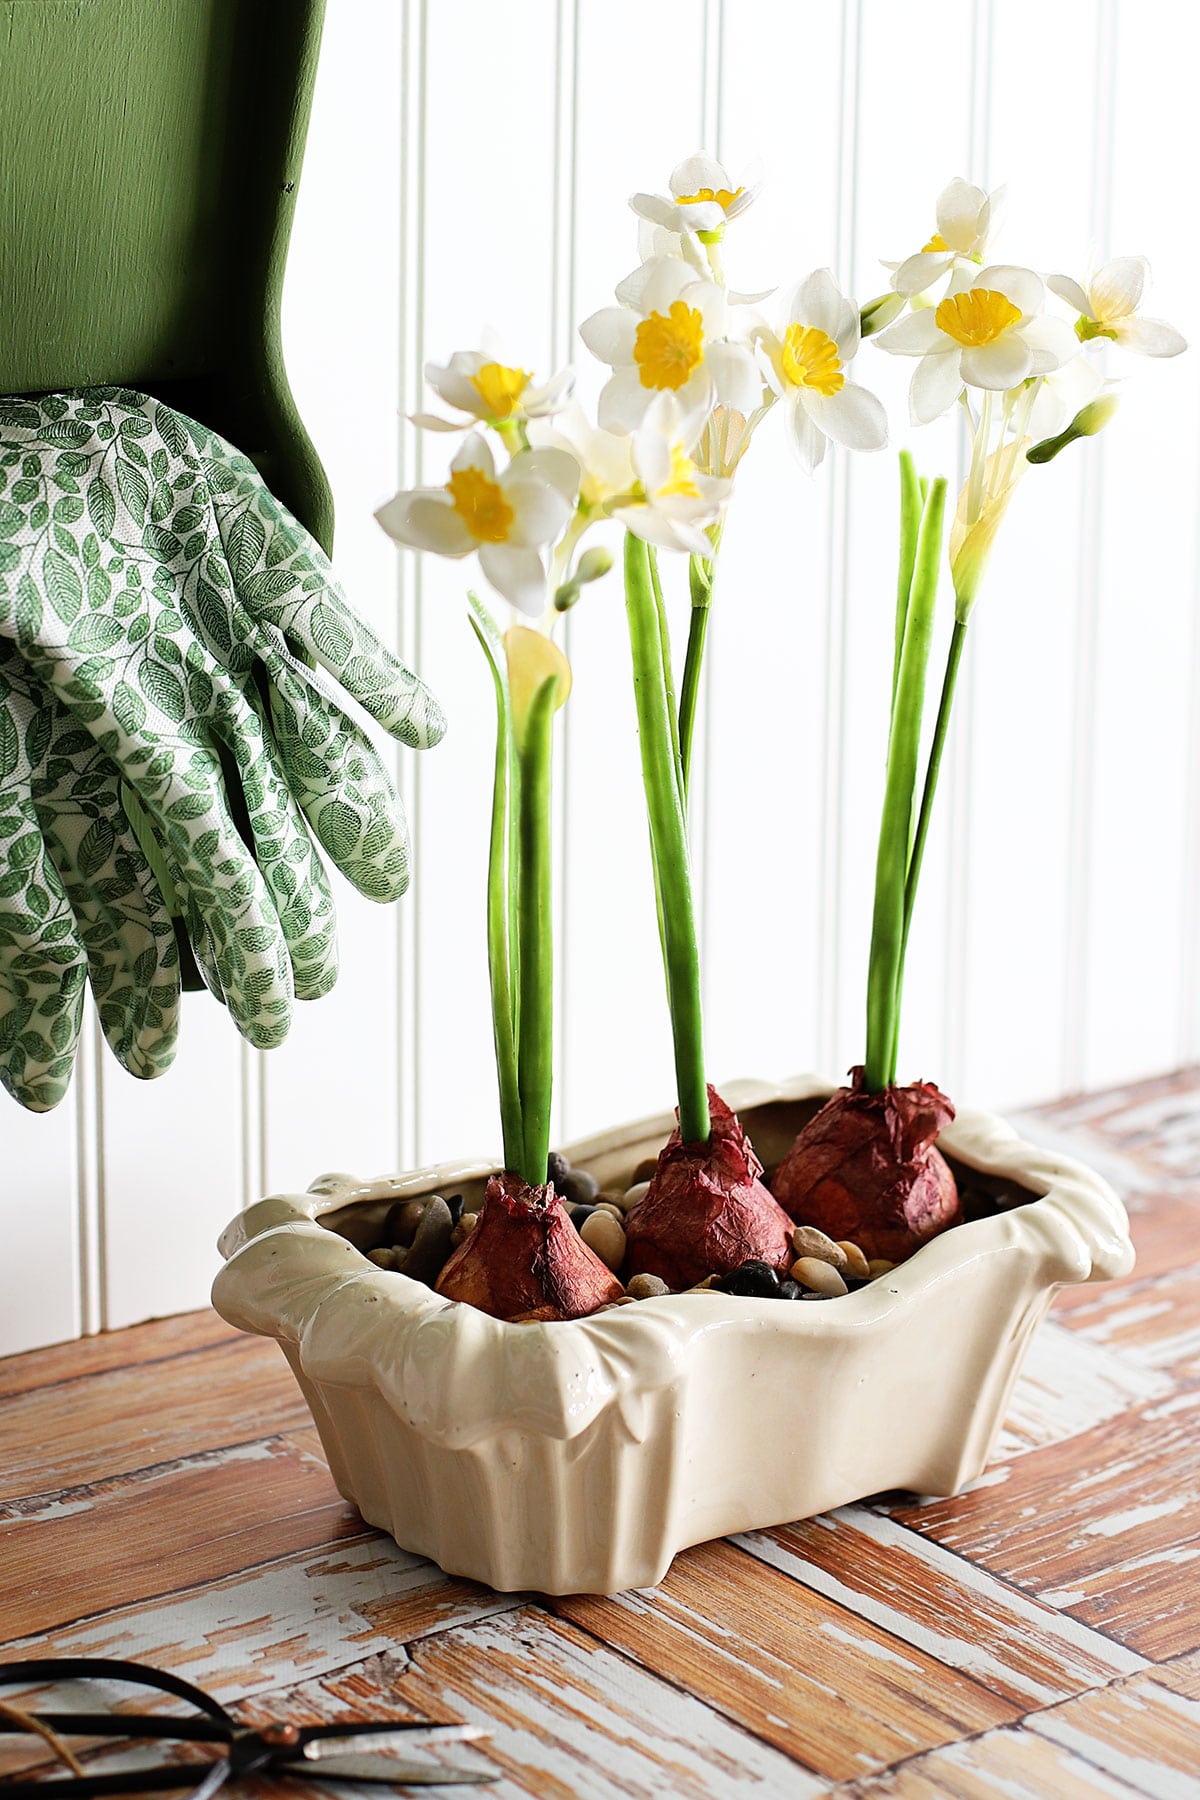
Psst - see the mini-narcissus bulbs (daffodils)? Yeah, they're fake. I bought them at Michael's and then just "planted" them in gravel.
Normally around Christmas time, I force some real paperwhite narcissus bulbs for holiday decor (my tutorial for forcing paperwhite narcissus bulbs). This time I forced myself to buy some fake ones for spring decor!
If you're interested in the faux bulbs you can find them at Michael's HERE.
So here's the real takeaway from this story:
Don't be afraid to change direction when doing a project. I can't tell you how many times I've started a project only to pivot when I saw it wasn't what I loved. Sometimes pivoting from that 2nd idea to a 3rd or even a 4th idea. It might end up better than your original idea.
And don't believe all the internet hype on oven cleaner for stripping wood.
Honestly, I am going to give it another try, but maybe on a different type of wood. Once the trauma has worn off.
Thrift Store Decor Team Projects
Now let's go see what the other Thrift Store Decor Team members are up to today!
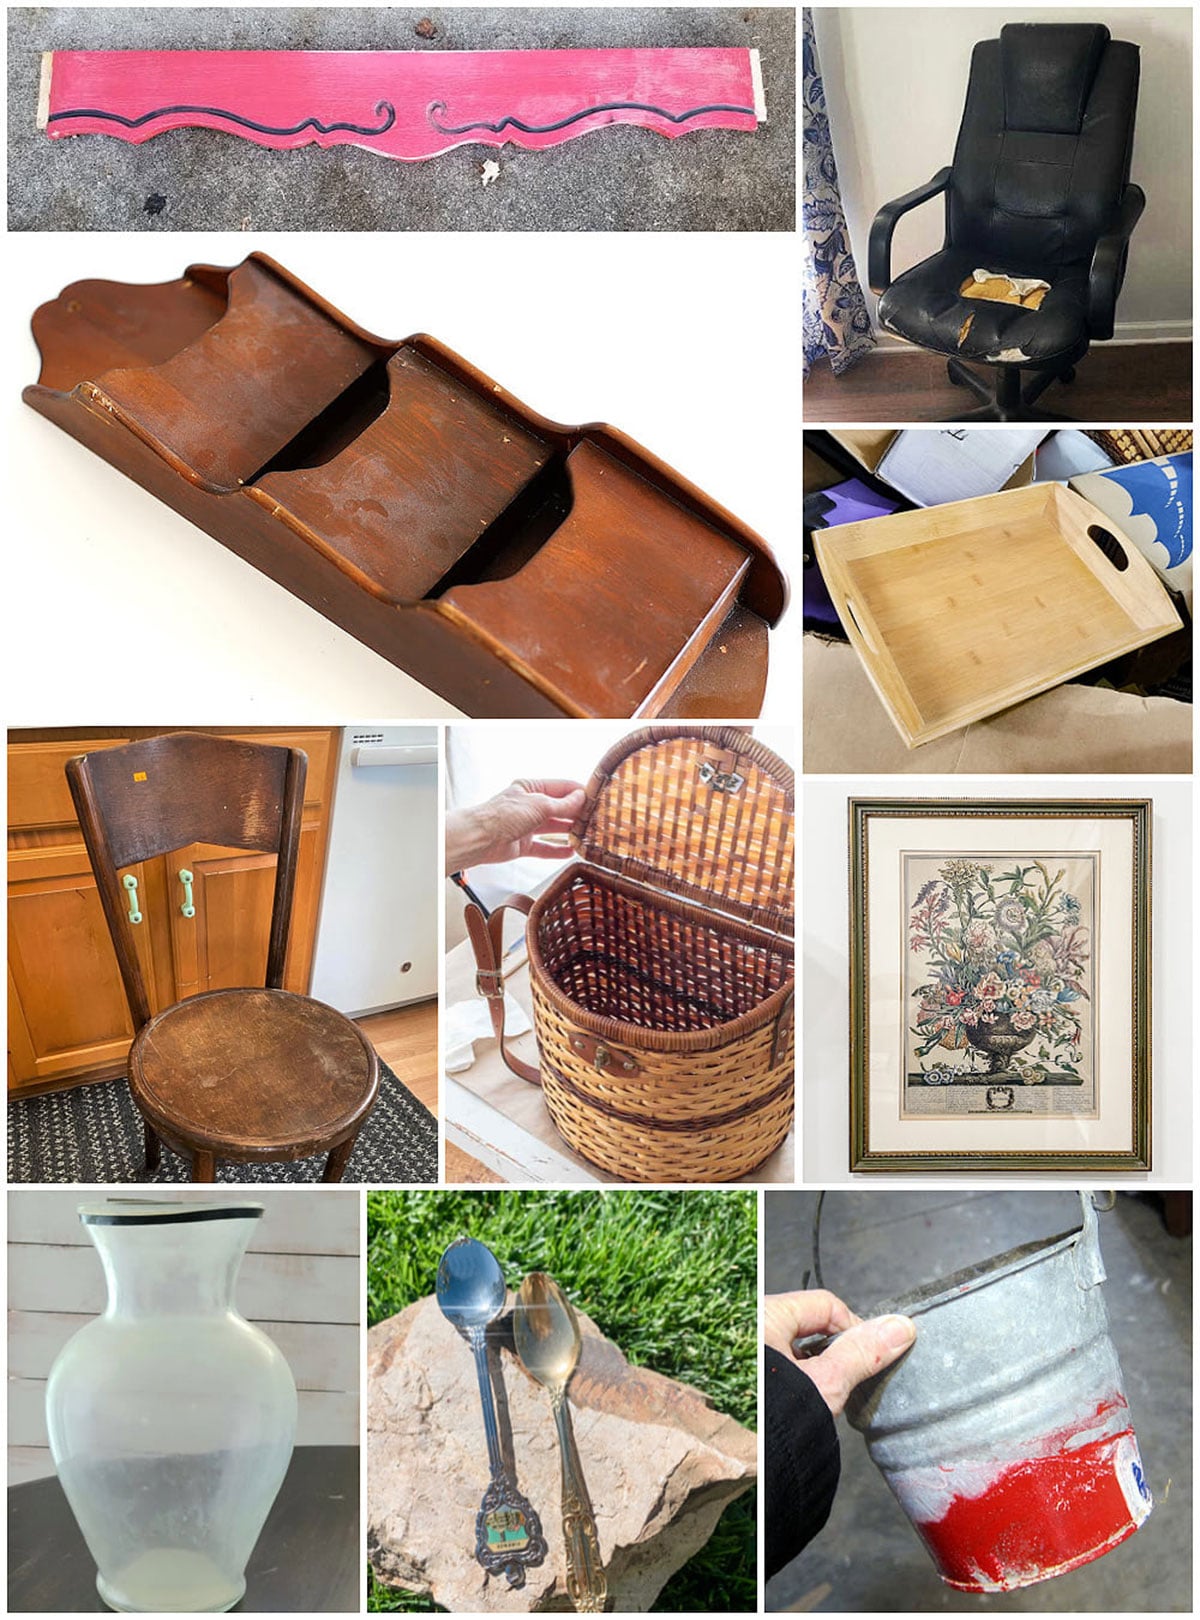
Reclaimed Wood Valance Shelf Redo - My Repurposed Life
Vintage Bentwood Chair Makeover - Organized Clutter
Flower Pot With Metallic Copper Spray Paint - Petticoat Junktion
DIY European Art with Thrift Store Frame - Our Southern Home
Upcycling a Bamboo Tray with Blueprint Paper - Sadie Seasongoods
Trash To Treasure Picnic Basket - Reinvented Delaware
How To Make A DIY Spoon Ring - My Uncommon Slice of Suburbia
Office Chair Update - Shop At Blu
DIY Artisan Vase - Domestically Speaking
Upcycled Mail Organizer - House of Hawthornes (that's me)

Other Projects You May Enjoy:


Renae
This is awesome. I would love it if you would share this on The Fabulous Friday Link Party.. https://www.peacockridgefarm.com/category/fabulous-friday-link-party/
Hugs to you.
Addie
Hello....I too have seen but have not tried the oven cleaner method. Did you do the second step? After spraying and letting the oven cleaner work a bit, you are supposed to use the kitchen scrubber with "Bar Keepers Friend" cleanser. I too, have been stripping furniture for a long long time....but I can't get past all the hosing with the water. It just doesn't make sense!!! However, the person who does tons of this method has had some beautiful end results. Also, with the oven cleaner and the scrubbing is it really that much easier??? Can't be less smelly and oven cleaner really burns if you get it on your skin. I still might try it on a small piece...a very small piece....not a valuable antique.
I love your garden center...very cute. Good job.
gail
I think it's a happy accident! I love, love, love the green for the garden tool organizer. What you don't know is Green is my least favorite color, but this is perfect! I can't imagine a better purpose for an old mail organizer. Absolutely love it Pam!
pinning
gail
Kristin salazar
You just broke my heart lol I've been wanting to try this method on a table. I'm so glad you shared your story though and I always thought that pouring so much water on a piece can't be good. I'll stick with my other methods.
This turned out so cute, perfect for all your garden tools, love the color!
Tiena from Washington
I love the green you chose and like the way it holds the seed packets! Nice project that makes me want to find a mail holder to paint. Love it!
Linda @ Itsy Bits And Pieces
What a cute project, Pam! I liked seeing your process and your thoughts, too!
Mandy Williams
Great project! I had not heard of the oven cleaner bit...and you sure saved me some trouble. I've just started enjoying your emails & today, I'm spending time to bounce around the blog. Happy Wednesday!
Sarah Ramberg
Oh my gosh, I've seen folks use the oven cleaner method! And all I could think about was the SMELL from using it on ovens. Thank you for saving me the trouble- I will DEFINITELY steer clear!
And despite a few left turns, your project is SO CUTE. I love it so much, even if it caused you some grief along the way.
Cindy
Ok, I need something like this beside my back door! Great idea Pam. Pinned 🙂
Briana from Texas
This came out so cute!
Christy @ Our Southern Home
I haven't tried the oven cleaner method. It does seem too good to be true though. We stripped and bleached a dresser last summer. It turned out great. Think I'll stick to that method. I love the idea of this for gardening tools. It would be so cute on our screened porch!
Carlene @ Organized Clutter
Pam, it turned out so cute! AND your photos are so clear and perfect!
Sue at Blu
So funny Pam! I’m with you…I’ve been stripping wood since I was a kid helping my dad in the basement. The fumes from oven cleaner can be worse than stripper! Not to
Mention those chemicals running into the grass etc. Not good for the environment. End rant. My projects almost ALWAYS take a turn or two. I’m digging that Avacado green…great feels!