

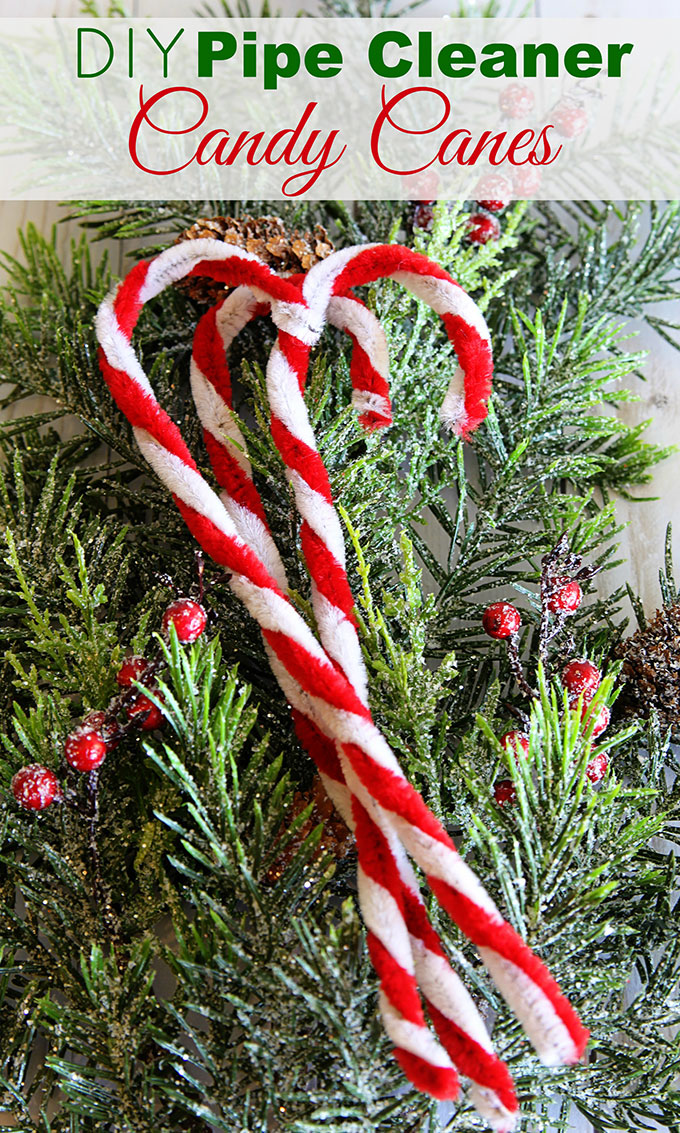
I'm a sucker for EASY Christmas crafts! And these DIY pipe cleaner candy canes I showed you how to make back in 2010 (I was so young back then) are definitely in that easy category. So I thought I'd replay this oldie but goodie for you today.
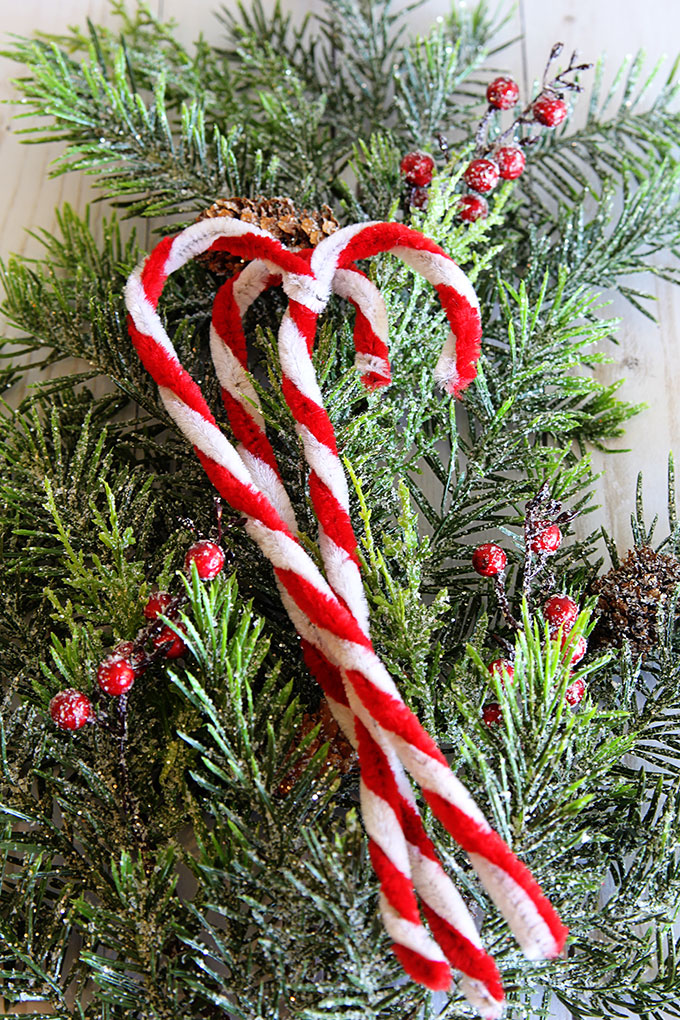
And how cute would these look tied to your Christmas packages!
They are very similar to the vintage chenille candy canes my grandmother used to have on her tree. I have no idea if someone gave them to her or she actually made them herself, but either way they were a cherished memory of holidays long past.
DIY Pipe Cleaner Candy Canes
Supplies
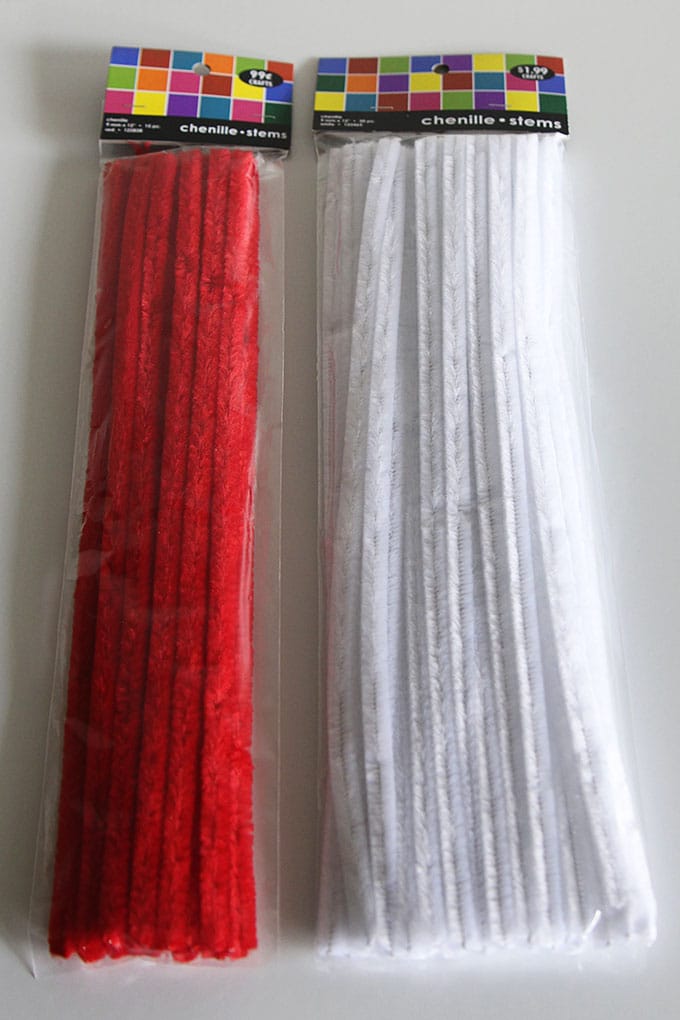
Chenille stems, aka pipe cleaners, in red and white (I used the 9mm variety)
Optional supplies if tea dying stems for a "vintage" or "prim" look:
Large cooking pot
box of tea bags
vinegar
Instructions
I bought chenille stems (aka pipe cleaners) at my local craft superstore. Surprisingly, they come in different diameters - I used the 9mm ones for this project since they are a little bit fluffier than a typical pipe cleaner.
Then I tea-stained them to give them an aged effect.
I wanted them to look like I had found them in Grandma's attic. (So if you already know how to tea-stain, you can skip on down to the finished product).
Boil some water, turn off the heat and throw some tea bags in the pot. I used 10 teabags with 6 cups of water, but there is no steadfast rule of thumb on that formula, so you can play around with the number of bags used.
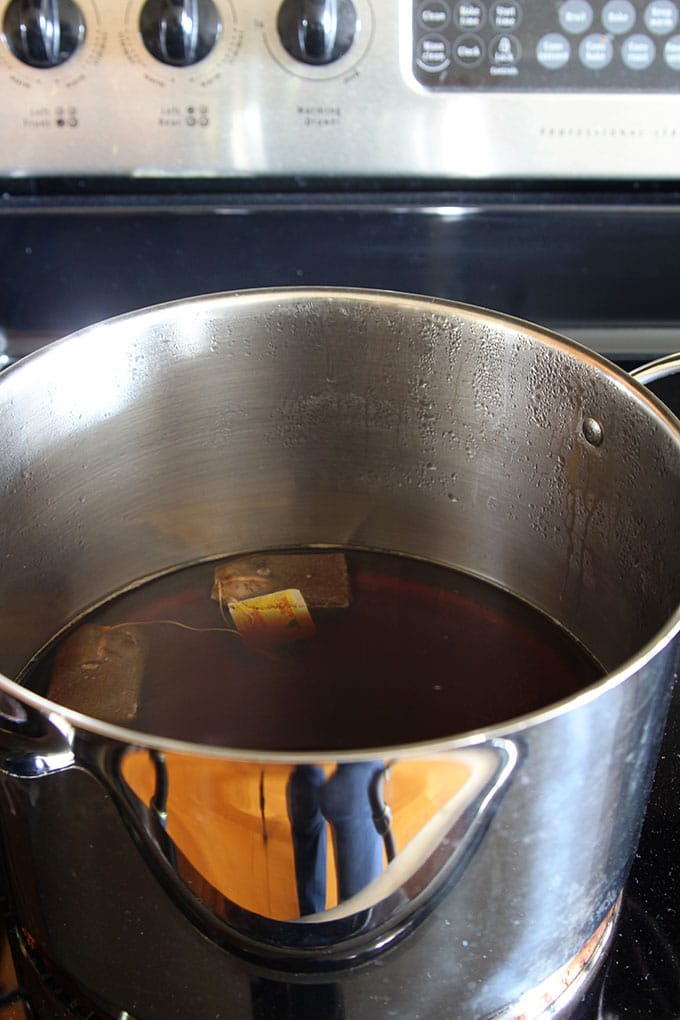
You want your tea water to be dark though. Darker than you would drink.
After the water has attained the color you want, remove the tea bags, add a couple tablespoons of vinegar (to help set the stain - think Easter eggs here) and put your chenille stems in the water.
I kept the stems in the water for about an hour. Occasionally I would take one white stem out, run it under cold water and realize that it wasn't dark enough and throw it back in. But after about an hour, they arrived at the color I was looking for.
Then I rinsed them in cold water to get the sticky tea off, squeezed off the excess water and threw them in the dryer with a dryer sheet for about 10 minutes so they would fluff back up. I had to rescue a couple out of the holes in the dryer where they got stuck. I also counted them to make sure I hadn't left any red ones in the dryer for later surprises!
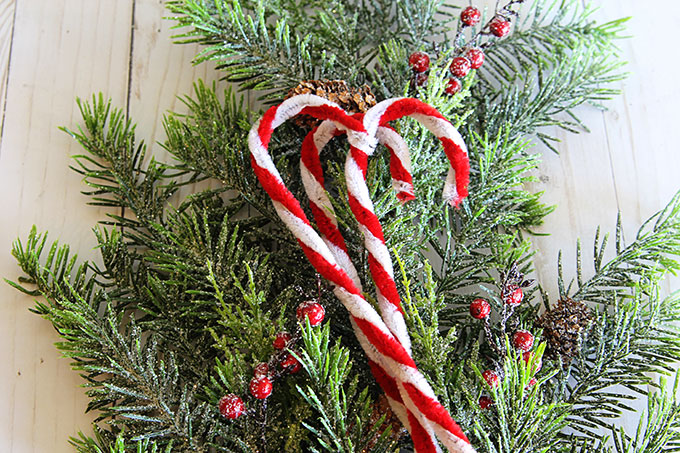
Then you just twist your red around the white until you get a candy cane design.
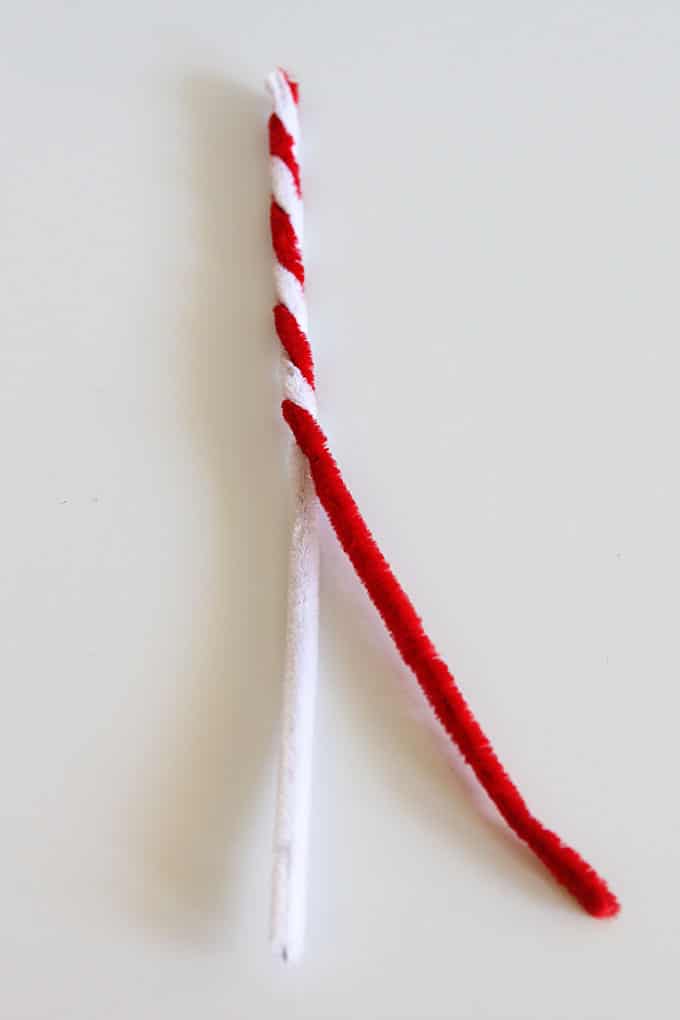
It took me a couple tries to get the twist to look realistic, but once you get the hang of it, it is ridiculously easy (my kind of craft).

Then you just need to make a bend at the top and you are done. You can use a broom handle or a toilet paper tube to bend them around if you're going for a uniform look.
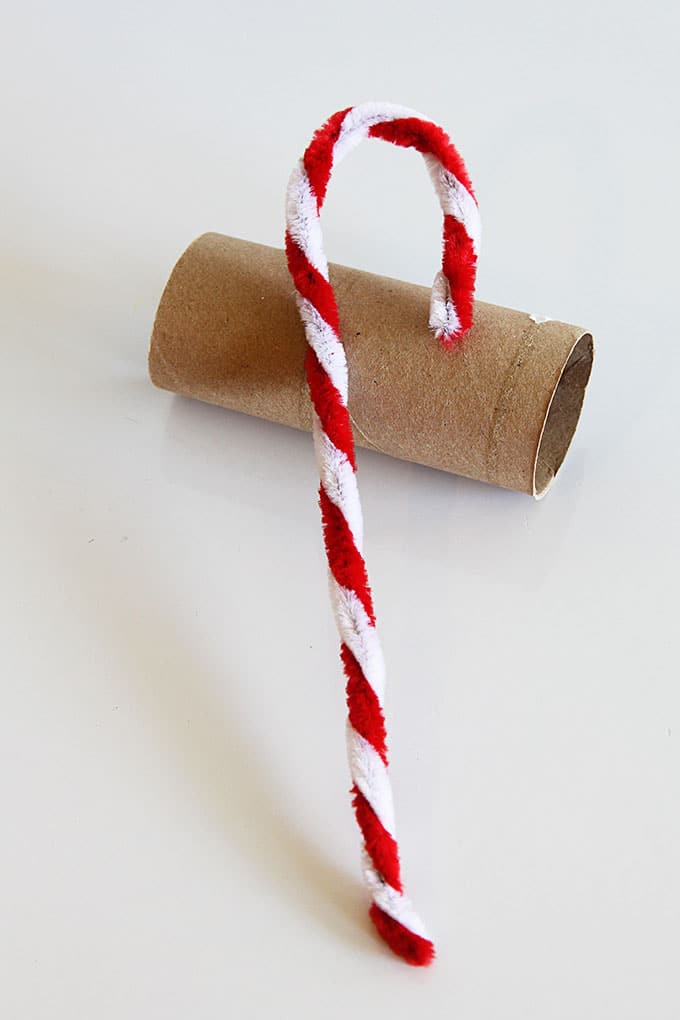
The ones pictured are with full sized stems.
To make more petite sized candy canes for tabletop trees, cut the stems in half prior to twisting.
So if you want a fairly easy craft to make this weekend, these pipe cleaner candy canes are the ticket!
Ideas For Using Your Candy Canes
- Hang on Christmas tree
- Tie on packages
- String on bakers twine and make a banner
- Tie a few together with twine and lay about the house as mini decorations
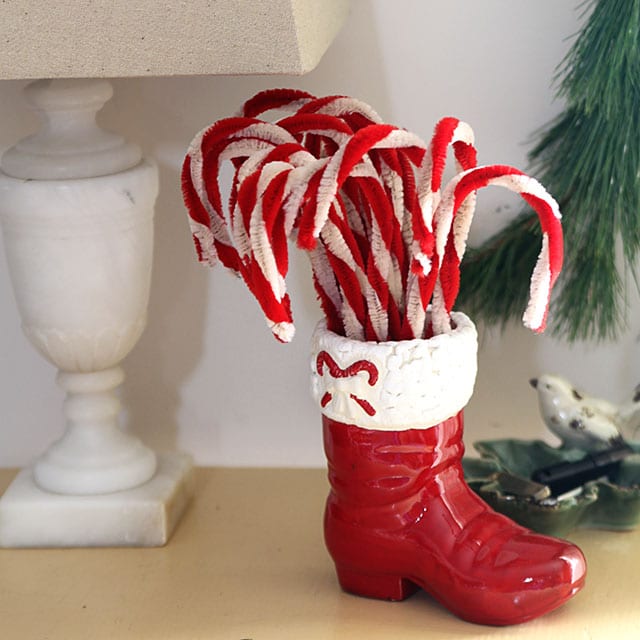
- Gather a few in a vase or boot as a decoration (see below before you think I'm crazy)
Other posts you may enjoy:
A Vintage, Rustic, Industrial Holiday House Tour
Where To Find Vintage Christmas Decor Reproductions (At The Stores)
Pipe Cleaner Reindeer Beer (makes your bottle more festive)
Retro Christmas Decor Inspiration
Katie@LeBeauPaonVictorien
What a great craft idea!! I remember seeing these on my grandmother's tree but I never thought to make some of my own "vintage" ones!
Jane
You are not going to believe this but I did the exact same thing last night!! I had stopped by a local antique mall and they were selling some vintage candy canes for way too much money. I bought some already twisted pipe cleaners at Hobby Lobby and tea stained them (thanks for the tip about the vinegar). I love the vintage look it gave to the bright white on the pipe cleaners....goes much better with the stuff I have in my house.
Have a great weekend.
Jane
SavannahGranny
Who would have thought you could make such cute candy canes. Do you have to use the wavy pipe cleaners or will regular ones work? These would be good for a school tree. Thanks for sharing.
I have been traveling for about three weeks. I managed to get out a post yesterday. Please stop by for a visit. Hugs, Ginger
My Blessed Serendipity Life
Cute. Like how you tea dyed it for a vintage look. Thanks for stopping by today.
-Danielle
Mimi
Cute idea, they came out great, Pam!
Donna~One Simple Country Girl
Cute! Thanks for the tut and tips! They look great!
Hugs,
Donna
The Lazy Peacock
those look awesome! what a clever idea - and i didn't know about the vinegar either!!
vintagesusie & wings
So happy to have come upon your blog, it's lovely!
I look forward to following along with you through lifes many adventures!!
Smiles,
Susie
vintagesusie & wings
So happy to have come upon your blog, it's lovely!
I look forward to following along with you through lifes many adventures!!
Smiles,
Susie
vintagesusie & wings
So happy to have come upon your blog, it's lovely!
I look forward to following along with you through lifes many adventures!!
Smiles,
Susie
Olive Cooper
Pam, very neat and I will not eat these!
NanaDiana
Pam!What a great craft for kids too. I know my two older granddaughters will LOVE making these. Of course, SweetCheeks, being SweetCheeks will probably stick hers in every orfice known to man! Thanks for the idea...old crafts are sometimes the most fun! Hugs- Diana
Erin@likegrandmas
I didn't know about the vinegar either, so thanks Pam! These are super cute!
Gail @ Faithfulness Farm
I have made these...long, long ago! Thanks for the reminder and great tutorial 🙂
Blessings!
Gail
Cat Nap Inn Primitives
I had no idea to use vinegar..so you taught me something new..I have lots of these pipe cleaners too..thanks for sharing your recipe.;)
JunqueMagnet
So clever.I LOVE the idea to age them with tea staining!The bumpy ones are great for making poinsetta flowers.Thanks for sharing.