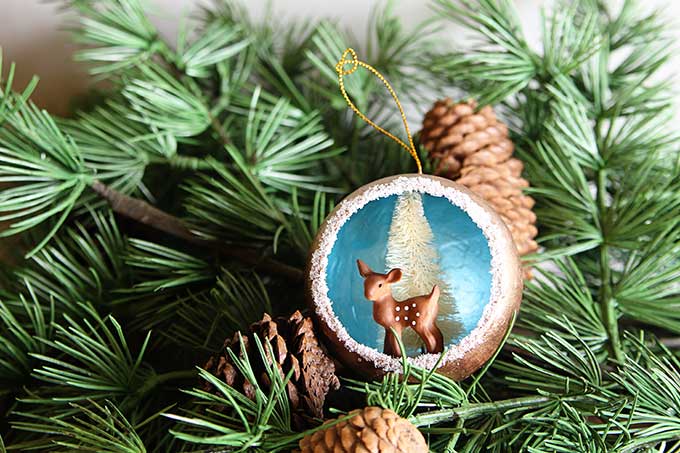
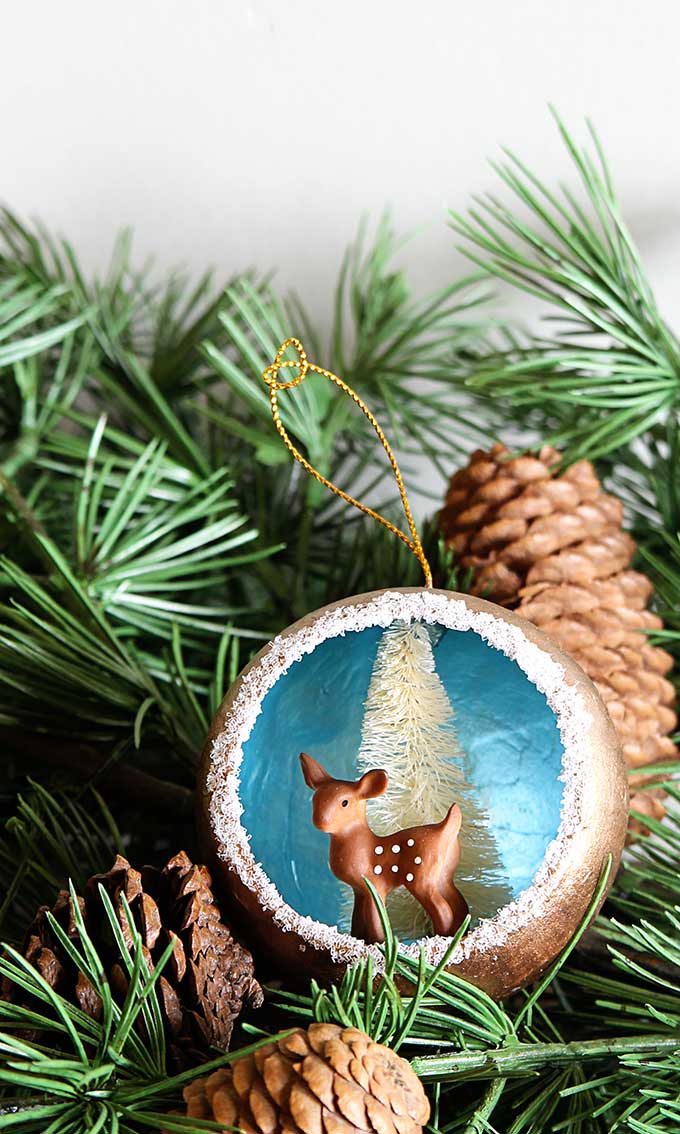
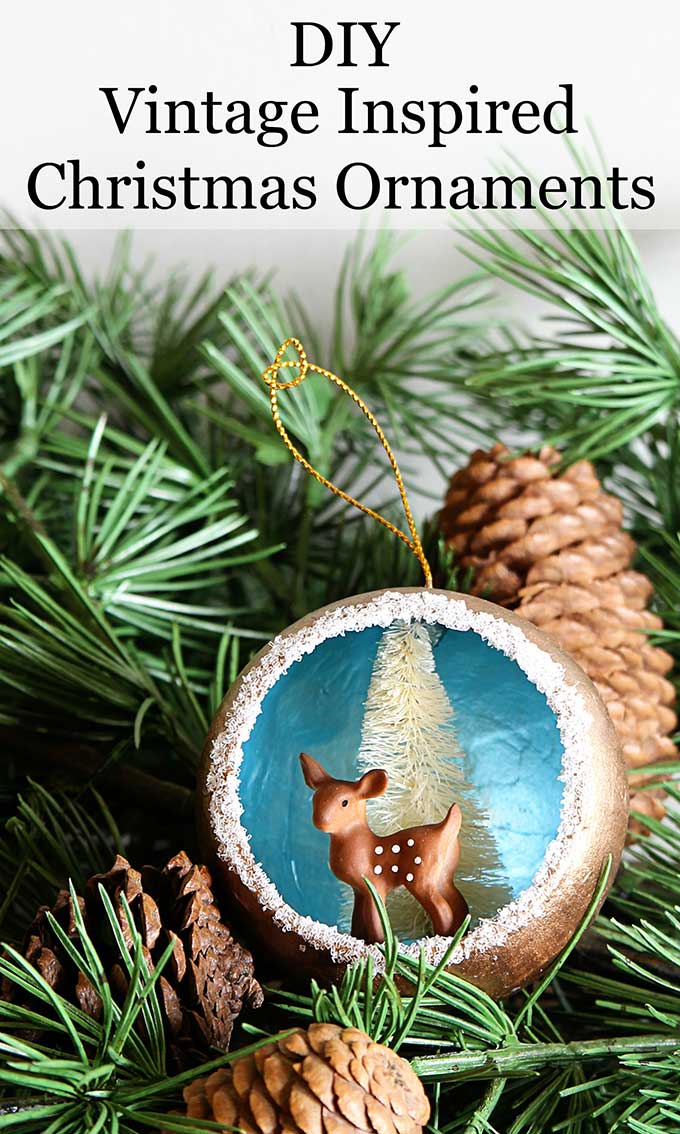
Remake nostalgic 50's Christmas decorations with this quick & easy Christmas ornament tutorial for retro Christmas diorama ornaments.
I am so excited to be participating in Smart Fun DIY's 7th Annual Handmade Holidays Blog Hop and today's topic is Holiday Decor Ideas!!!
The holidays are coming whether you are ready or not, so it's the perfect time to pull out your bottles of glitter and dust off your glue gun. Let's get to work on some new decor and ornaments!
And of course, go visit the other participant's posts so you can get some GREAT ideas for craft projects you will want to make for the upcoming holidays.
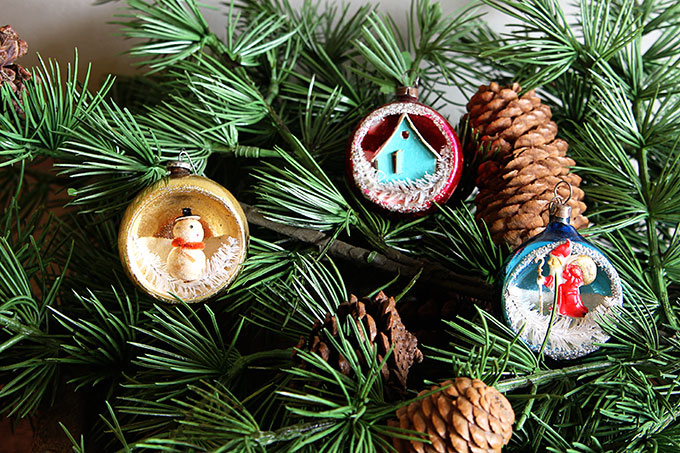
As for me, I knew I wanted to do something retro looking for my part of the tour, so I decided to try to recreate the old diorama ornaments. These vintage Shiny Brite dioramas were my inspiration.
The originals were extremely breakable (I may know this from first hand experience), so I decided to make mine with the more forgiving paper mache balls instead.
(This post contains some affiliate links for your convenience. You can read my full disclosure policy here.)
Retro Handmade Christmas Diorama Ornaments
If you prefer, you can watch an ad-free version of this tutorial on my YouTube Channel HERE.
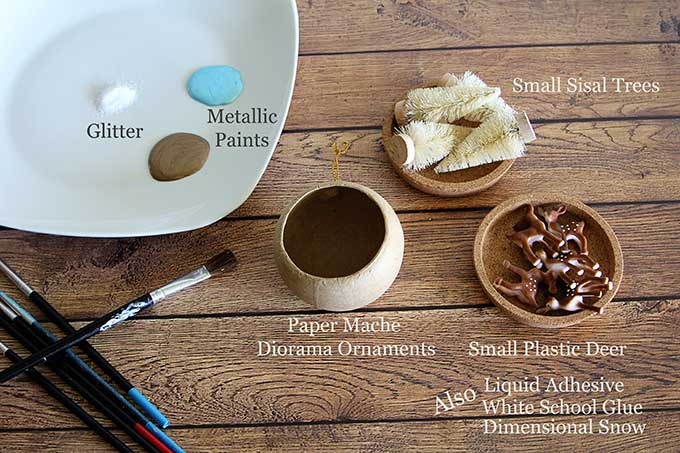
Supplies
- Paper Mache Diorama Ornaments
- Small Sisal Trees
- Small Plastic Deer or Other Christmas Items (I found mine in the fairy garden aisle at the craft store)
- Bronze or Copper colored metallic craft paint
- Light blue metallic craft paint
- White school glue
- White glitter
- Faux Dimensional Snow that comes in a little jar in the craft paint aisle (it's a thick paste consistency)
- Liquid adhesive
- Popsickle stick or knife to spread snow
Instructions
Step 1
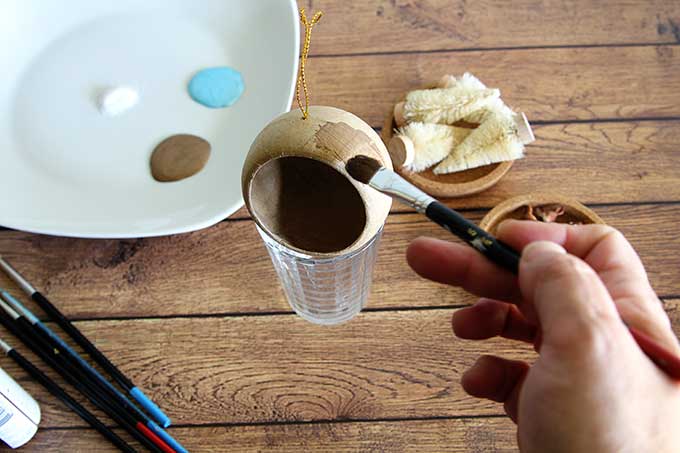
Paint the outside of the ball with the bronze or copper colored metallic paint (I'm using an old juice glass to hold the ball for me). Let dry.
Step 2
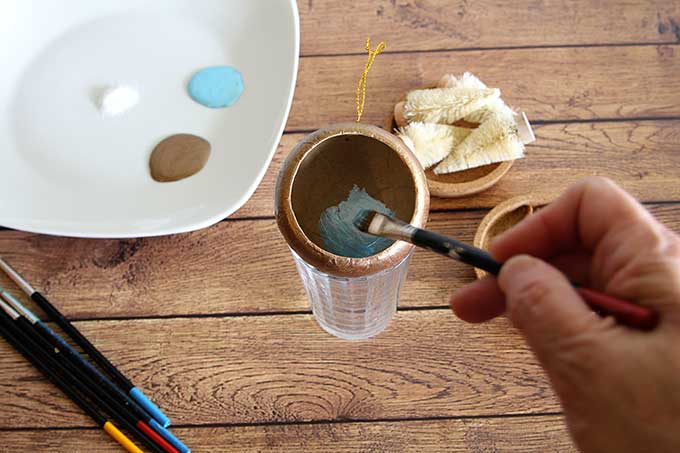
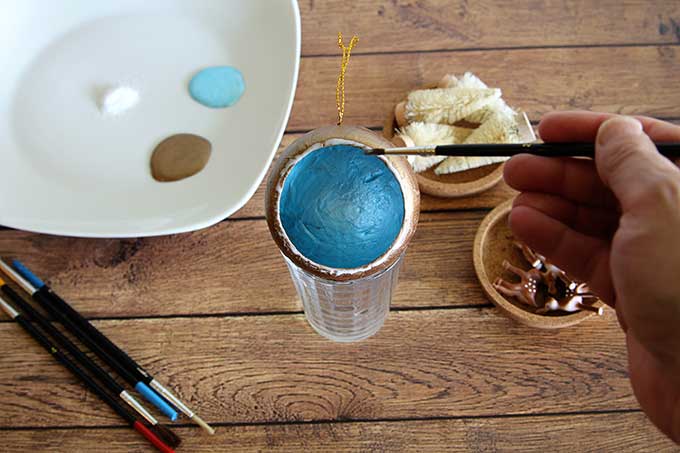
Paint the inside with the light blue metallic paint (it's supposed to look like a cold winter sky). Let dry.
Step 3
Paint a small circle of craft glue around the rim of the opening.
Step 4
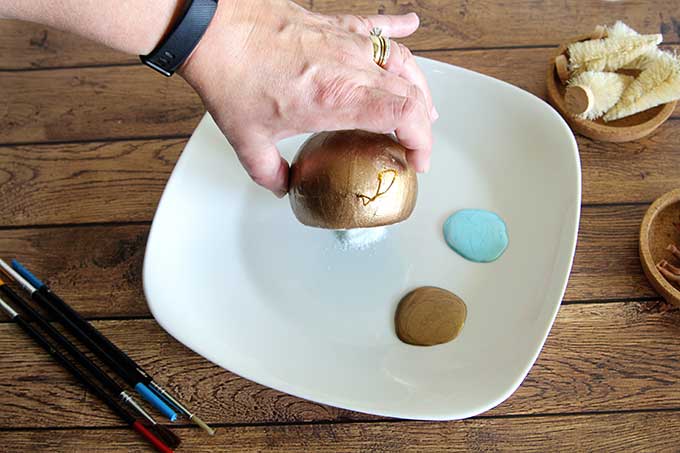
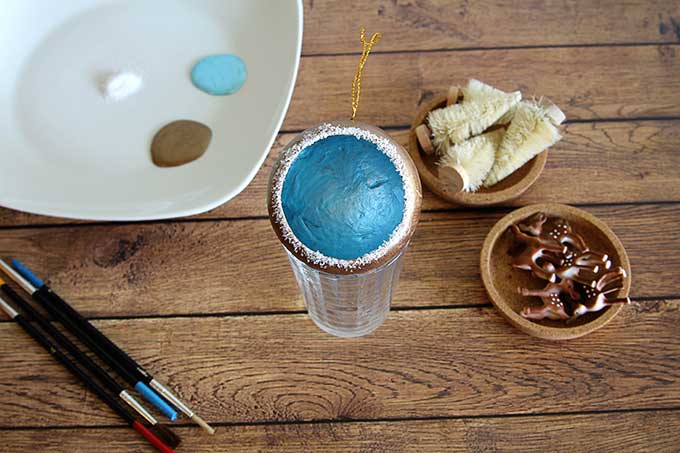
And dip the glued area in glitter. Let dry.
Step 5
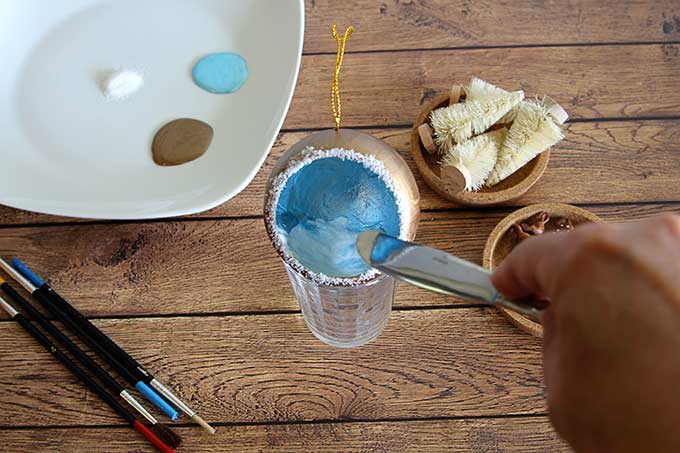
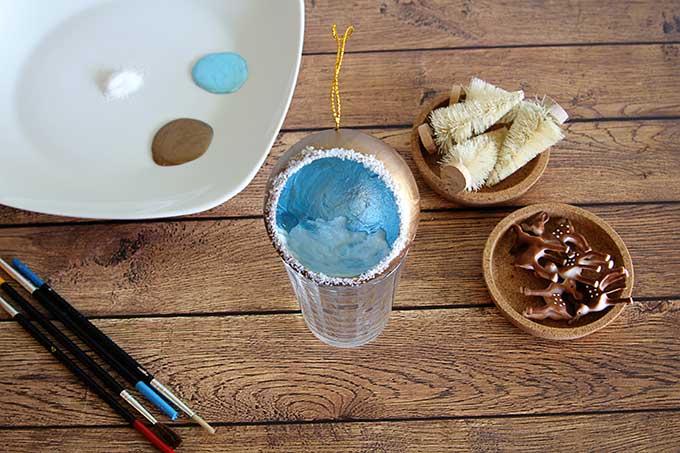
Spread a little bit of the faux dimensional snow on the bottom of the inside of the ornament (you maybe don't want to use your good silverware though, a popsicle stick would be a better choice).
Step 6
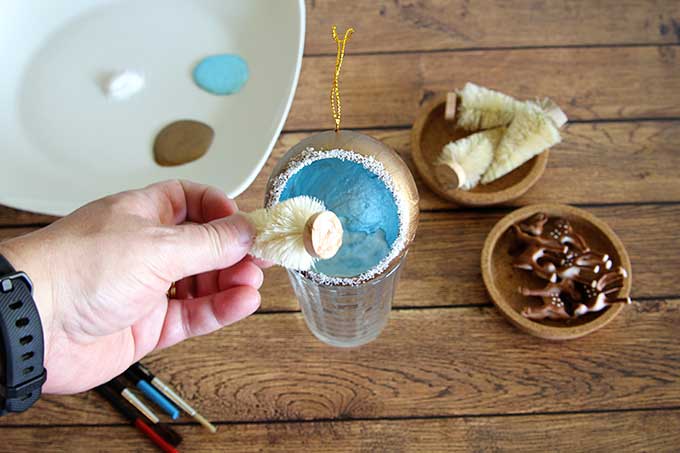
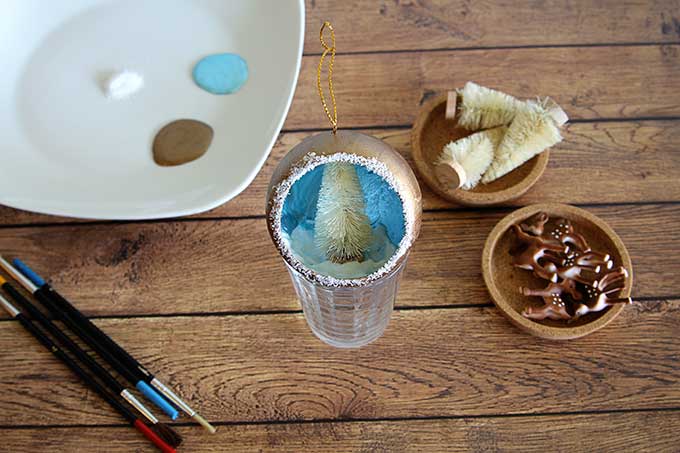
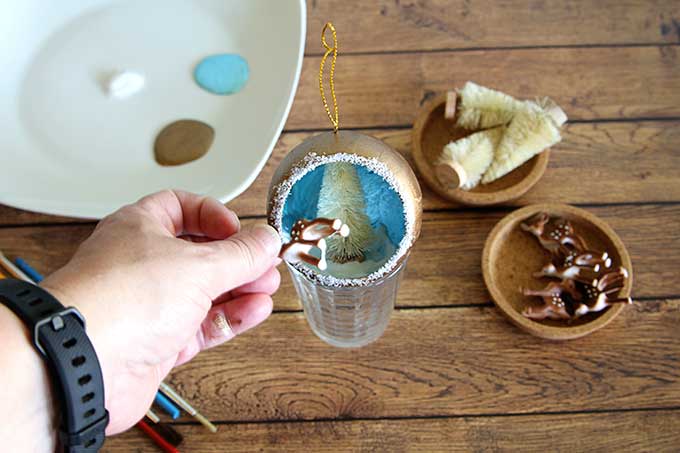
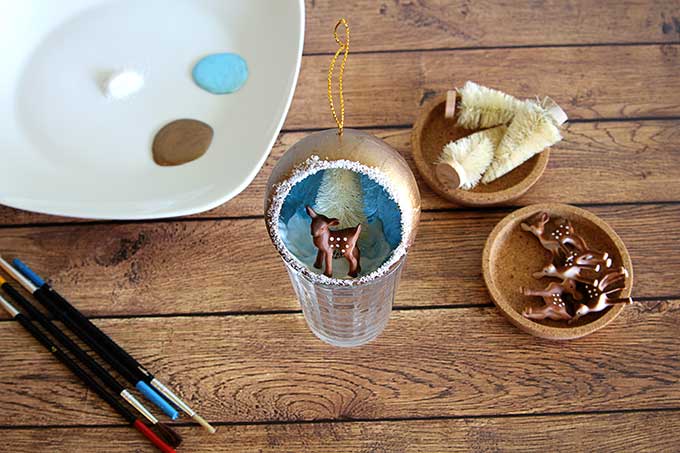
Add a little bit of hot glue on the bottom of the tree and place in the snow.
Step 7
Add a little bit of hot glue to the feet of the deer (ouch) and place in the snow in front of the tree.
Let the whole thing set to dry. And then hang on your tree!
Now let's get the party started.
Visit my crafty friends for some more ideas for handmade holiday decor
Check out the web story version of this article HERE.
Other posts you may enjoy:
How To Make Winter Porch Pots
DIY Pipe Cleaner Candy Canes
DIY Reusable Bowl Cover & Food Wrap



Patti
Hi Pam,
This ornament is adorable. I remember these as a kid and now you have me inspired to try making some for this years tree. Thanks!
Vickie Kern
Absolutely adorable, Pam!! Retro chic! Thanks so much for sharing and have a great weekend!
Kelly
Well these are the cutest DIY ornaments I've ever seen - LOVE!
Best,
Kelly
Toni | Small Home Soul
These are so cute Pam, they remind me of the ornaments hanging on our tree when I was a kid <3
[email protected]
charming and sweet ornaments. i love the vintage look.
Sue D
So cool--love that you use the paper mache balls.
Tara
Pam - I love these! I'm pinning them and sharing them - SO cute!
Emily
These are so adorable! Thanks for sharing!
Allison
These are adorable! As many ornaments as I've made over the years, I've never done dioramas... I think that's about to change!
Mary
I adore your dioramas Pam! I have a set of vintage ones and I hold my breath each Christmas when I unpack them!
Cathy Lillie
Such an adorable ornament! Really brings back some great Christmas memories! Thanks for the tutorial. I can't wait to make some!
Ann Tatum Tatum
I love this style ornament and the blue inside is a beautiful touch!
mary scott
The snow on the outside rim is like rimming a margarita glass! Beautiful colors. Thanks
Claire
I love these vintage ornaments, they are really sweet.
Linda @ Itsy Bits And Pieces
Pam, these are adorable...future heirlooms! I would love to make some! Thank you for sharing your great tutorial, too!
Dana Tatar
Gorgeous ornaments! I definitely appreciate the sturdy design. I love how you added snow. 🙂