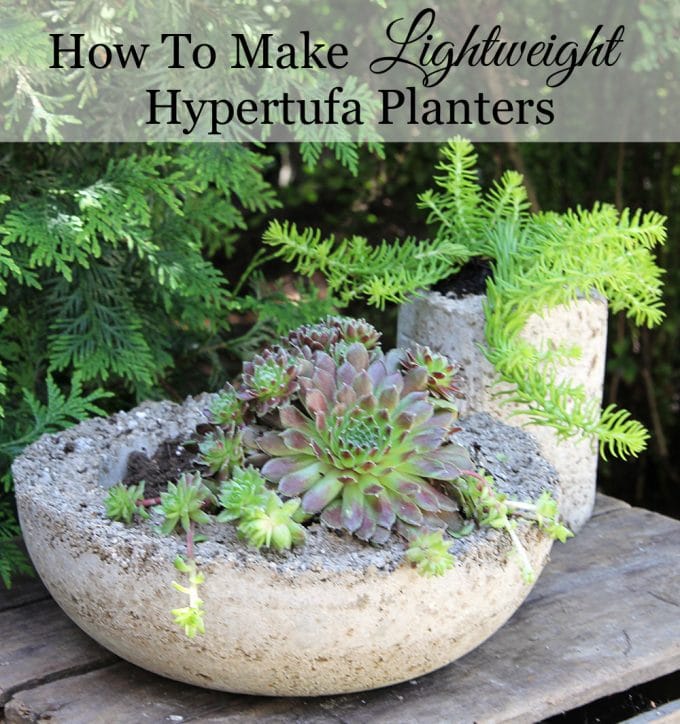
Hypertufa pots are a fun DIY project for the garden.
The great thing about these planters is that the hypertufa is so much lighter than you would think by just glancing at them. So you get the look of stone without the weight of stone.
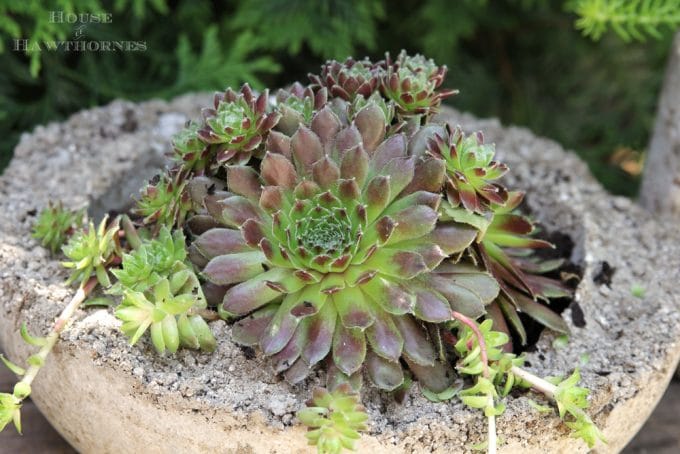
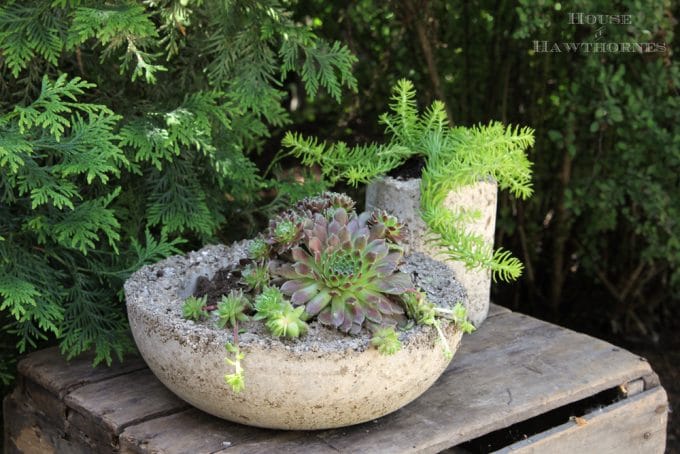
And they are perfect for your succulent gardens!
How To Make Hypertufa Planters
Supplies:
- Portland Cement
- Sphagnum Peat Moss
- Perlite or Vermiculite
- Water
- Non-Stick Cooking Spray (ie, Pam or generic equivalent)
- Large bucket or trough to mix your ingredients in
- Various plastic or cardboard containers to use as molds
- Rubber gloves
- Particle mask
- Safety glasses
Perlite and sphagnum peat moss can be found in the gardening section for approximately $5 a piece and bags of Portland cement can be purchased from the construction area of Home Depot.
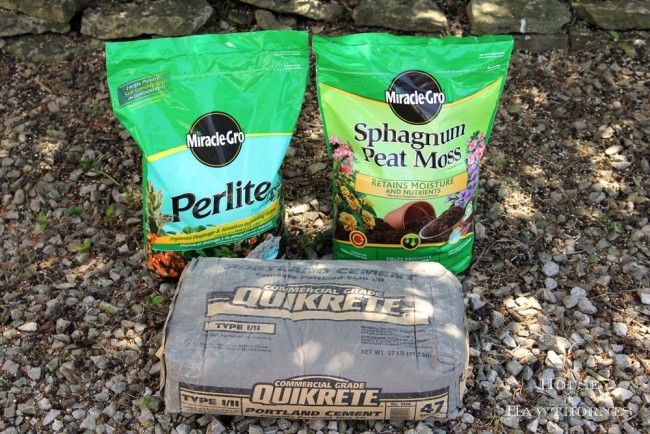
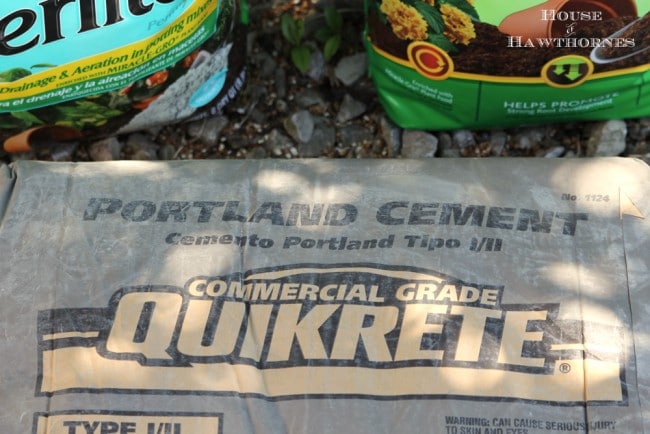
You do need Portland cement and not the quick drying cement for this recipe. Don't let the Quikrete name confuse you though.
Quikrete happens to make this Portland cement, although they do make the quick setting version of cement also. Just look for the Portland title (which has nothing to do with Portland, Oregon, BTW).
Instructions For Hypertufa Pots:
Gather some containers that you want to put the hypertufa into. You'll need an outer container and an inner container and the mixture will go between the two containers.
Some hypertufa mold ideas are two bowls of different sizes nested in one another,
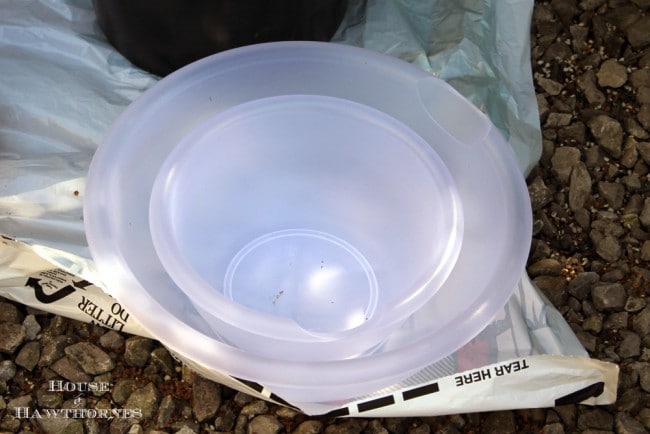
milk cartons, juice containers and fast food beverage cups.
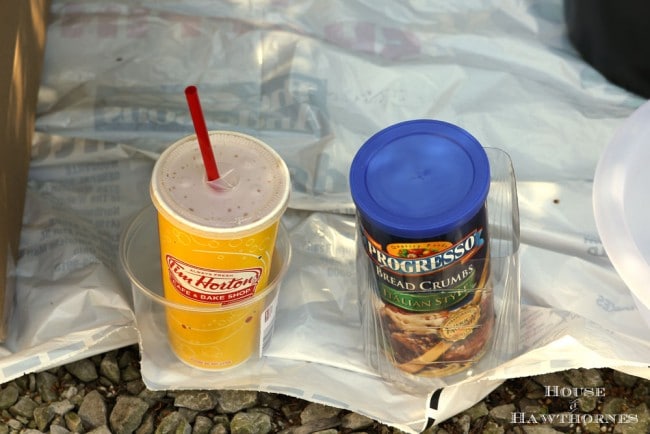
Even two boxes of different sizes can be used and are a great way to make trough type planters.
Spray the sides of the containers with cooking spray, so that the molds will slide out easily later. If you are going to use the cardboard boxes, use garbage bags to line them, so the moisture doesn't make the cardboard all mushy.
Get your containers ready and set to go before you start mixing the hypertufa. The containers must nest in each other, leaving at least ½ inch between the sides.
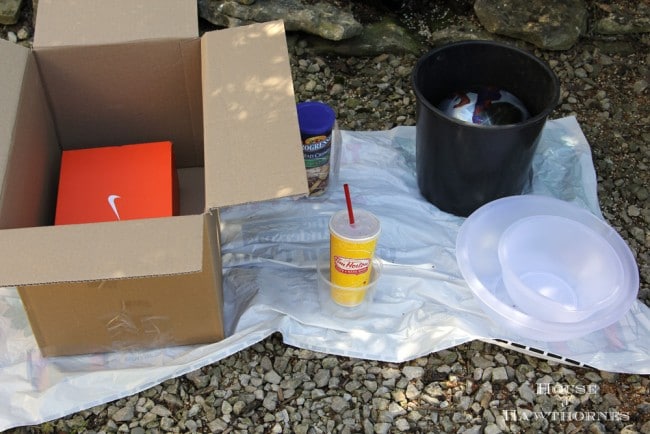
Don your particle mask, gloves and safety glasses and mix up your hypertufa.
Hypertufa Recipe
- 1 part Portland Cement
- 1 part Sphagnum Peat Moss
- 1 part Perlite or Vermiculite
- 1 part Water (approx.)
This is a messy project. Please wear appropriate clothing and use items for mixing that you do not want to use again.
And please don't forget to wear a mask and gloves! You don't want to inhale cement unless you want rock hard lungs. And cement can be very caustic to your skin. I forgot my safety glasses, so I just shut my eyes while scooping out the dry cement, but I'm pretty sure that's about the same as closing your eyes while you're welding on the sun (I do not recommend the closing-the-eyes-method, just trying to be transparent in my stupidity/forgetfulness here).
I used a plastic cup I had on hand to scoop out about 8 cups each of the cement, peat moss and perlite into my large bucket for mixing. I then added enough water to make a cottage cheese like consistency (it won't be an exact 1 part ratio, but probably close). I would suggest adding the water slowly so you do not add too much though.
Now, I had planned on showing a ton of photos doing all these steps, but my gloved hands were wet with cement and I didn't want to get my camera all gritty. So I am attaching a Youtube video from Lowes on how to make them which will give you a visual of how to mix it up.
When it's all nice and mixed together, press the mixture into the bottom of the outer container to a depth of about 1" (this will make the bottom), put the inner container on top of that and press more mixture into the sides.
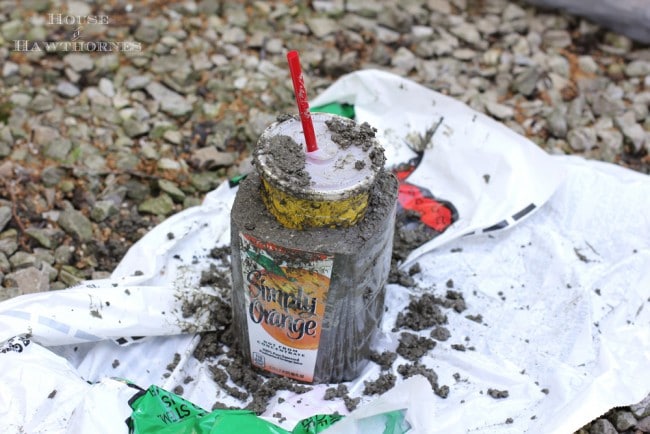
Wrap your items in a large plastic garbage bag and learn how to be patient.
Concrete needs to dry slowly, so keep it in the bag for roughly 24 hours. After 24 hours you can check and see if it's setting up. If so, you can remove the molds and let the piece air dry for a few more days (don't forget to wear your gloves for this step).
I found it took mine at least 4 days to completely and thoroughly dry.
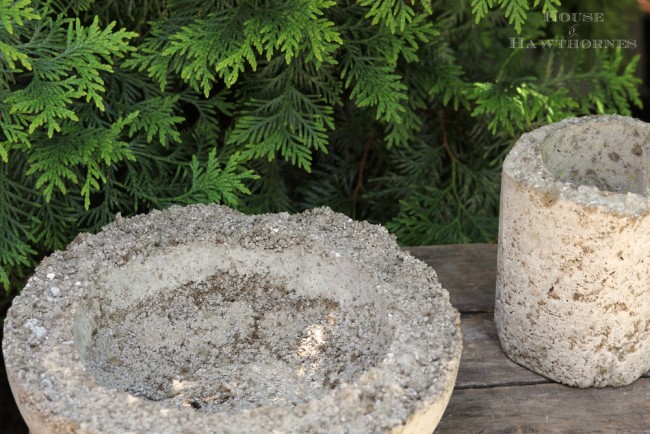
If you want the top rim of your hypertufa pot to be smooth, make sure you fill it to the very top and level it off with a ruler when filling the container.
I was going for a more rustic look for mine, so I did not fill the container completely nor did I level it off.
I also made a hypertufa sphere using a child's play ball.
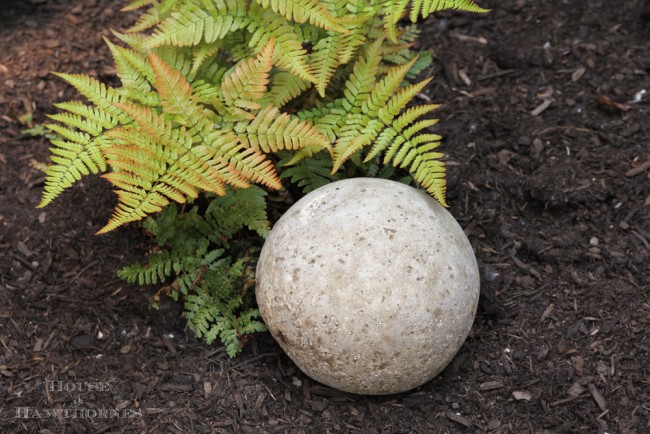
I partially filled a bucket with sand and placed my ball on top of the sand. The sand allows the ball to hold its shape and not have a huge flat spot on the bottom from the weight of the hypertufa.
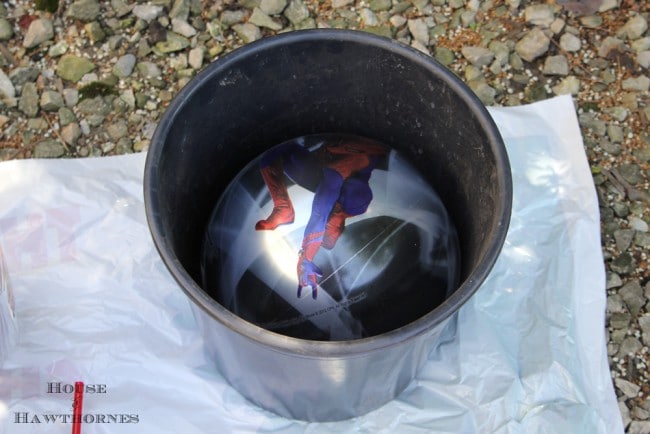
Then I cut a small hole in the top of the ball and filled it up with the hypertufa mix. I peeled the ball away when it had set up, which was approximately 48 hours later.
I also tried to do a hand with the stuff, using a rubber glove as a form.
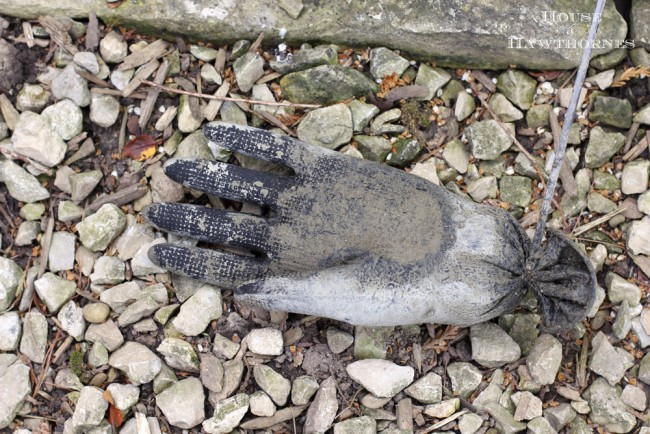
I lost a few fingers though. They popped off when I was cutting the glove off.
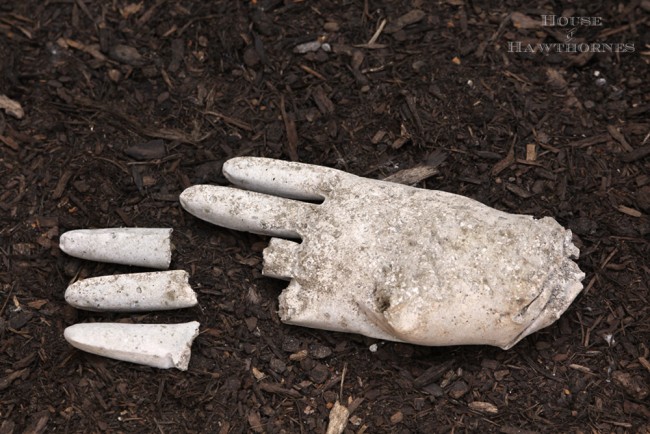
UPDATE: Since this post first appeared, I have successfully created a hand! OK, that vaguely sounds like something Dr. Frankenstein would say, but you can see it on this post - Hypertufa Hand Planters.
So if you want the look of a cement planter try your hand at hypertufa. It's cement without all the weight!
You may also enjoy:
Homemade Squirrel Repellent Recipe
How To Identify And Treat Poison Ivy



Anonymous
I didn't have containers so I mounded a pile of sand and put the hypertufa over the sand in a bowl shape. When dry drill holes with a diamond bit. They turned out great!
Anonymous
I love this project and will make some this summer. I had to laugh thou at your Items Needed list.
You had: Cooking Spray (Spam works for me, since it has my name in its name) Isn't Spam a canned meat and Pam is a cooking spray? I could picture myself rubbing the glob of meat all over the mold. LOL!
I have so many ideas and can't wait till better weather to make some. Thank you!
Pam Kessler
You just made me spit my orange juice out onto my computer screen! Yes, I have never noticed that before! You are so right, please don't spread meat on your mold 🙂 I'll change it now so I don't confuse anyone. Thank you!!!
GrammyA
Pam to Pam - Great job!! Do you think these might need a hole in the bottom, or does the water soak through? Also, were you able to reuse the plastic bowl molds?
Thank you for sharing!
Pam
Pam Kessler
I did not put holes in the bottom, but you could. The water does tend to leach out a bit, so it's not been a problem so far. And yes you can reuse the plastic bowl molds - for more molds, not eating stuff out of :). Just make sure you coat them with a cooking spray so they slide off easily.
Brenda Young
I have always wanted to give this project a go at it, on a large scale. Need to put on my thinking cap for a large base form.... thanks for sharing your steps Pam!
Cathy Carroll
Pam, I love these - the rusticness is absolutely perfect and with succulants they are awesome... I am now adding this to my to do list that keeps on growing.... thank you for sharing... pinning and stumbling...
cynthiapendley
I love this! May I ask a couple questions? How many pots can be made from the single bags of the ingredients? I'd like to invite a few friends over for a crafty day.
Also, how long do they hold up outside? Forever? Do they need sealing or anything?
Pam Kessler
I'm so glad you enjoyed them!
I think you could get about 10-12 pots out of a bag easily. I've done two large ones, three smaller ones and then a bowling ball looking one and a couple of hands and I still have half a bag left.
And mine have held up really well. I do bring them inside in the dead of winter when there's a lot of snow, but they're normally outside for at least 8 months out of the year. I did not seal them. I suppose you could use a concrete/sidewalk sealer if you wanted though.
martha mckenzie
I am doing this right now. Well, yesterday I made a few - took molds off today - tell me why mine are not the same light color as yours?
Do they have to 'cure' for a few weeks to get to that color? I used Portland cement, peat moss & perlite. Plus outside is very smooth & shiny - do I need to sand them a little ( would like them to be rougher)?
Pam Kessler
It will take them a few days to cure completely, Martha and they should lighten up in color when dried.
Wonder if you had more Portland cement in the mixture and that's what is making them shinier though? When I tried my hand one again last year I doubled the cement in the mixture, because I was trying to make it extra strong (since I had broken fingers when I tried it on this post) and that one did come out much shinier and smoother. Plus no broken fingers this time 🙂
Unknown
For the hand, you could also lay the fingers on a tennis ball if you wanted them to be more curly. You would obviously have to let it dry on the other side. Just an idea.
Love your tutorial.
Christine Freeman
To make the drainage holes in the bottoms of your planters, use a toilet paper or paper towel roll. Works great.
Fingers: Make the mixture a little heavier on the cement. Let it sit longer in the glove. You can also use a couple of pairs of latex gloves. To make the fingers curl, set them in sand.
You've done a great job!
Pam
Mine has sat out in the elements (rain and snow) all year and they've held up perfectly, so I don't think using them as a birdbath would make them crumbly. They are somewhat porous though, so they wouldn't be absolutely watertight, but you could certainly put water in them in the garden.
Anonymous
Can you use these as birdbaths or would the constant exposure to water make them crumble?
Linda @ Itsy Bits And Pieces
Wow does this ever look like fun to do, Pam...I am properly impressed! You did a great job on these...I am the next one to pin it!
Cheapchick
I pinned you and apparently 37 others also think this is a great idea (so far) as have repinned. Great how too!
Sue
One more thing I've been saying I was going to do! After the rude guy at the Rural Society Show gave me grief, I decided I would never pay for them again! So, so good to see ya on Saturday.
Heather
These are great, Pam. I especially love them filled with succulents!
Sweet Posy Dreams
Wonderful tutorial! Your hand reminds me of ice hands we made for Halloween parties when the kids were young.