I always like to have a fun wreath on my door come springtime. Something other than your typical store bought wreath.
Something a little unexpected. And definitely something colorful!
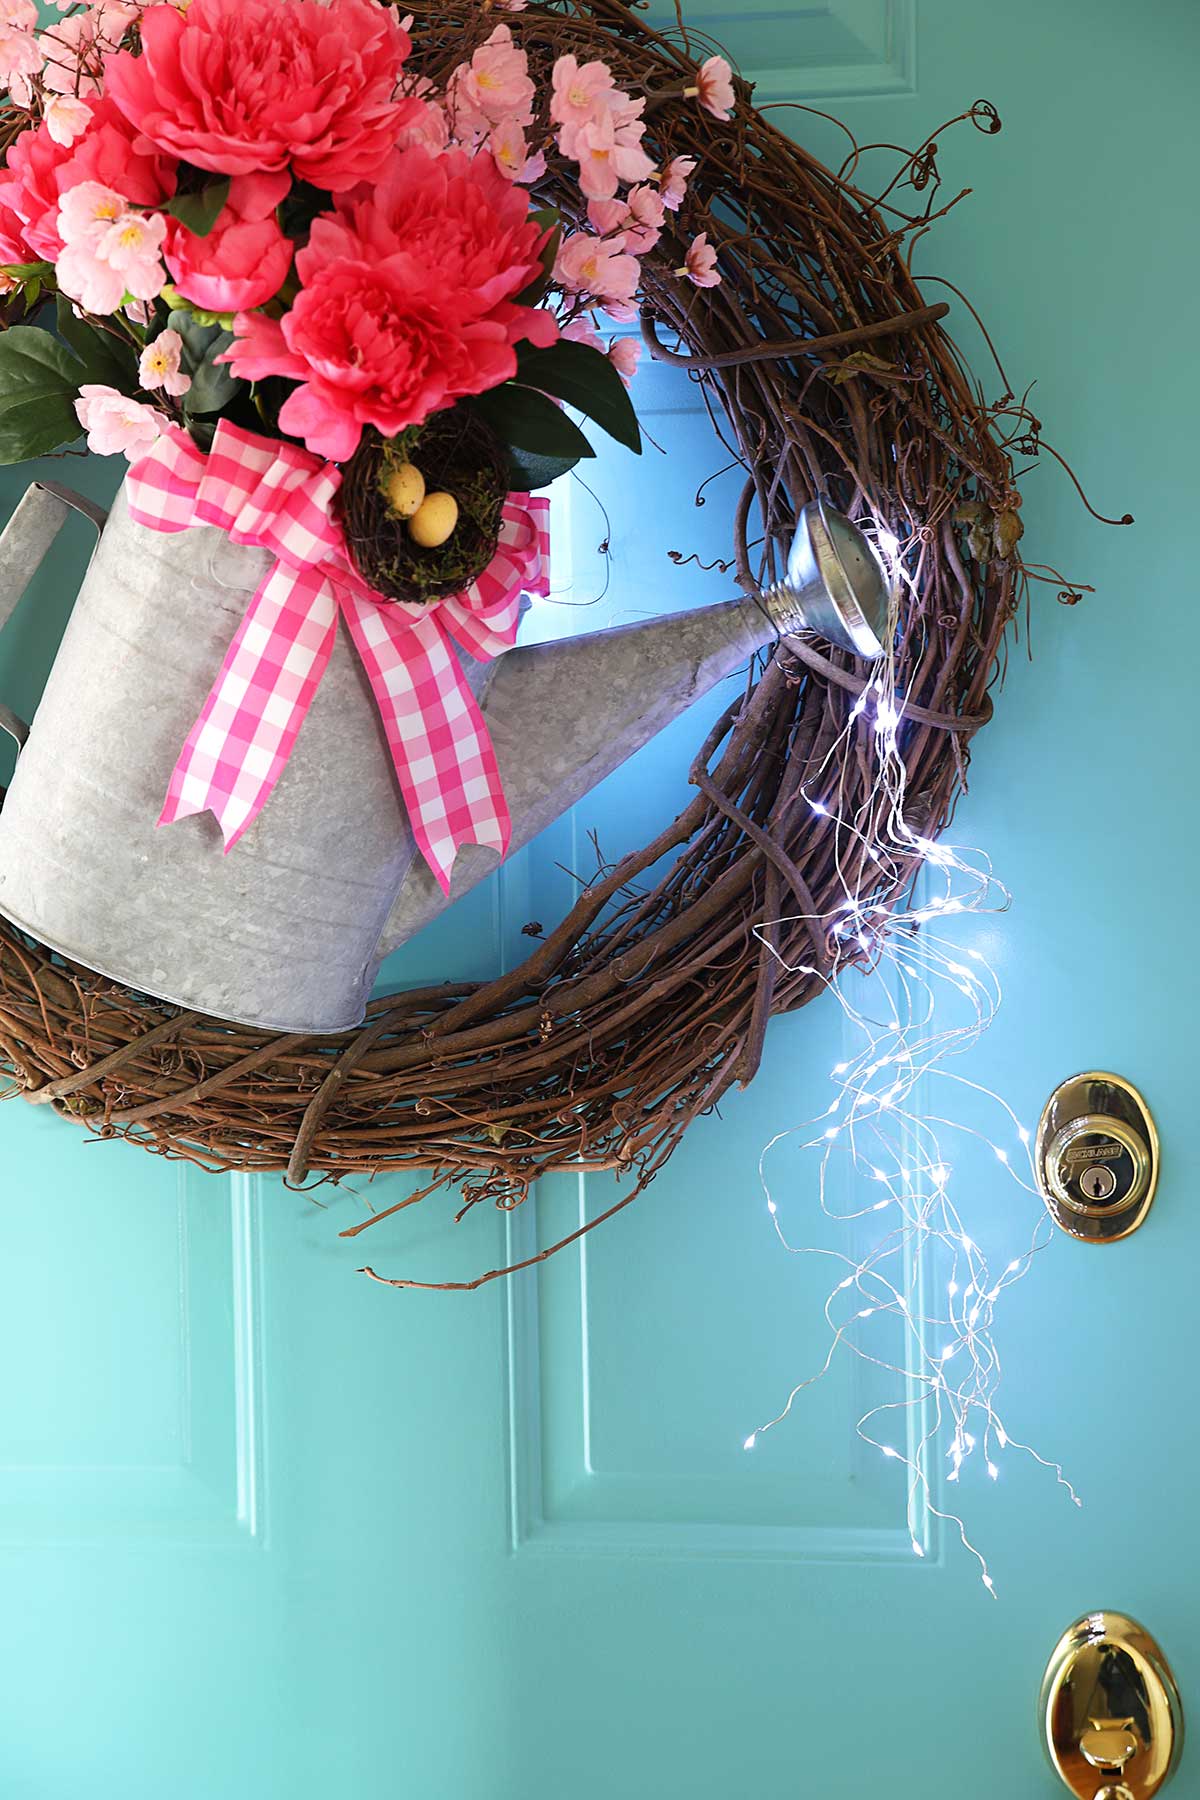
Last year I repurposed a dustpan for my wreath, this year it's a watering can.
Next year . . . who knows!
Jump To
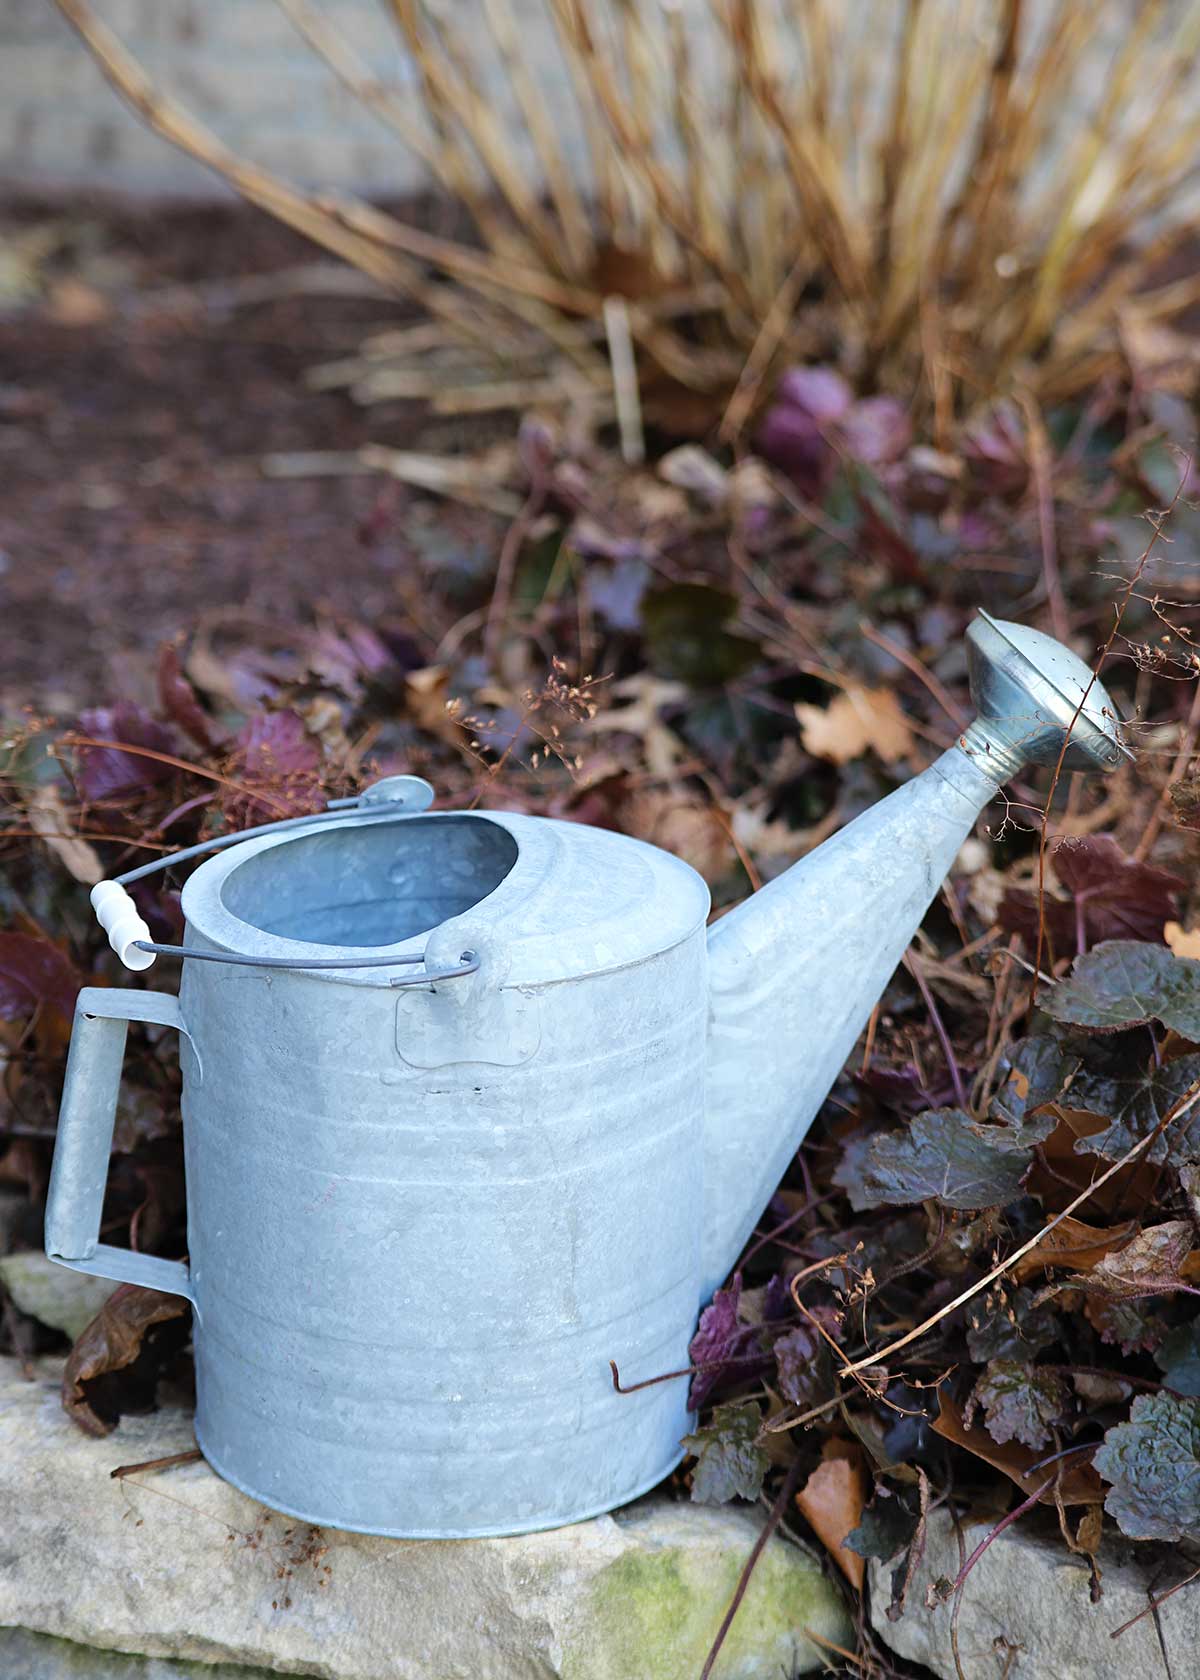
I lucked out and found this galvanized watering can at the local Goodwill for a couple bucks.
My first thought when I saw it was I was going to add it to my vintage watering can collection, but then I noticed it had a UPC sticker on it which is a tell tale sign it's not old.
So my mind went in other directions. Springy, whimsical, crafty directions.
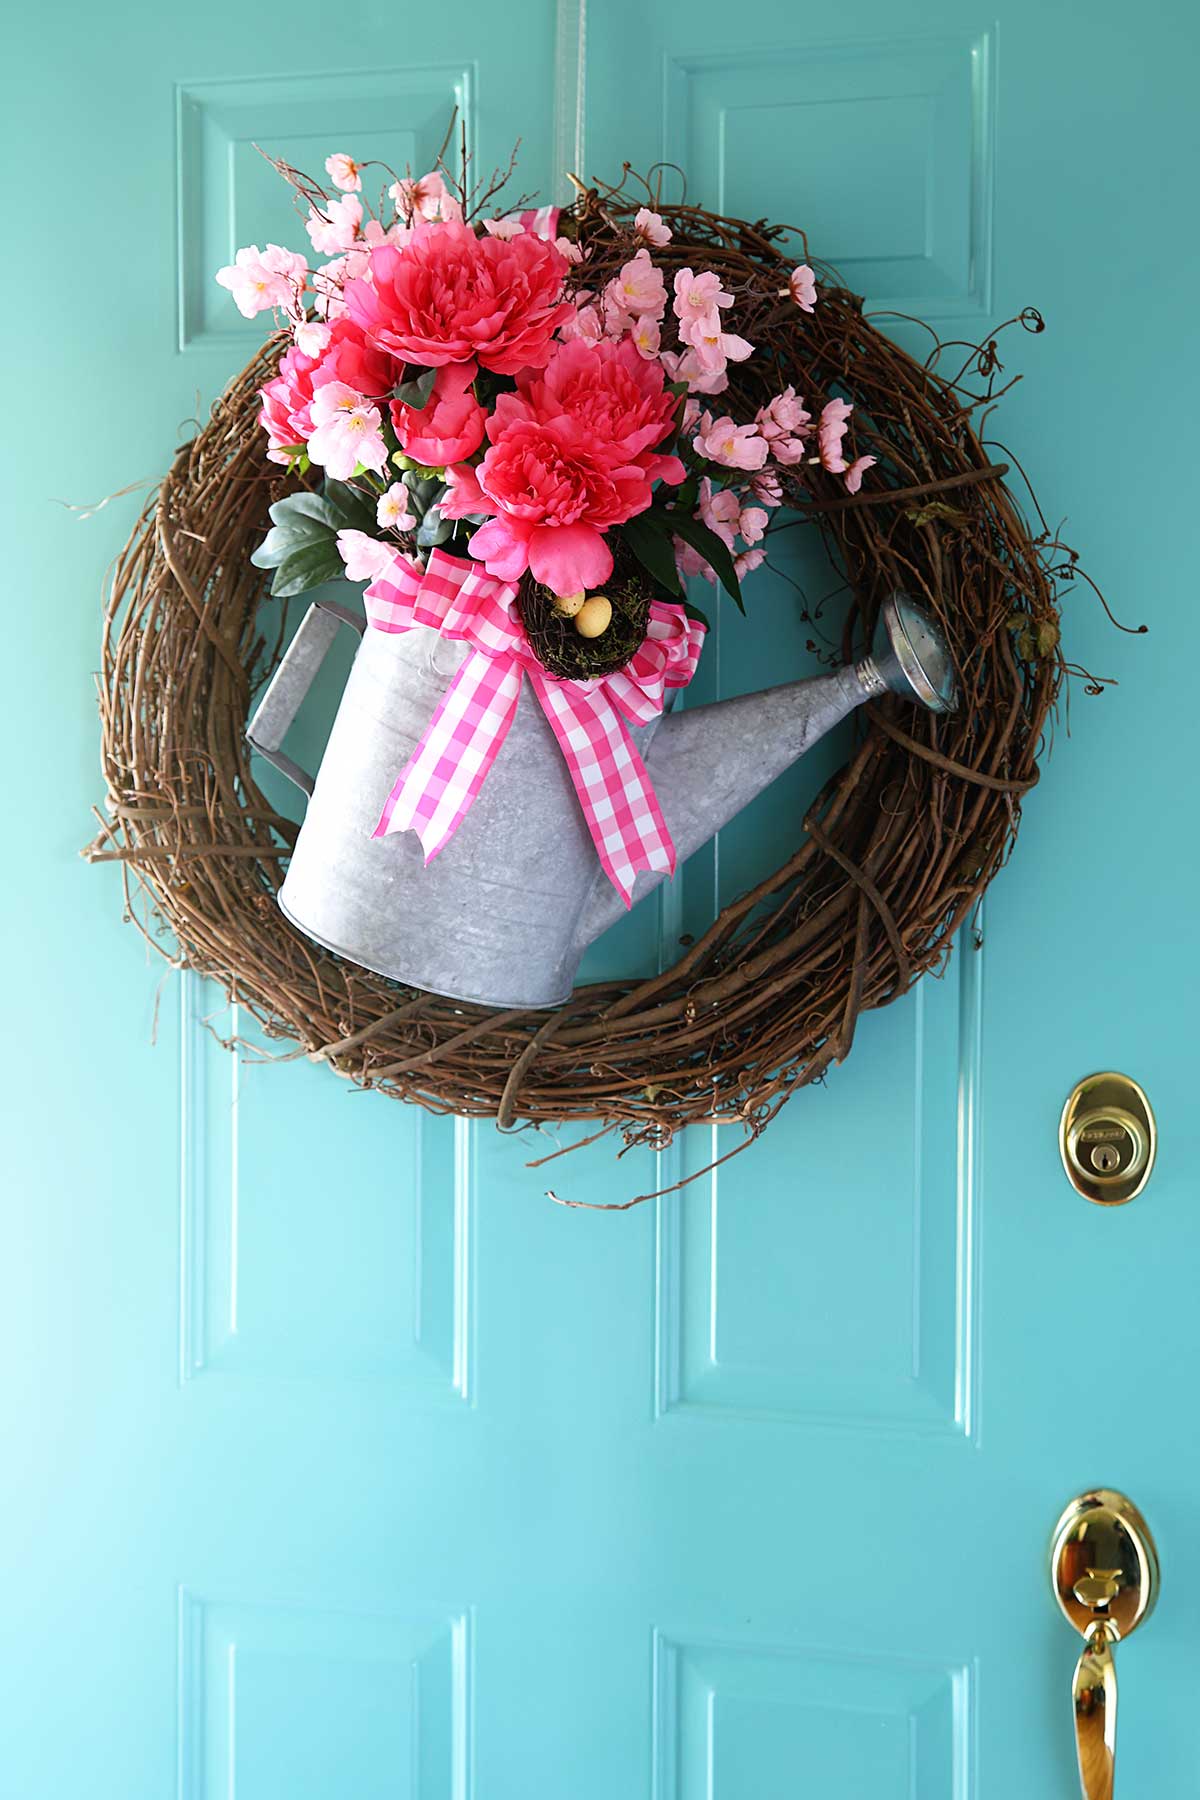
I decided to make a spring wreath with my watering can.
BTW, Behren's still makes similar ones and sells them on Amazon if you want a vintage looking watering can without the vintage part.
Oh, and before I get too far along here, today is Thrift Store Decor Team Wednesday, so don't forget to check out what the other gal's have made for you today down at the bottom of this post.
How To Make A Watering Can Spring Wreath
(This post contains some affiliate links for your convenience. You can read my full disclosure policy here.)
Supplies:
- Watering Can
- 18 or 24" Grapevine Wreath
- Faux Flowers
- Floral Foam
- Bird's Nest
- Floral Wire (aka Paddle Wire)
- Spring Ribbon - Pink Gingham
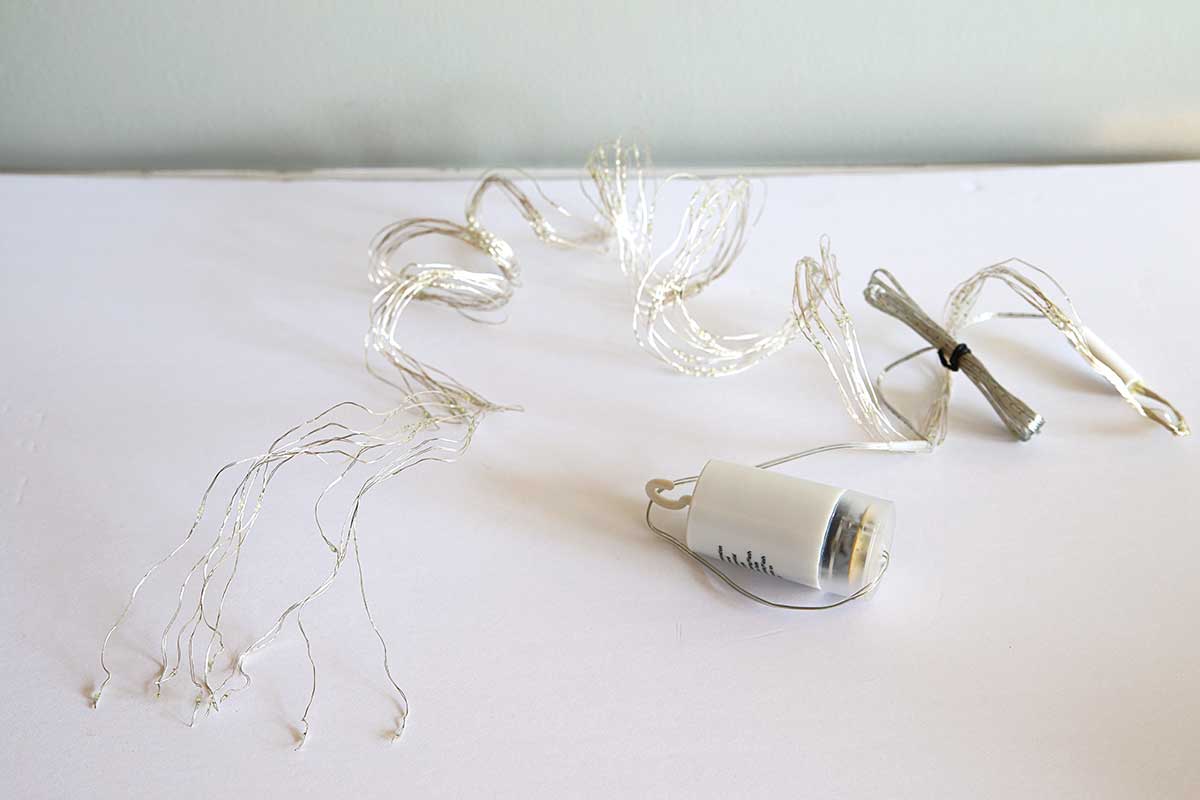
- Optional: Waterfall or Cascading Fairy Lights (either battery operated or solar)
- Optional: Clear Floral Tape
Instructions:
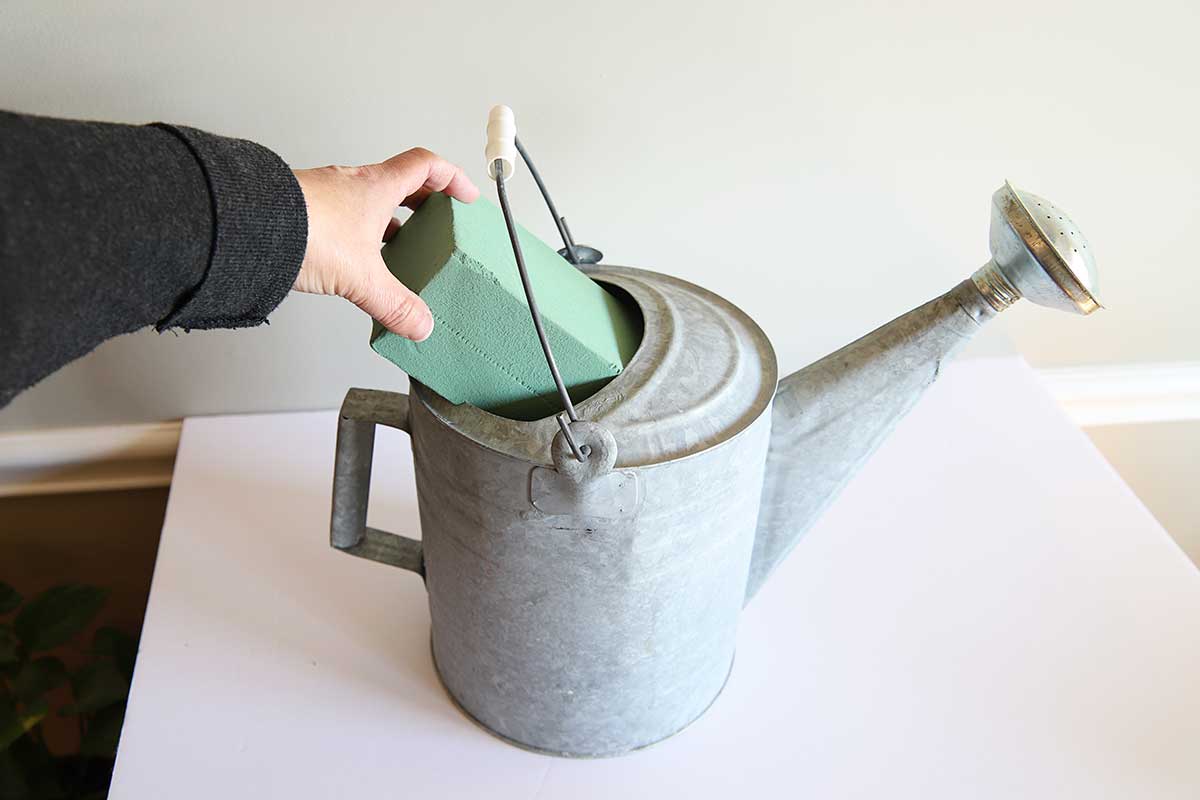
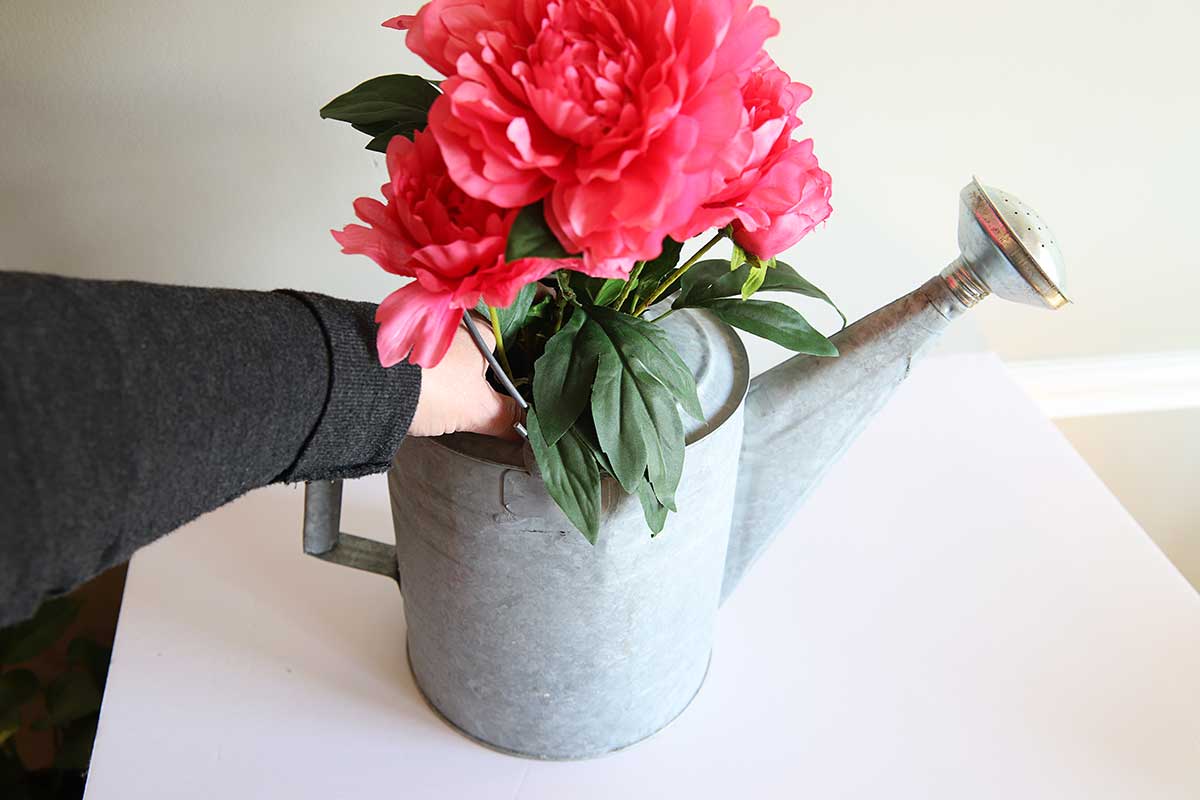
Put your floral foam in the bottom of your can. I used an oblong brick of foam and cut off roughly 4 inches of it to make it fit.
This doesn't need to be exact, you are just using it to roughly hold your flowers in place so the wind doesn't blow them away.
Or so birds don't fly off with them in their beaks. Been there, done that.
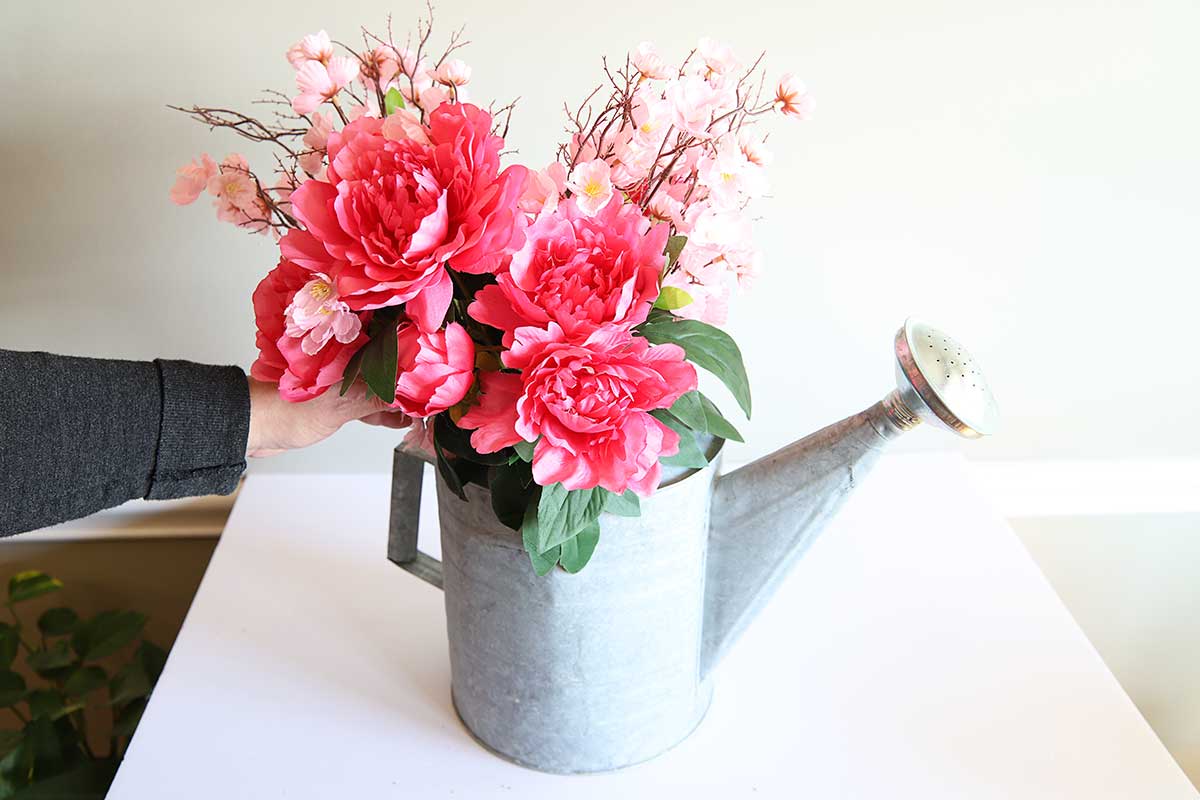
I arranged my flowers and pushed them into the foam.
If you have flower bushes (one thick stem with lots of little stems coming out of it), you should spread the stems out and fluff them up a bit for a more natural look.
I purchased my faux pink peonies and apple blossom stems from Michaels (on sale and with a coupon), but you could just as easily use flowers you have in the house or flowers from the thrift store.
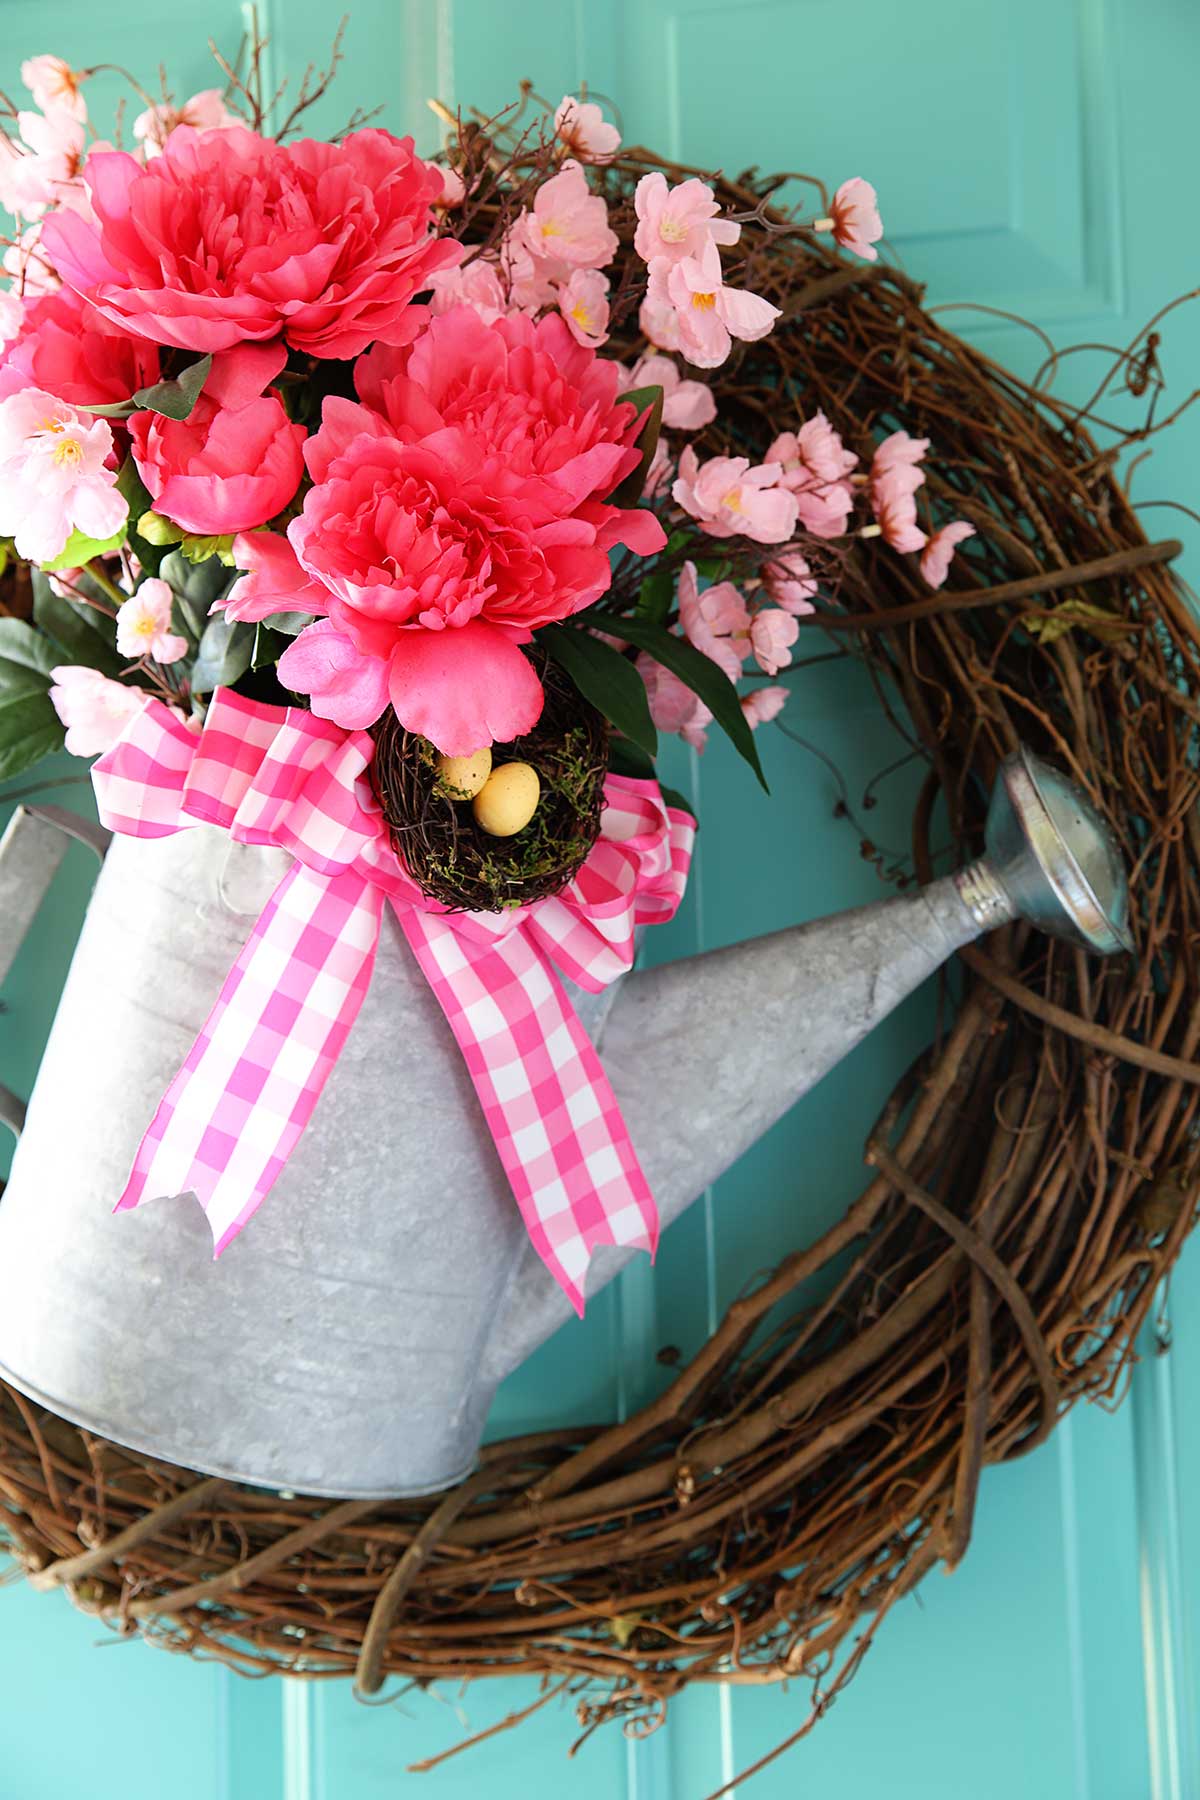
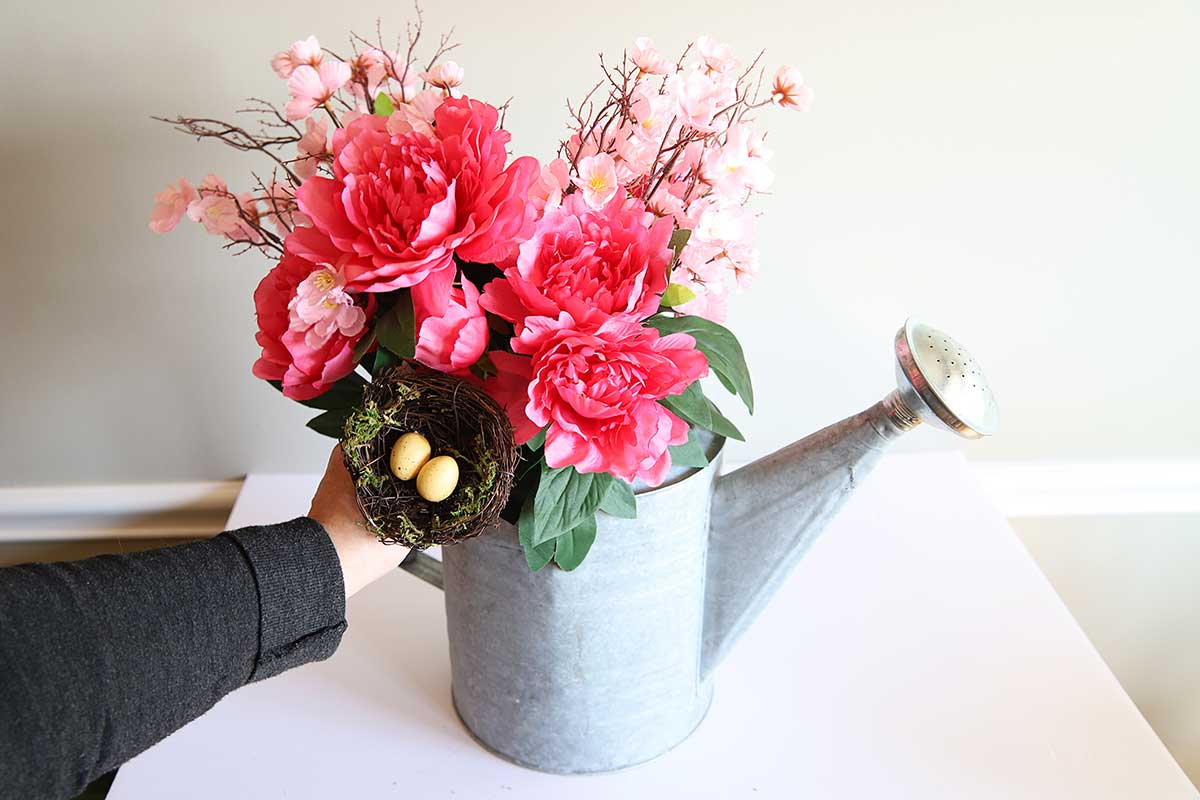
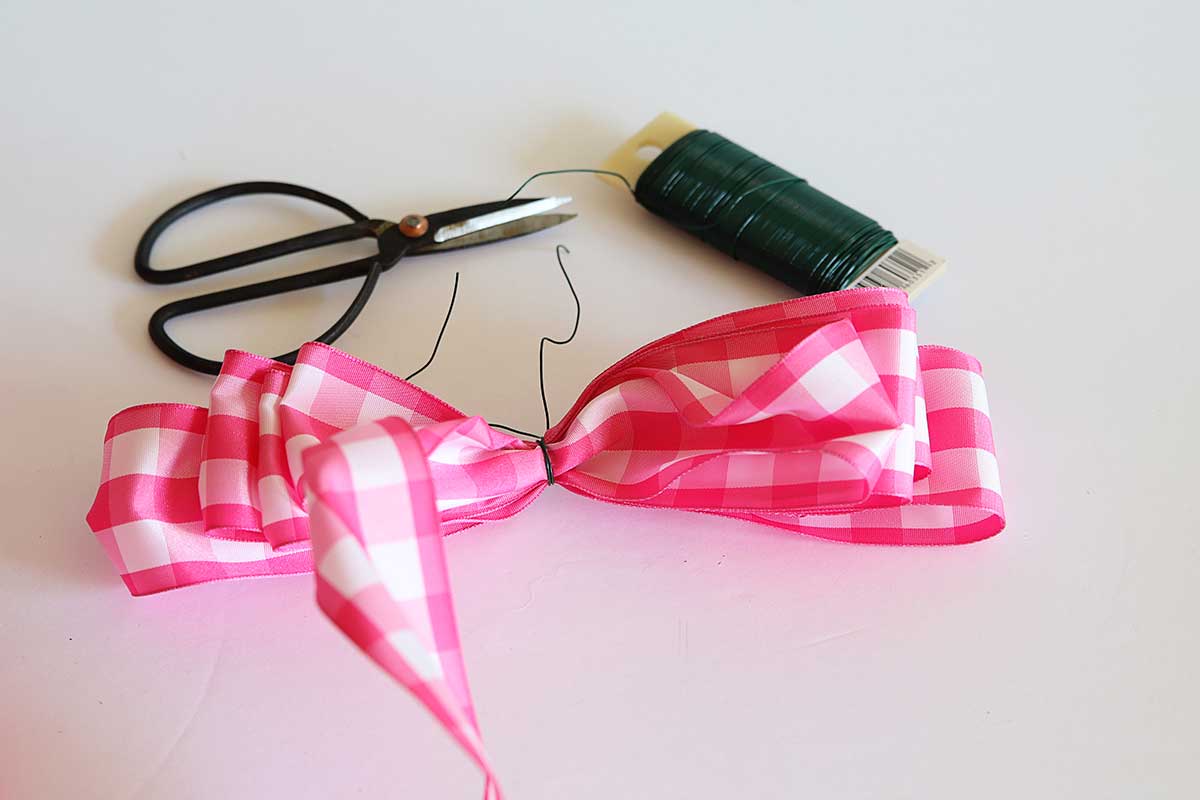
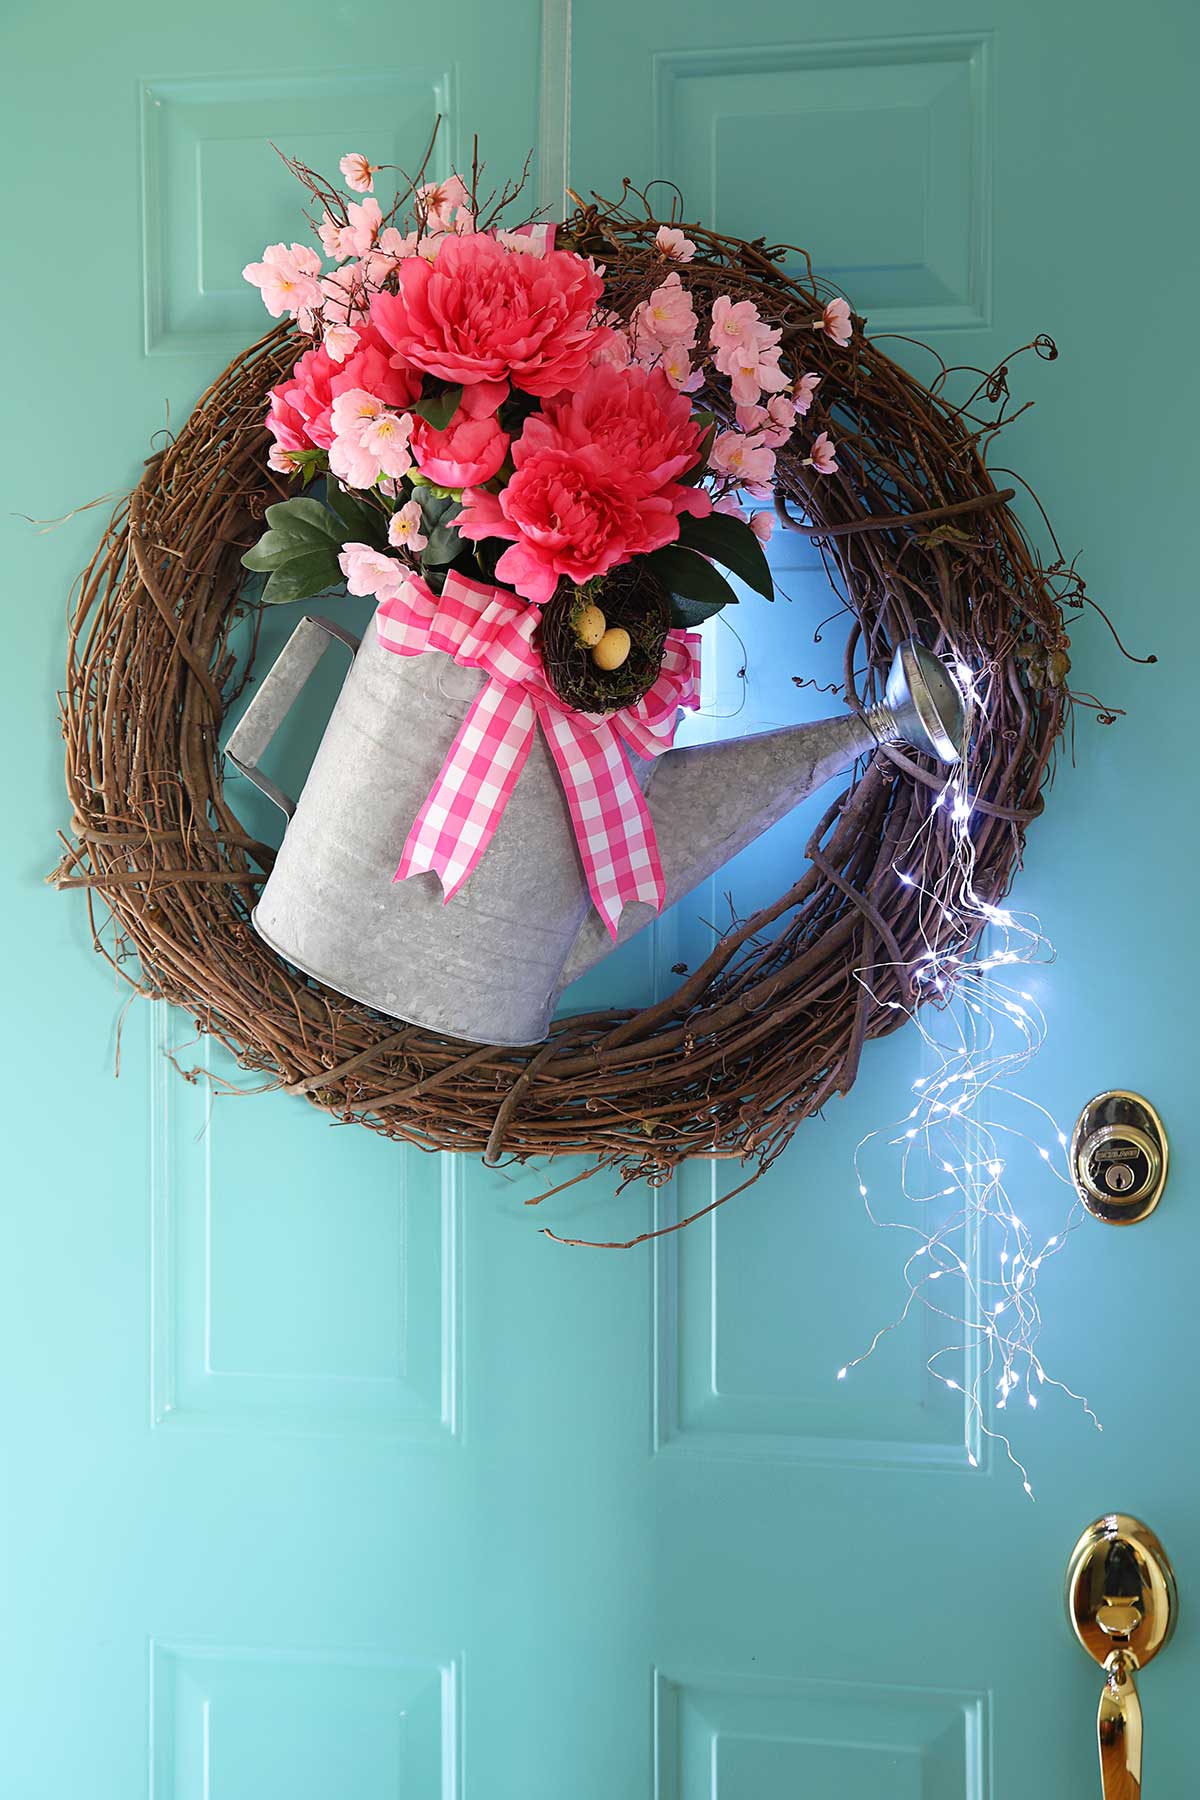
I stuck a bird's nest pick into the arrangement and followed it up with a bright pink gingham bow.
My bow was VERY simple. I just used one roll of Michael's spring ribbon and sort of gathered it up into a bow shape and tied it with floral wire. I added some tails to it and played with the thing until it looked passable.
I'm not going to do a full blown bow tutorial, because mine always look so much better from 5 foot away than up close.
I attached my watering can to my grapevine wreath with some more floral wire. I simple ran the wire through the handle and looped it around the wreath a few times.
Mine is only attached by that handle so I was worried it might blow around in the breeze, but it stays pretty firmly up against the grapevine twigs. You could always add more wire around the spout and attach it at that point also if you feel the need.
Optional: How To Make Your Watering Can Light Up
OK, so if just having a watering can on your front door is not enough spring-tastic goodness for you, you can always go a step further and make it light up!
It's supposed to look like water pouring out of your watering can spout!!!
The jury is still out on how realistic the "water" is, but it does give it a little extra sparkle and is SUPER EASY to do.
I've seen some people drill holes into the spout and run their lights up from the inside and out the spout so the "water" is truly dripping out the spout (the holes already in the spout aren't large enough as is unless you drill them larger).
I tried that for about a hot second, but when I realized my spout did not screw off and I would also have to fish a piece of wire down the spout and grab a light string and magically fish it back up and out the spout without tangling up all the wires, I went to plan B.
Plan B = Cheaters Way To Light Up A Watering Can
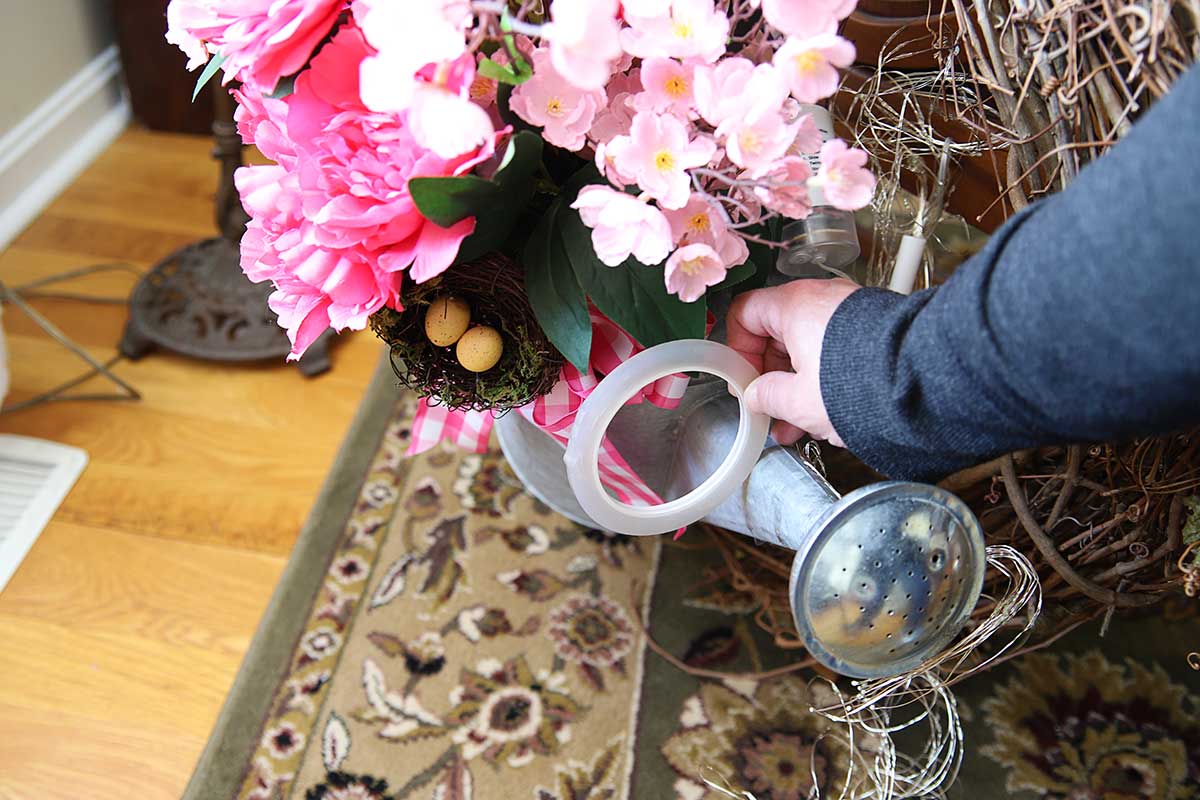
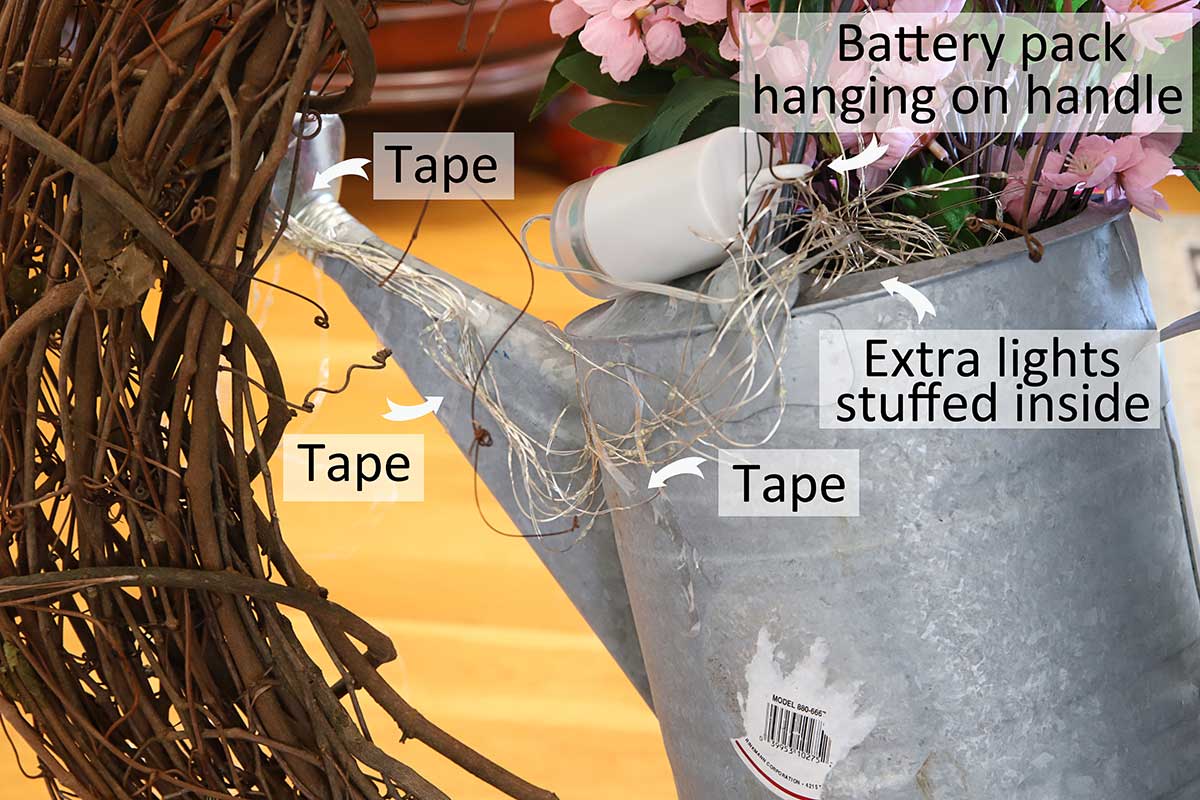
I figured out how long I wanted my "water" to be, then taped the lights to the back of the watering can running down the back of the neck.
I stuffed the excess lights into the body of the can (and there will be lots of excess lights since each strand is 6 ½ foot long and I only used maybe 2 ½ foot all crinkled up as my water).
And then I hung the battery pack from the handle so it would be easy to reach.
The lights are on a timer, so you can turn it on and they will stay on for 6 hours and turn itself off for 18 hours and then back on again. You just have to set the mode you want your lights in (flashing, fading, sequential, etc).
So you have two options here for your watering can wreath - Traditional Colorful Spring or Lighted Funky Spring.
Either would be a fun addition to your front door!
More Upcycles From The Thrift Store Decor Team
Stoneware Crock Makeover - Our Southern Home
Gold Dipped Step Stool Makeover - My Uncommon Slice Of Suburbia
Topiary Trees In Vintage Candlesticks For Spring Decor- Sadie Seasongoods
Cheesebox Flower Display - Petticoat Junktion
Spring Decor Cloche - Refresh Restyle
Thrift Store Tropical Tray - Domestically Speaking
Repurposed Chandelier Succulent Planter - My Repurposed Life
Watering Can Spring Wreath - House of Hawthornes
View the web story version of this article HERE - Watering Can Wreath Web Story.
You May Also Like:
Repurposed Yard Sale Finds For The Garden





Christy @ Our Southern Home
Pam,
This is so fresh and springy! I adore the unique watering can idea! Just beautiful!
Maryann
So cute & perfect for Spring!
Debbie Westbrooks
I hope I walk in to my Goodwill and find one! Love it!!
Leslie Schmidt
This is so cute, Pam! It feels really spring-y. And the colors go so well with your door. It doesn't matter if the lights look realistic or not. They are fun and happy. I like them a lot. If you hadn't mentioned the fact that the watering can wasn't vintage, no one would be the wiser. It looks authentic.
Becky R
Love it and want to make one. Where are fairy lights from? Where do I buy?
Pam Kessler
I bought mine on Amazon - they have a few versions if you look under "Cascading Fairy Lights".
Naomi Shelton
Pretty darn cute, Pam! I'm thinking of making a mini version since I have a small galvanized watering can and a smaller grapevine wreath. Thanks for the inspiriation!
Sarah Ramberg
Oh my gosh, how adorable is that? It was meant to become a wreath!!
Kristin salazar
This is super cute, the perfect spring wreath!
Michelle
I love this! Your wreath is beautiful! I love the fairy lights made to look like a waterfall, too. How creative!
gail
Oh my! I love your door! If I had a door that pretty I would definitely want something as cute as this watering can wreath hanging on it. My door is so ugly, I never hang anything on it. Perhaps I should, so it wouldn't be so obviously ugly. lol
Your wreath is perfect in every way!
gail
ps pinned
Pam Kessler
Thank you! And if you just make a big enough wreath you can hide the hole door!
Fonda Rush
Sweet!
Pam Kessler
🙂
Linda @ Itsy Bits And Pieces
Your wreath is SO cute! And that watering can certainly has the vintage look...great find! I love the sprinkling lights!
Pam Kessler
I got so exited when I saw it at the thrift store and then as I was putting it in my cart I saw the UPC code 🙂 I still love it though!